For anyone planning on riding the Tour Divide from Banff, Canada to the Mexican Border at Antelope Wells in the USA, kit is going to be pretty high on your list of things to think about. Again and again.
Here, we take a quick look at the the kit that I packed for my 2016 campaign. Even if you are just a casual Dot Watcher, the kit packed for The Divide is always interesting.
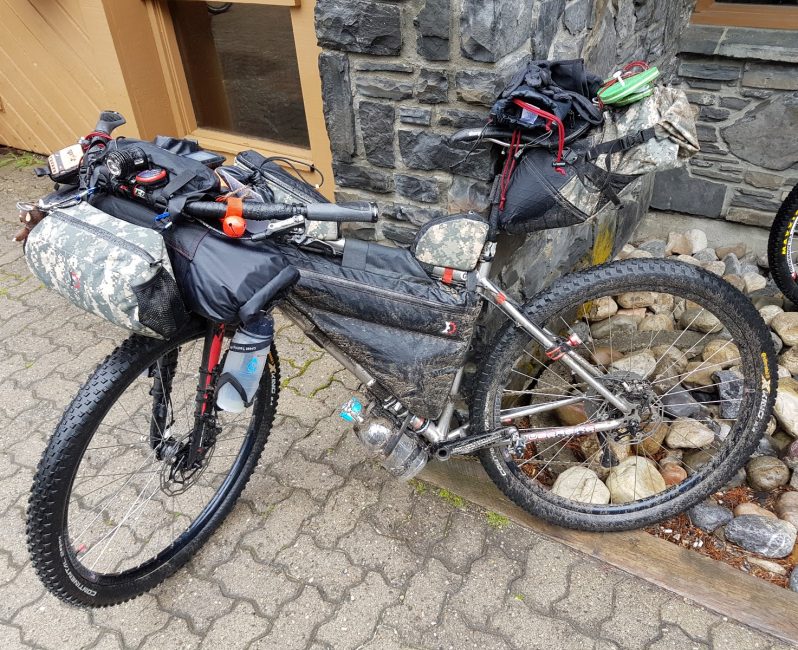
Bike:
Fork: Superstar Carbon Monocoque
Front Wheel: SP-PD8X dynamo hub and Velocity Blunt SS rim
Rear Wheel: DT-Swiss 350 hub and Velocity Blunt SS rim
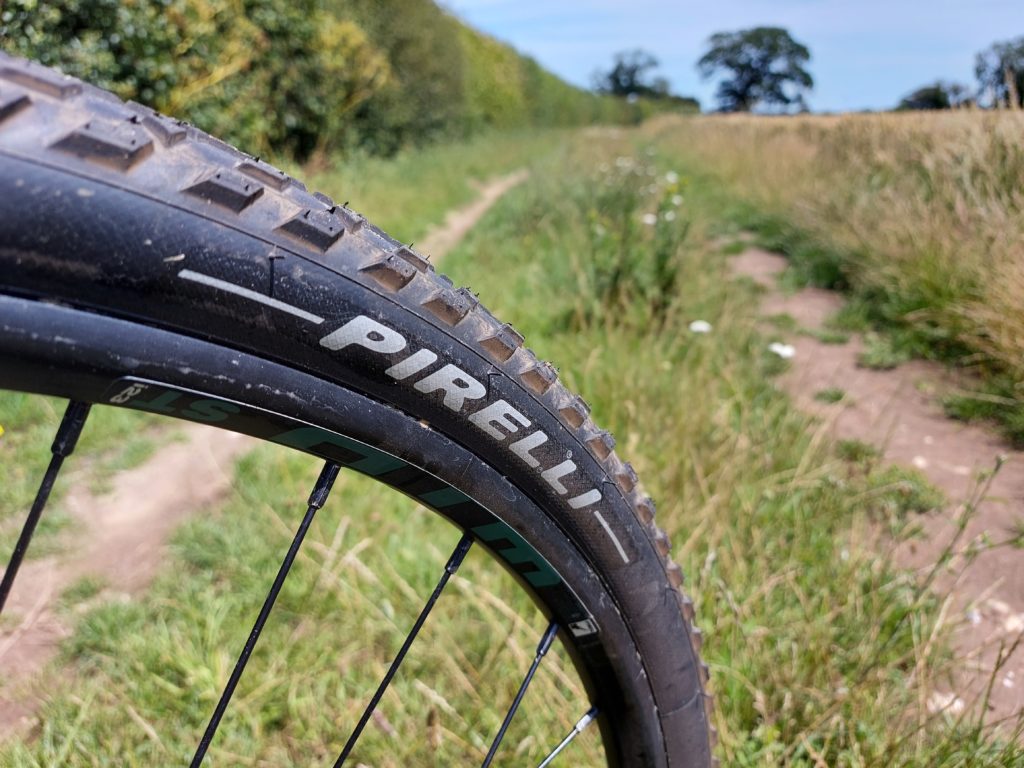
Tyres: Continental X-King Protection 29 x 2.4″ tyres set up tubeless
QRs: Salsa F&R
Chainset: Raceface Ride with Absolute Black 36T Oval N/W ring
Bottom Bracket: Uberbike Ceramic HTII
Pedals: Lifeline SPD
Chain: KMC X-11SL Goldie Lookin’ Chain
Rear Derailleur: Shimano XT M8000 GS
Cassette: Shimano XT M8000 11-42 11spd
Stem: Thomson 90mm 4X
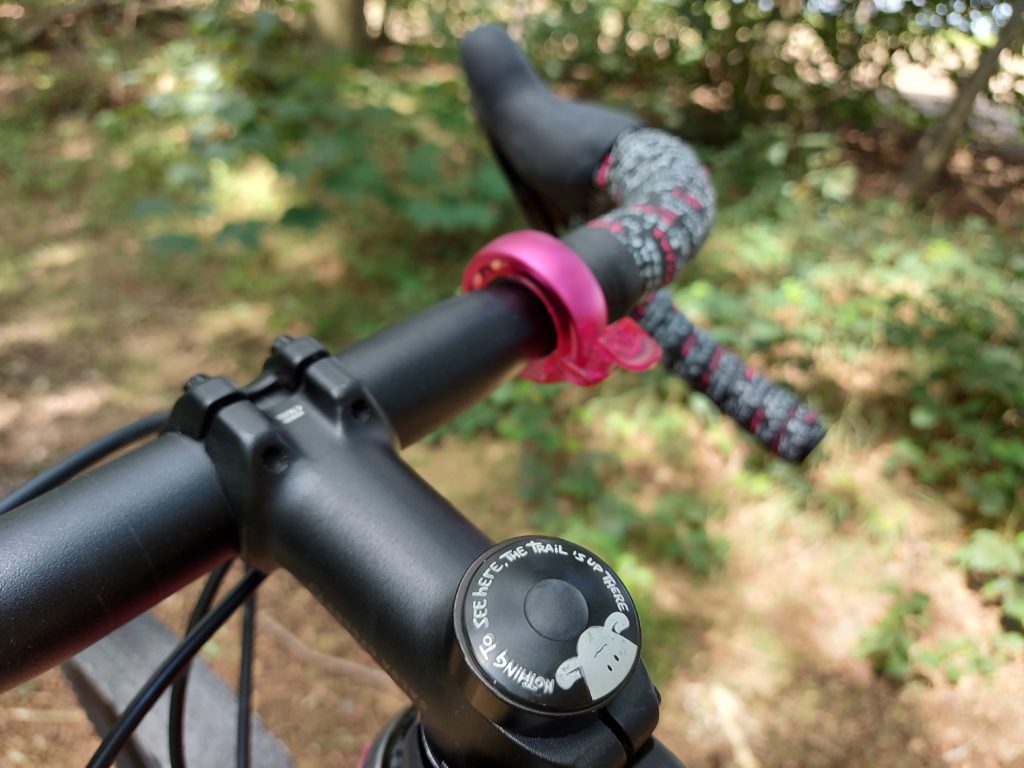
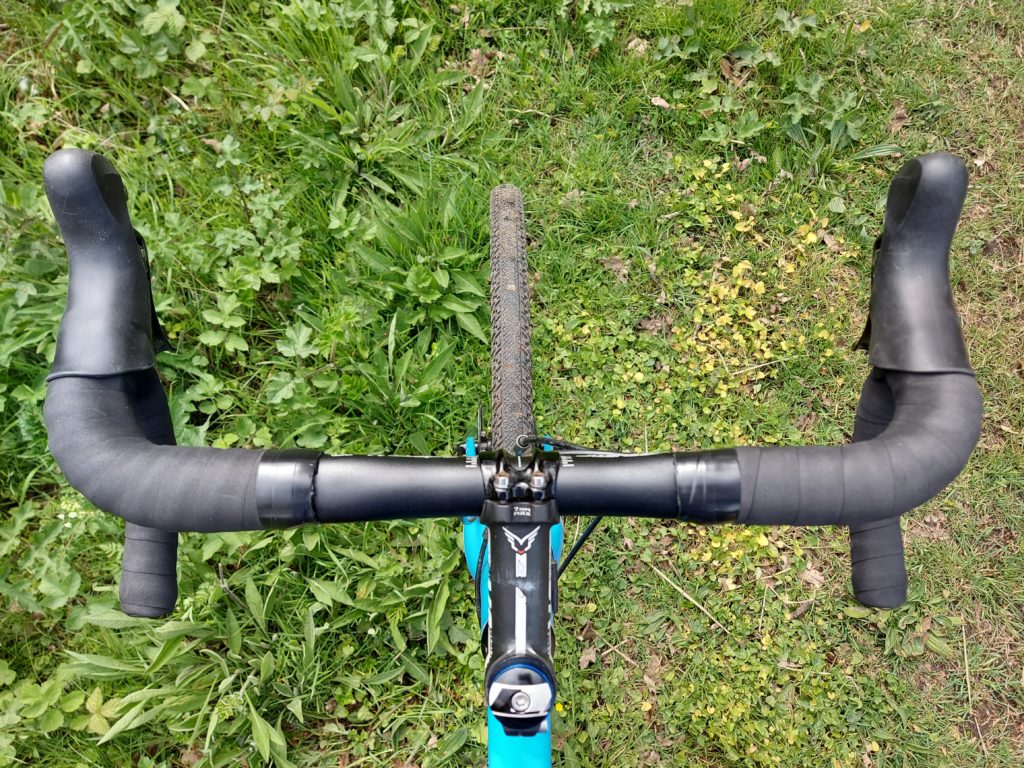
Handlebars: Jones Loop bars 710mm
Brakes: Shimano XT M785
Brake Pads: Superstar Sintered
Grips: Ergon GS-1
Bar tape: Deda Carbon in Black
Cables: Shimano XT with Transfil sealed cable kit
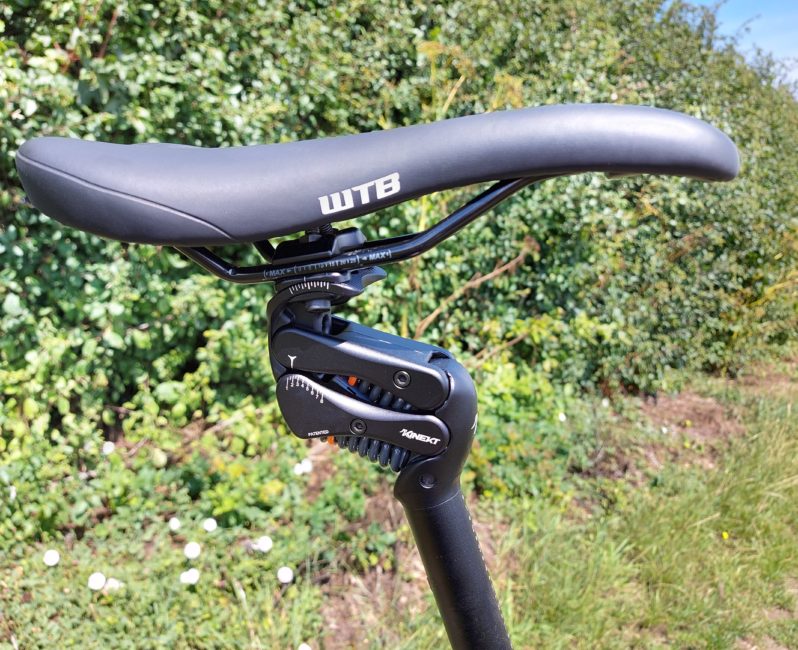
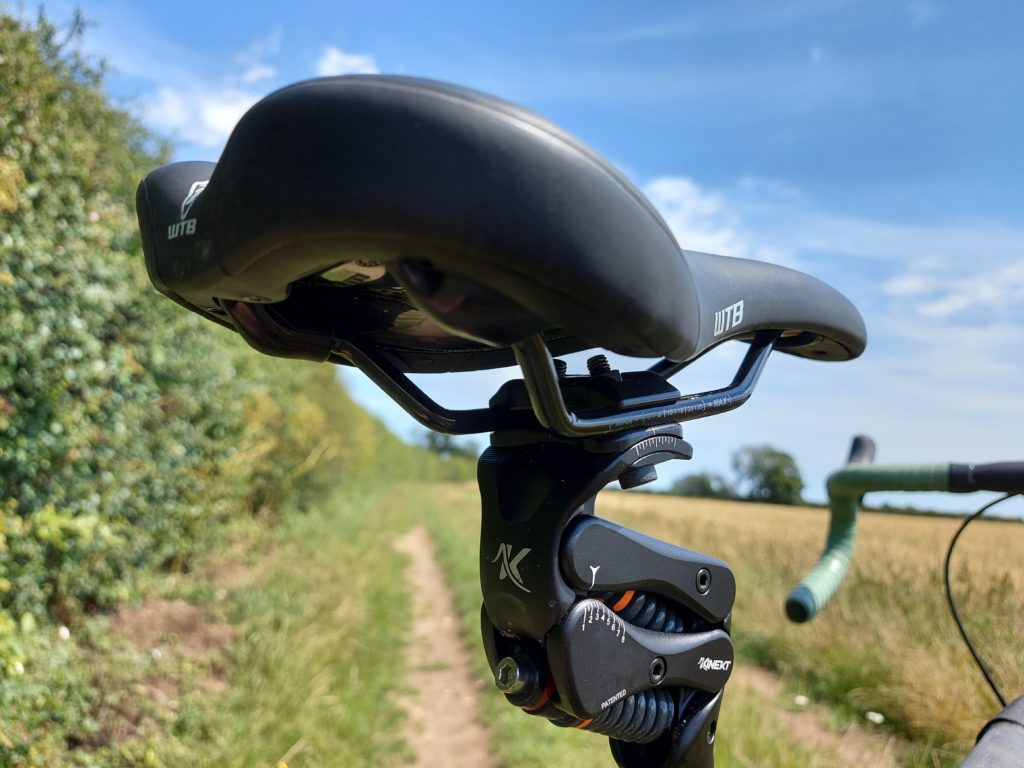
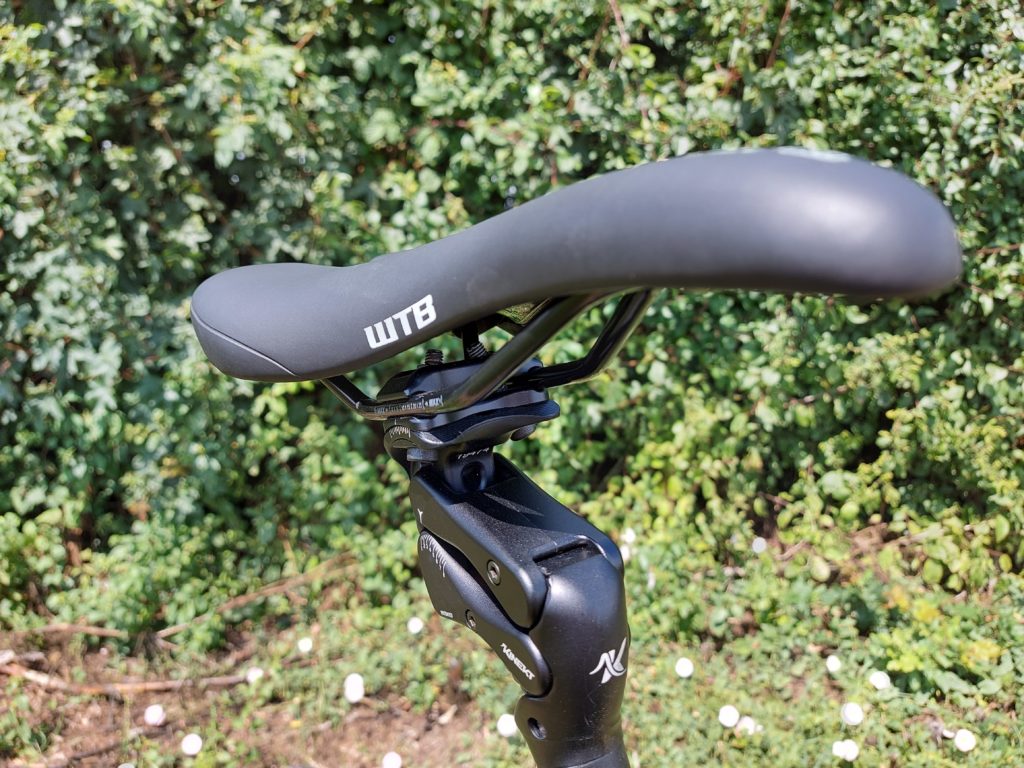
Seatpost: Thomson 27.2 410mm
Seat: Charge Knife Ti
Front light: Exposure Revo
Rear Light: Exposure Red-Eye
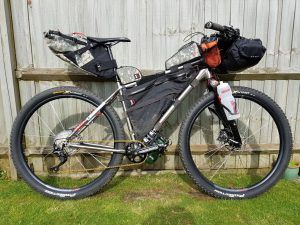
Handlebar Luggage:
Sinewave Revolution Dynamo-USB Charger
Duracell 1150mAH buffer battery
iHarbort 5000mAH buffer battery
Various micro/mini USB cables as necessary
Revelate Designs Sweetroll
Alpkit Numo Mattress
Alpkit Cloud Cover Down Quilt
Six Moons Designs Wild Oasis Tarp Tent
Tyvek Floor for above
SOL Emergency Bivi
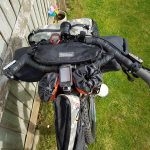
Revelate Pocket
ACA Tour Divide Maps
Cue Cards
Pinarello Softshell hat
Specialized Wiretap Body Geometry Gel gloves
Gore Bikewear Windstopper Headband
Other stuff TBC probably food/warm gloves/etc.
Alpkit Stem Cells x 2
Samsung Galaxy S7 Edge Smartphone
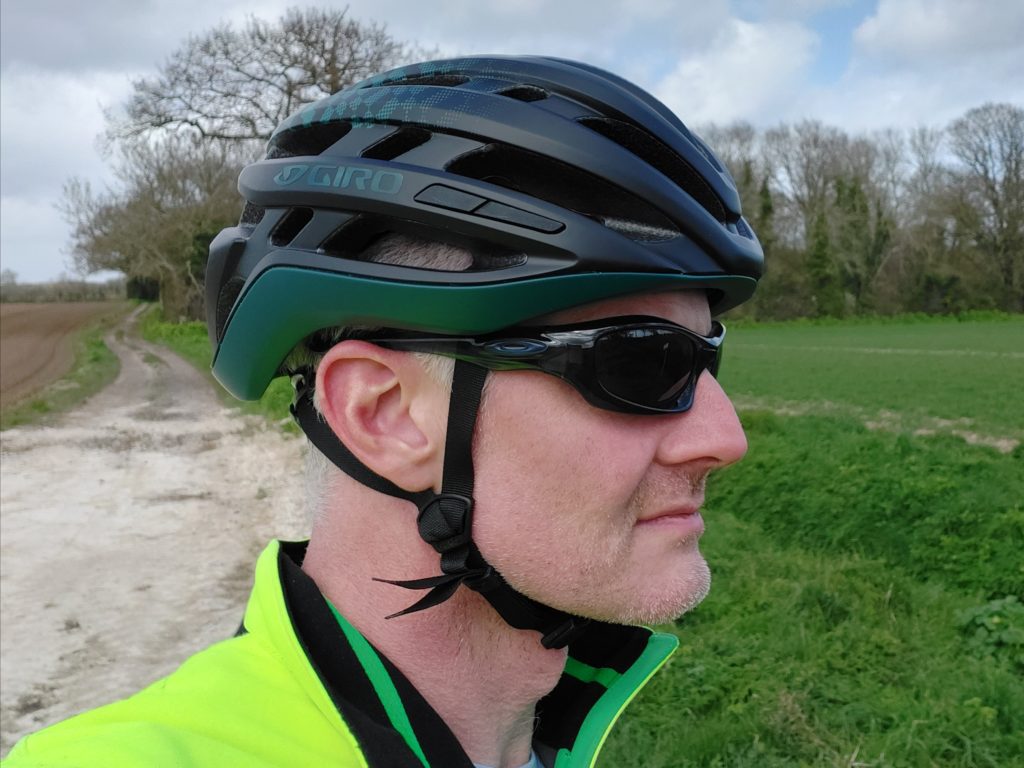
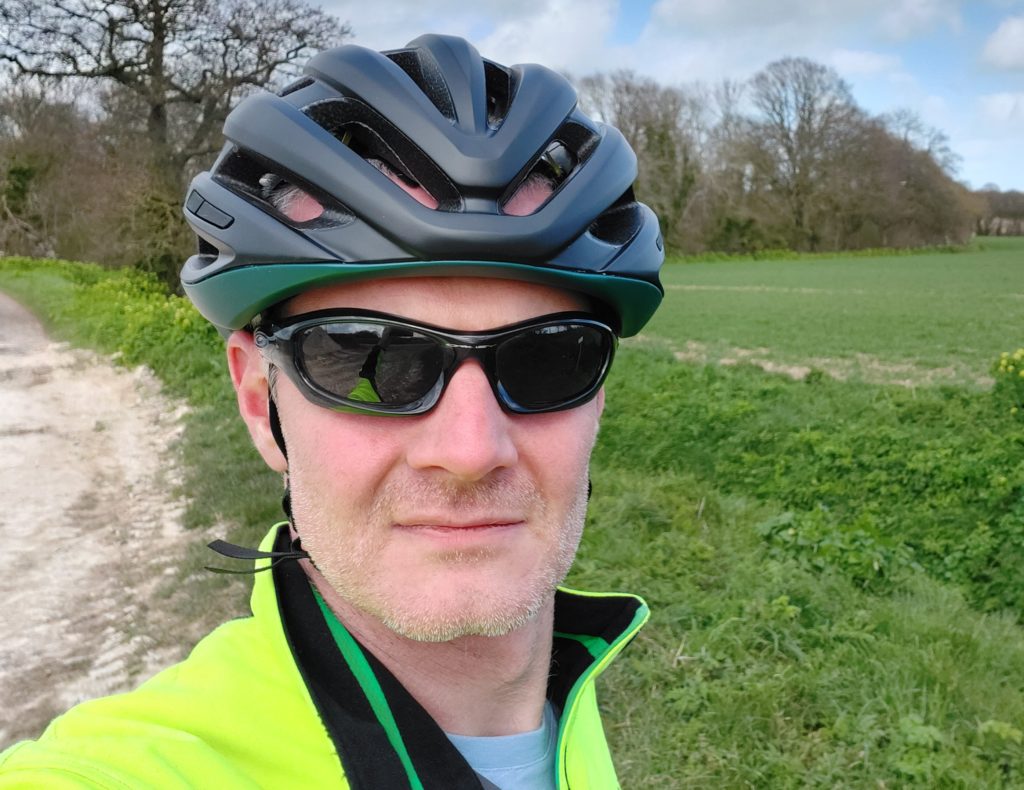
Oakley Jawbone Sunglasses
Other stuff TBC, probably beef jerky
Revelate Designs Gastank
TBC, probably sweets
Revelate Designs Jerry Can
Garmin Dakota 20
Alpkit Viper Headtorch
Spare Batteries
Blinky rear light
Sleep Kit:
Revelate Designs Viscacha
Finisterre Merino Baselayer Top
Finisterre Merino Baselayer Bottoms
Finisterre Merino Boxers
Riding Kit:
DHB ASV Merino socks
Planet X Thicky Merino Socks
Sessions Goretex Mitts
Kalas Hangar111-C6 SS Racing Jersey x2
Kalas Hangar111-C6 Racing Gilet
DHB ASV Bib Shorts
Rapha Brevet Bib Shorts
Rapha UV Arm Screens
Castelli UV Leg Screens
Giro Terraduro HV Shoes (Not in Viscacha)
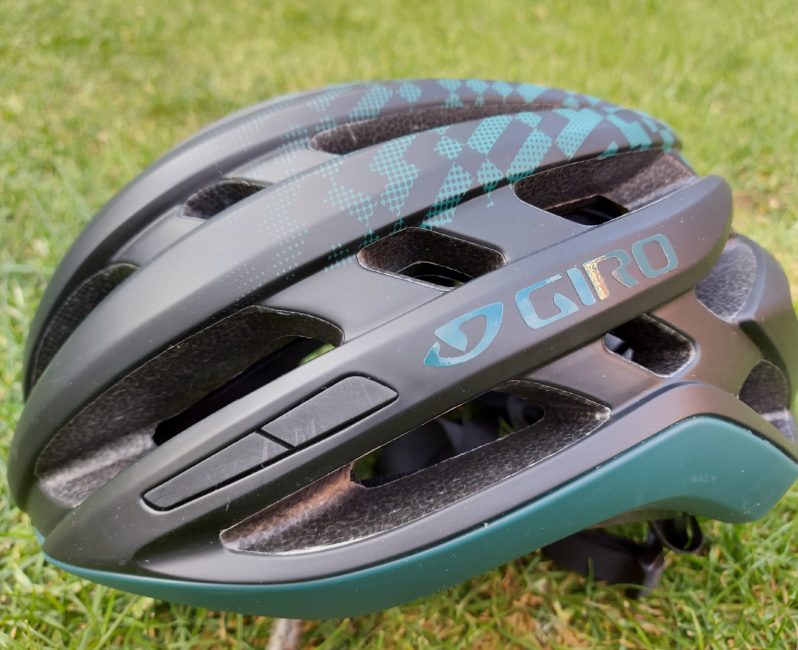
Giro Foray Helmet (Also not in Viscacha)
Wet Weather Kit:
Montane Trailblazer jacket
Gore Bikewear Powertrail shorts
DHB Aeron Rain defence leg warmers
Gore Bikewear Goretex Socks
Cold weather Kit
Polaris windproof fleece gloves
Karrimor Down Jacket
Uniqlo Down Gilet
Revelate Designs Moonlander (!) Frame bag
Side pocket:
Easton Carbon Pole
Alpkit Y Beam pegs
Top pocket:
Wash kit (Soap, Toothbrush & paste, hand gel, baby wipes)
Medical kit (Chamois cream, plasters, Sudocrem, Vitamin I, Antacids, Immodium, Water purification tablets)
Lezyne Micro Floor Drive HV Pump
Retractable Cable lock x 2
Bottom Pocket:
Innertubes x 2
Lifeline Dry Chain Lube & Rag
Tool Roll (Topeak Mini 20 Multi-tool, Lezyne patch kit, Tyre levers, zip-ties, gorilla tape)
Superstar Sintered Pads x 4 pairs
Water carrying kit
Free Parable Gorilla Clips x 3 (Under Downtube and one on each fork leg)
Free Parable Gorilla Cage under downtube
Elite Custom Cages x 2 (One on each fork leg)
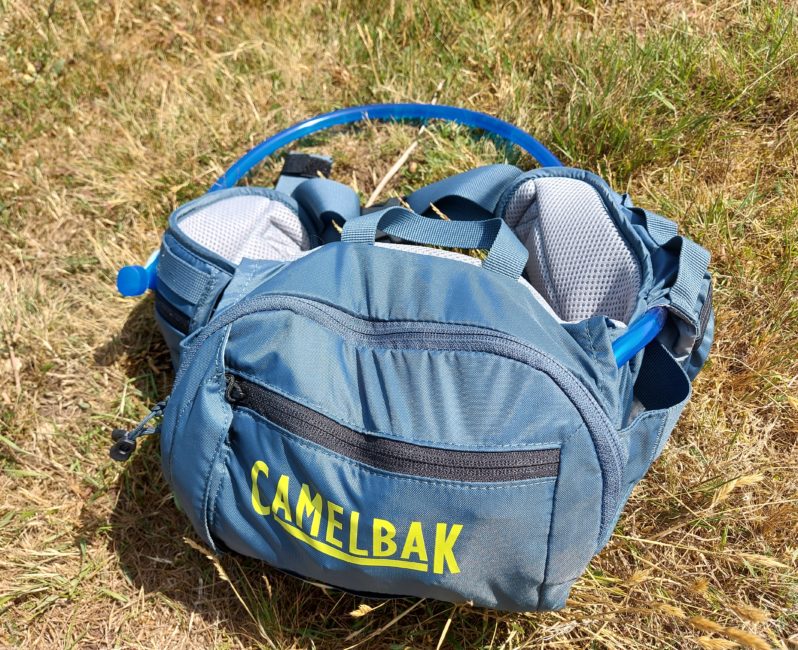
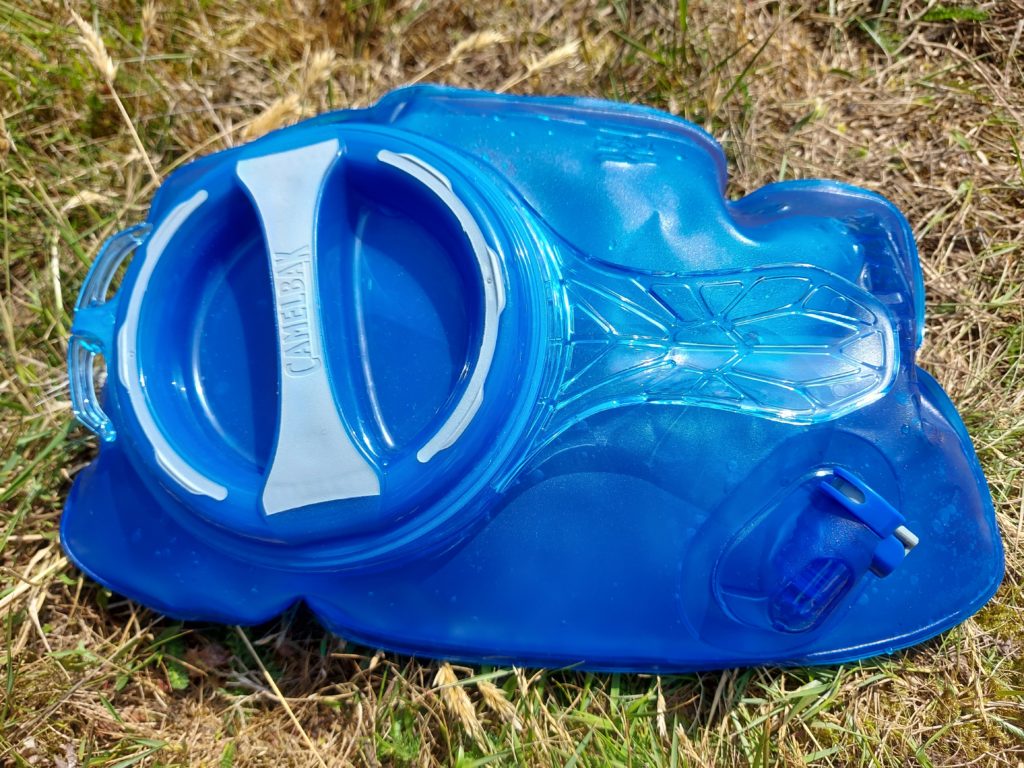
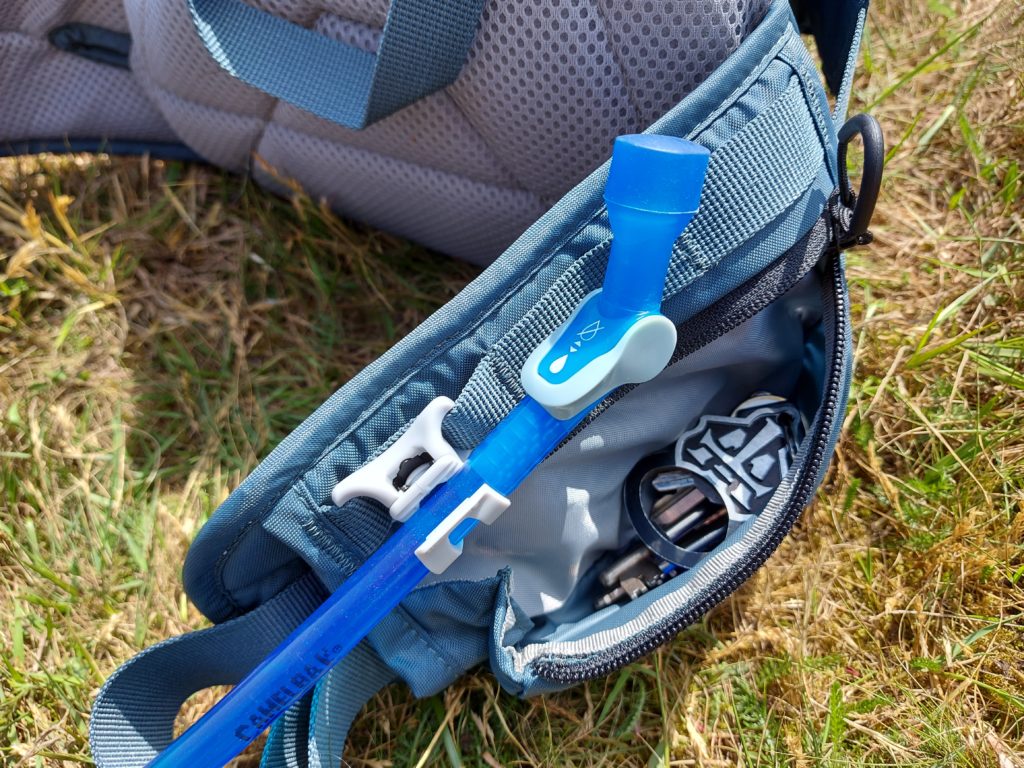
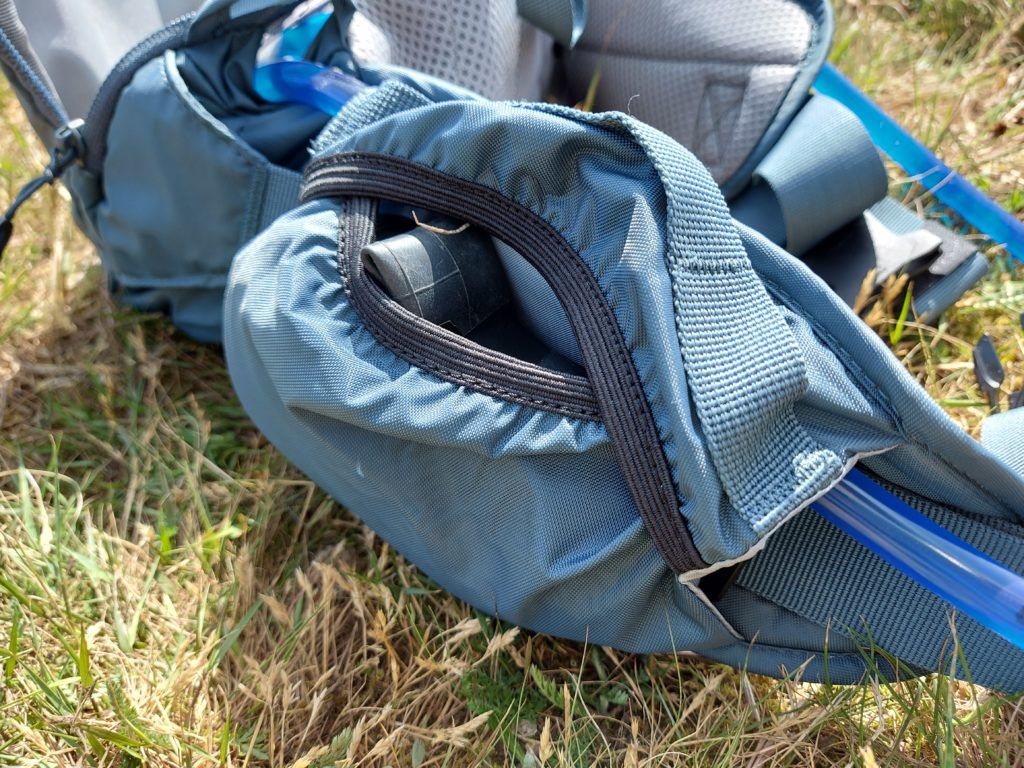
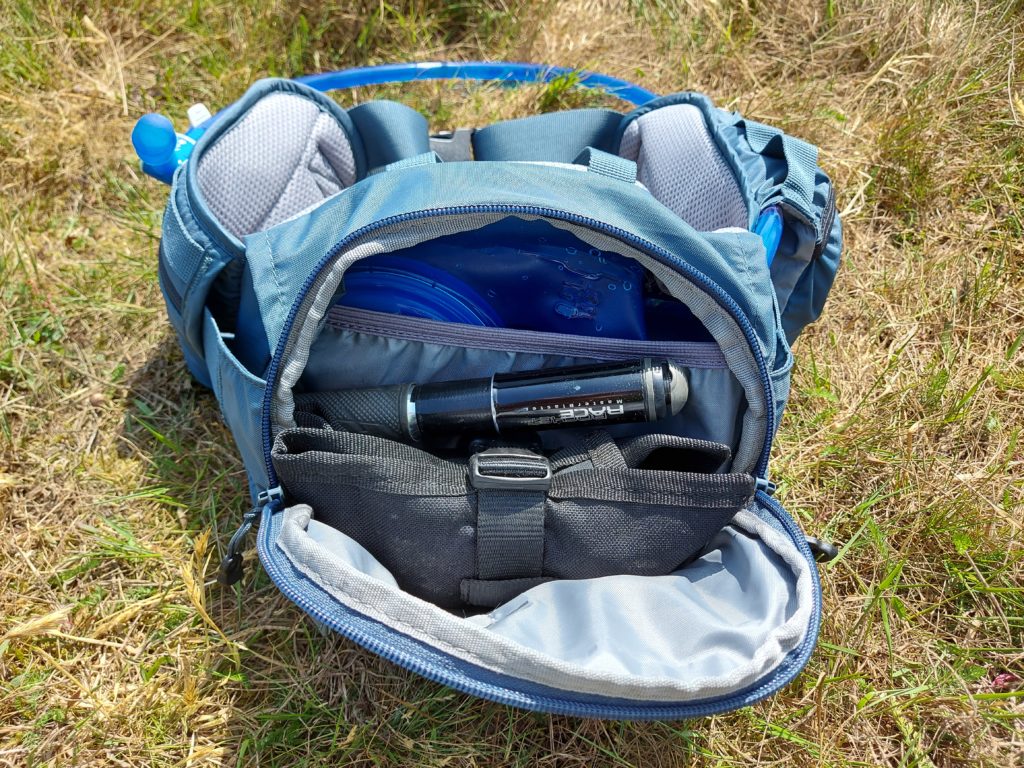
Wingnut Hyper 2.5 w. 2 litre Camelback bladder
Mountain Warehouse collapsable 500ml bottle x 2
High 5 750ml bottle
Travel Tap 800ml bottle with integrated filter
Electronics
Aforementioned Samsung Galaxy S7 Edge Smartphone 32gb w. 128gb SD Storage
Garmin Edge 810
Garmin ANT HRM
Garmin Dakota 20
Spot Gen 3 GPS Tracking device
Halfords 5 function cycle computer
Energizer Lithium Batteries where appropriate
Clothes on a one-way trip to Banff
Levi’s Engineered Jeans (Yes, really)
Poloshirt
Least favourite socks and boxers
Tired old All-Star low tops
Bear Deterrents
Gruffalo Mascot