Search This Blog

Sunday 30 December 2018

Fatbiking in Lapland with Roll Outdoors


A Winter’s Tale

I last visited Rovaniemi in 2015, to take part in the eponymous fatbike race and had a fantastic time. Not least because I got to ride in ideal fatbike conditions, something we can so rarely do in the UK.

This Christmas I revisited Rovaniemi but, as I would only be there a few days, I had to leave my trusty Surly Moonlander at home. Hmmm.

A quick online search revealed that fatbikes have really taken off in Rovaniemi over the last few years. So hiring a bike would be a viable option. Now we’re talking!

Roll Outdoors riding in Lapland

You wouldn’t want to venture out here without the experience of a guide.

Now is the winter of our discontent…

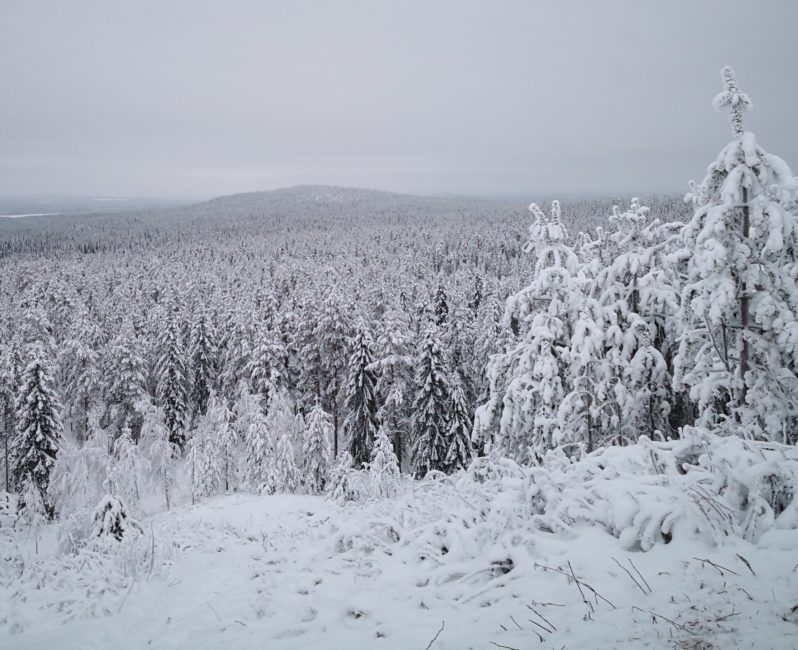
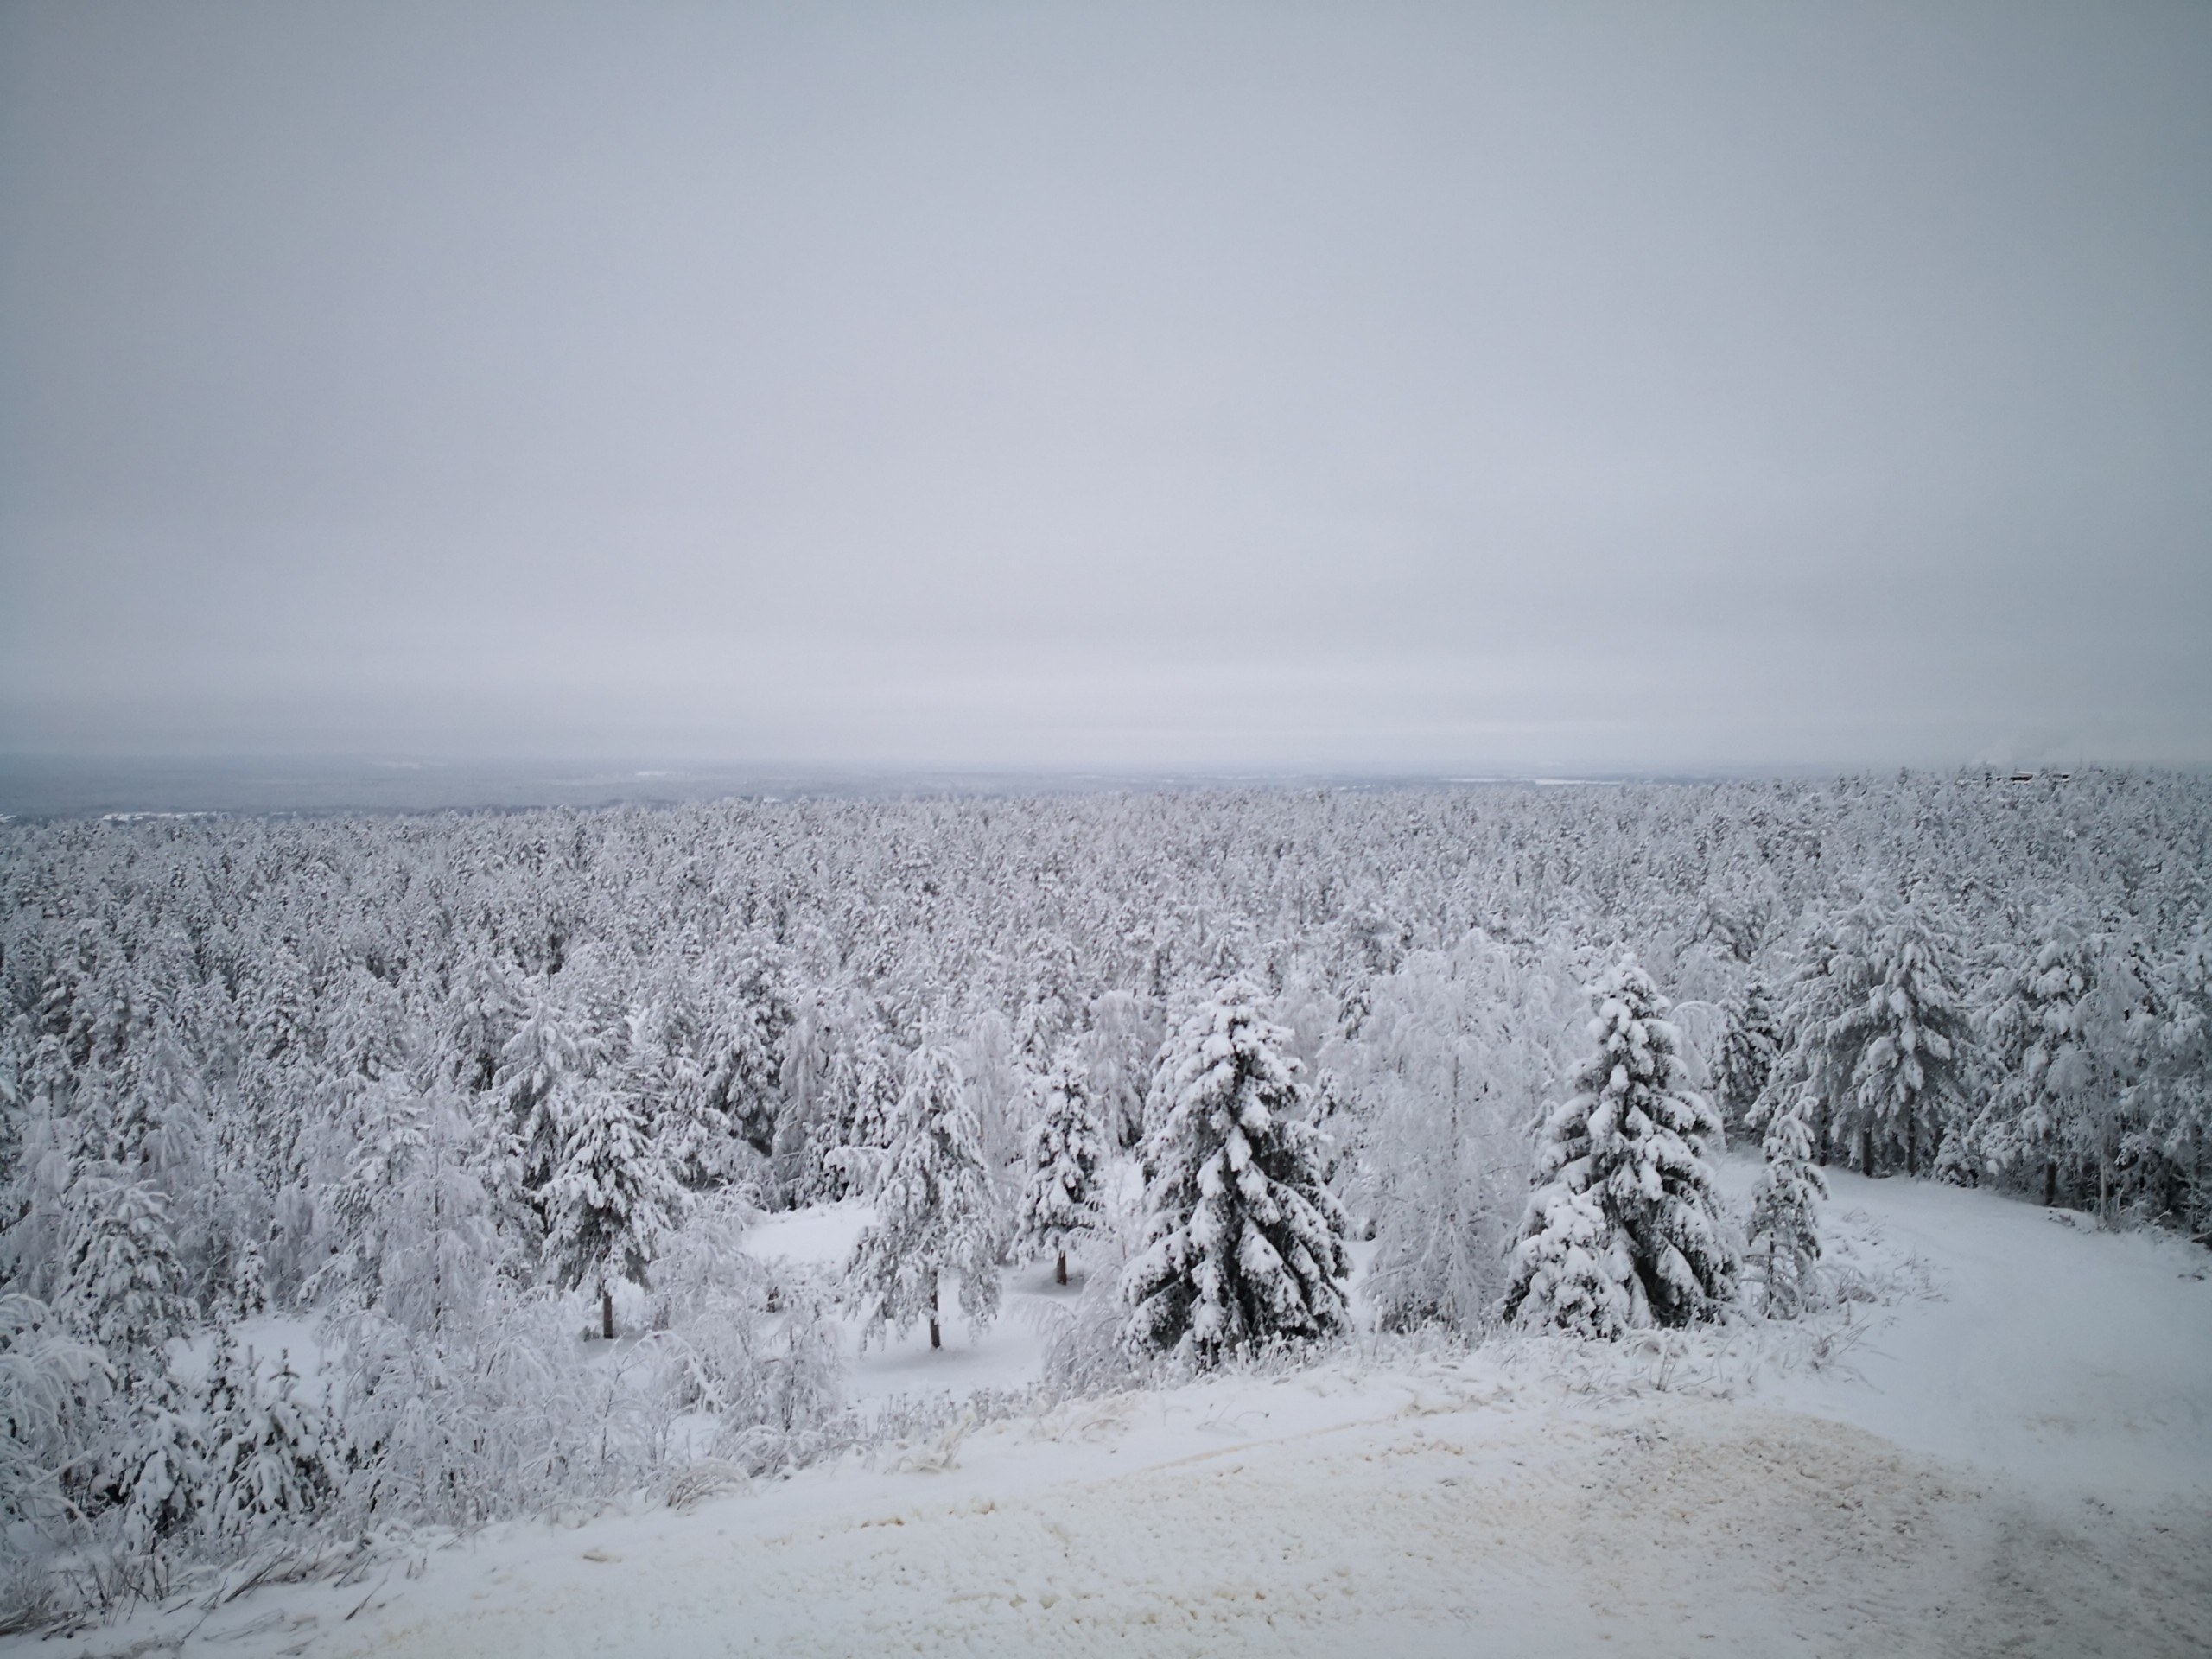
If you’ve been following the Lapland weather patterns this year (as one does) you’ll have noticed the later than normal arrival of the usual snow and sub-zero temperatures.

The river that serves as the start, and first section of the race series, was frozen over but all over town, signs warned people to stay off the thin ice. As I only had limited time, and with all of the riding areas I know being off limits, I decided to enlist the help of some local experts.

Having seen some awful rental BSO fatbikes rolling around town, I decided to visit Roll Outdoors. Their website promised the latest Canyon and Cube fatbikes and a whole host of route options. This was more like it.

I hooked up with co-founder Johannes, to discuss important stuff such as the sort of terrain I wanted to ride, my riding ability and fitness level. Taking the prevailing conditions into account, he recommended a route around Ounasvarra, taking in the summit of Tottorakka. It had seen fresh snow and featured singletrack and technical sections….uh oh.

Roll Outdoors fatbike fleet

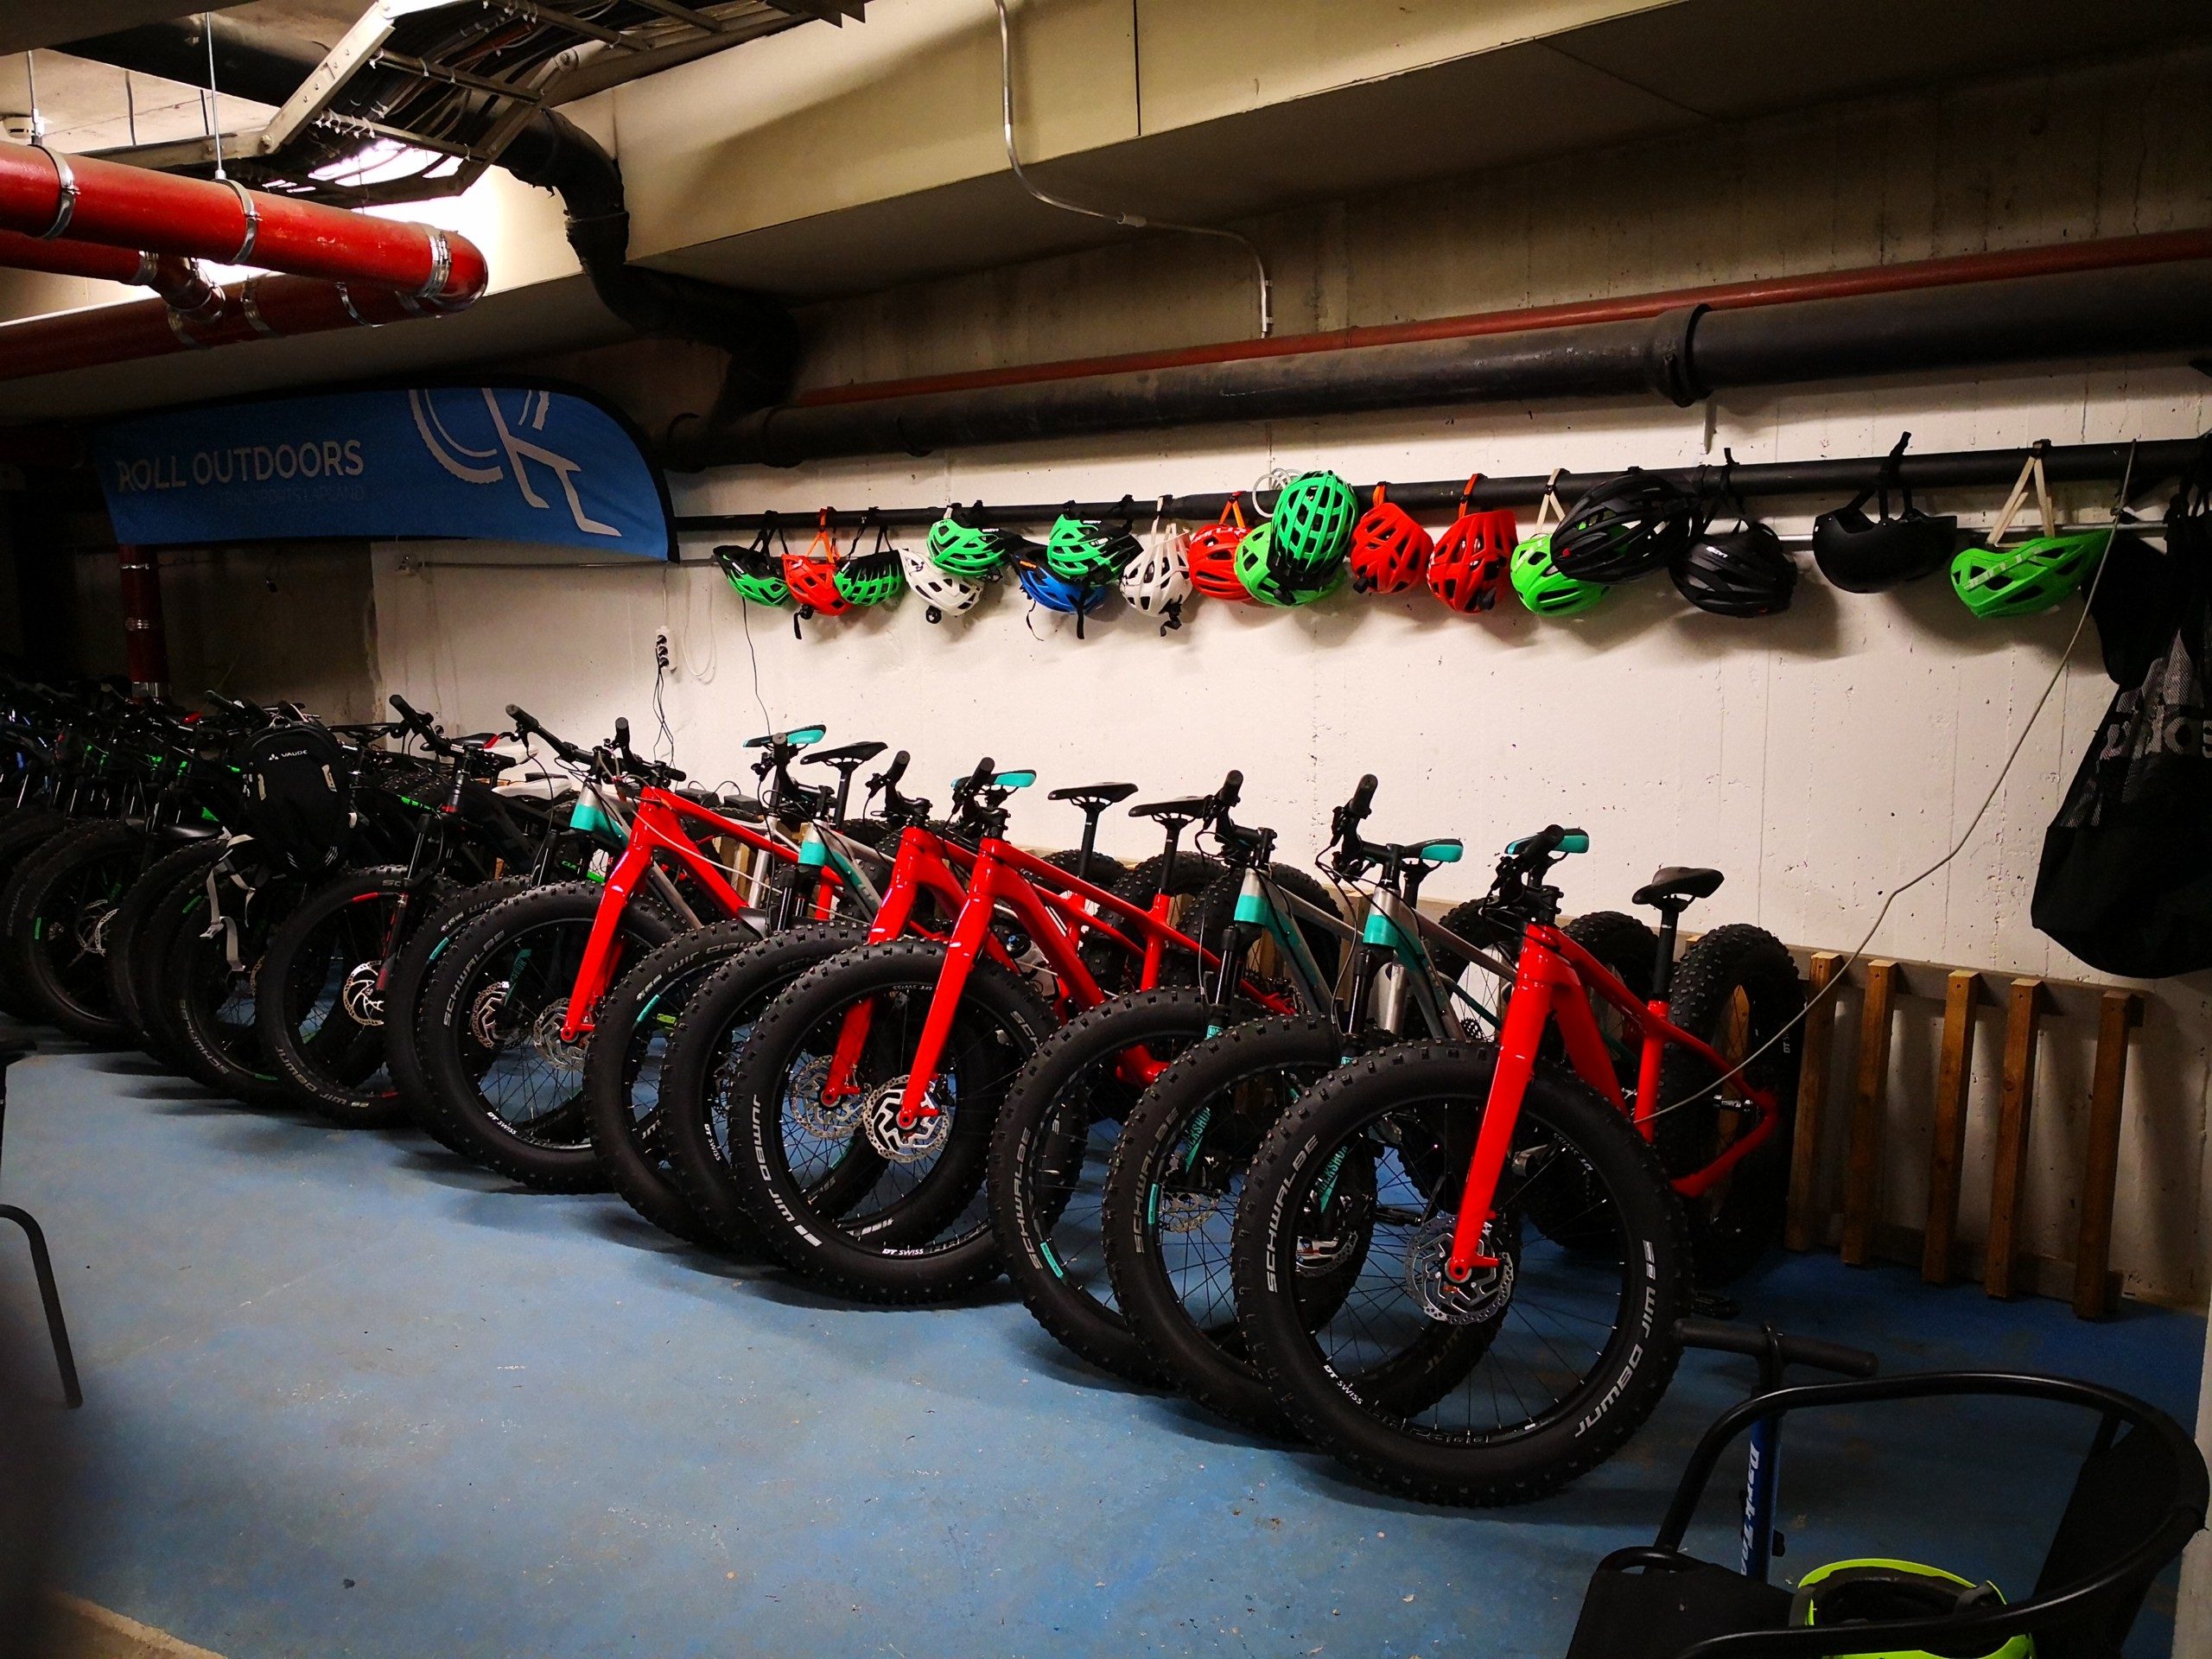
If fat is your thing, Roll Outdoors have no shortage of quality bikes to choose from.

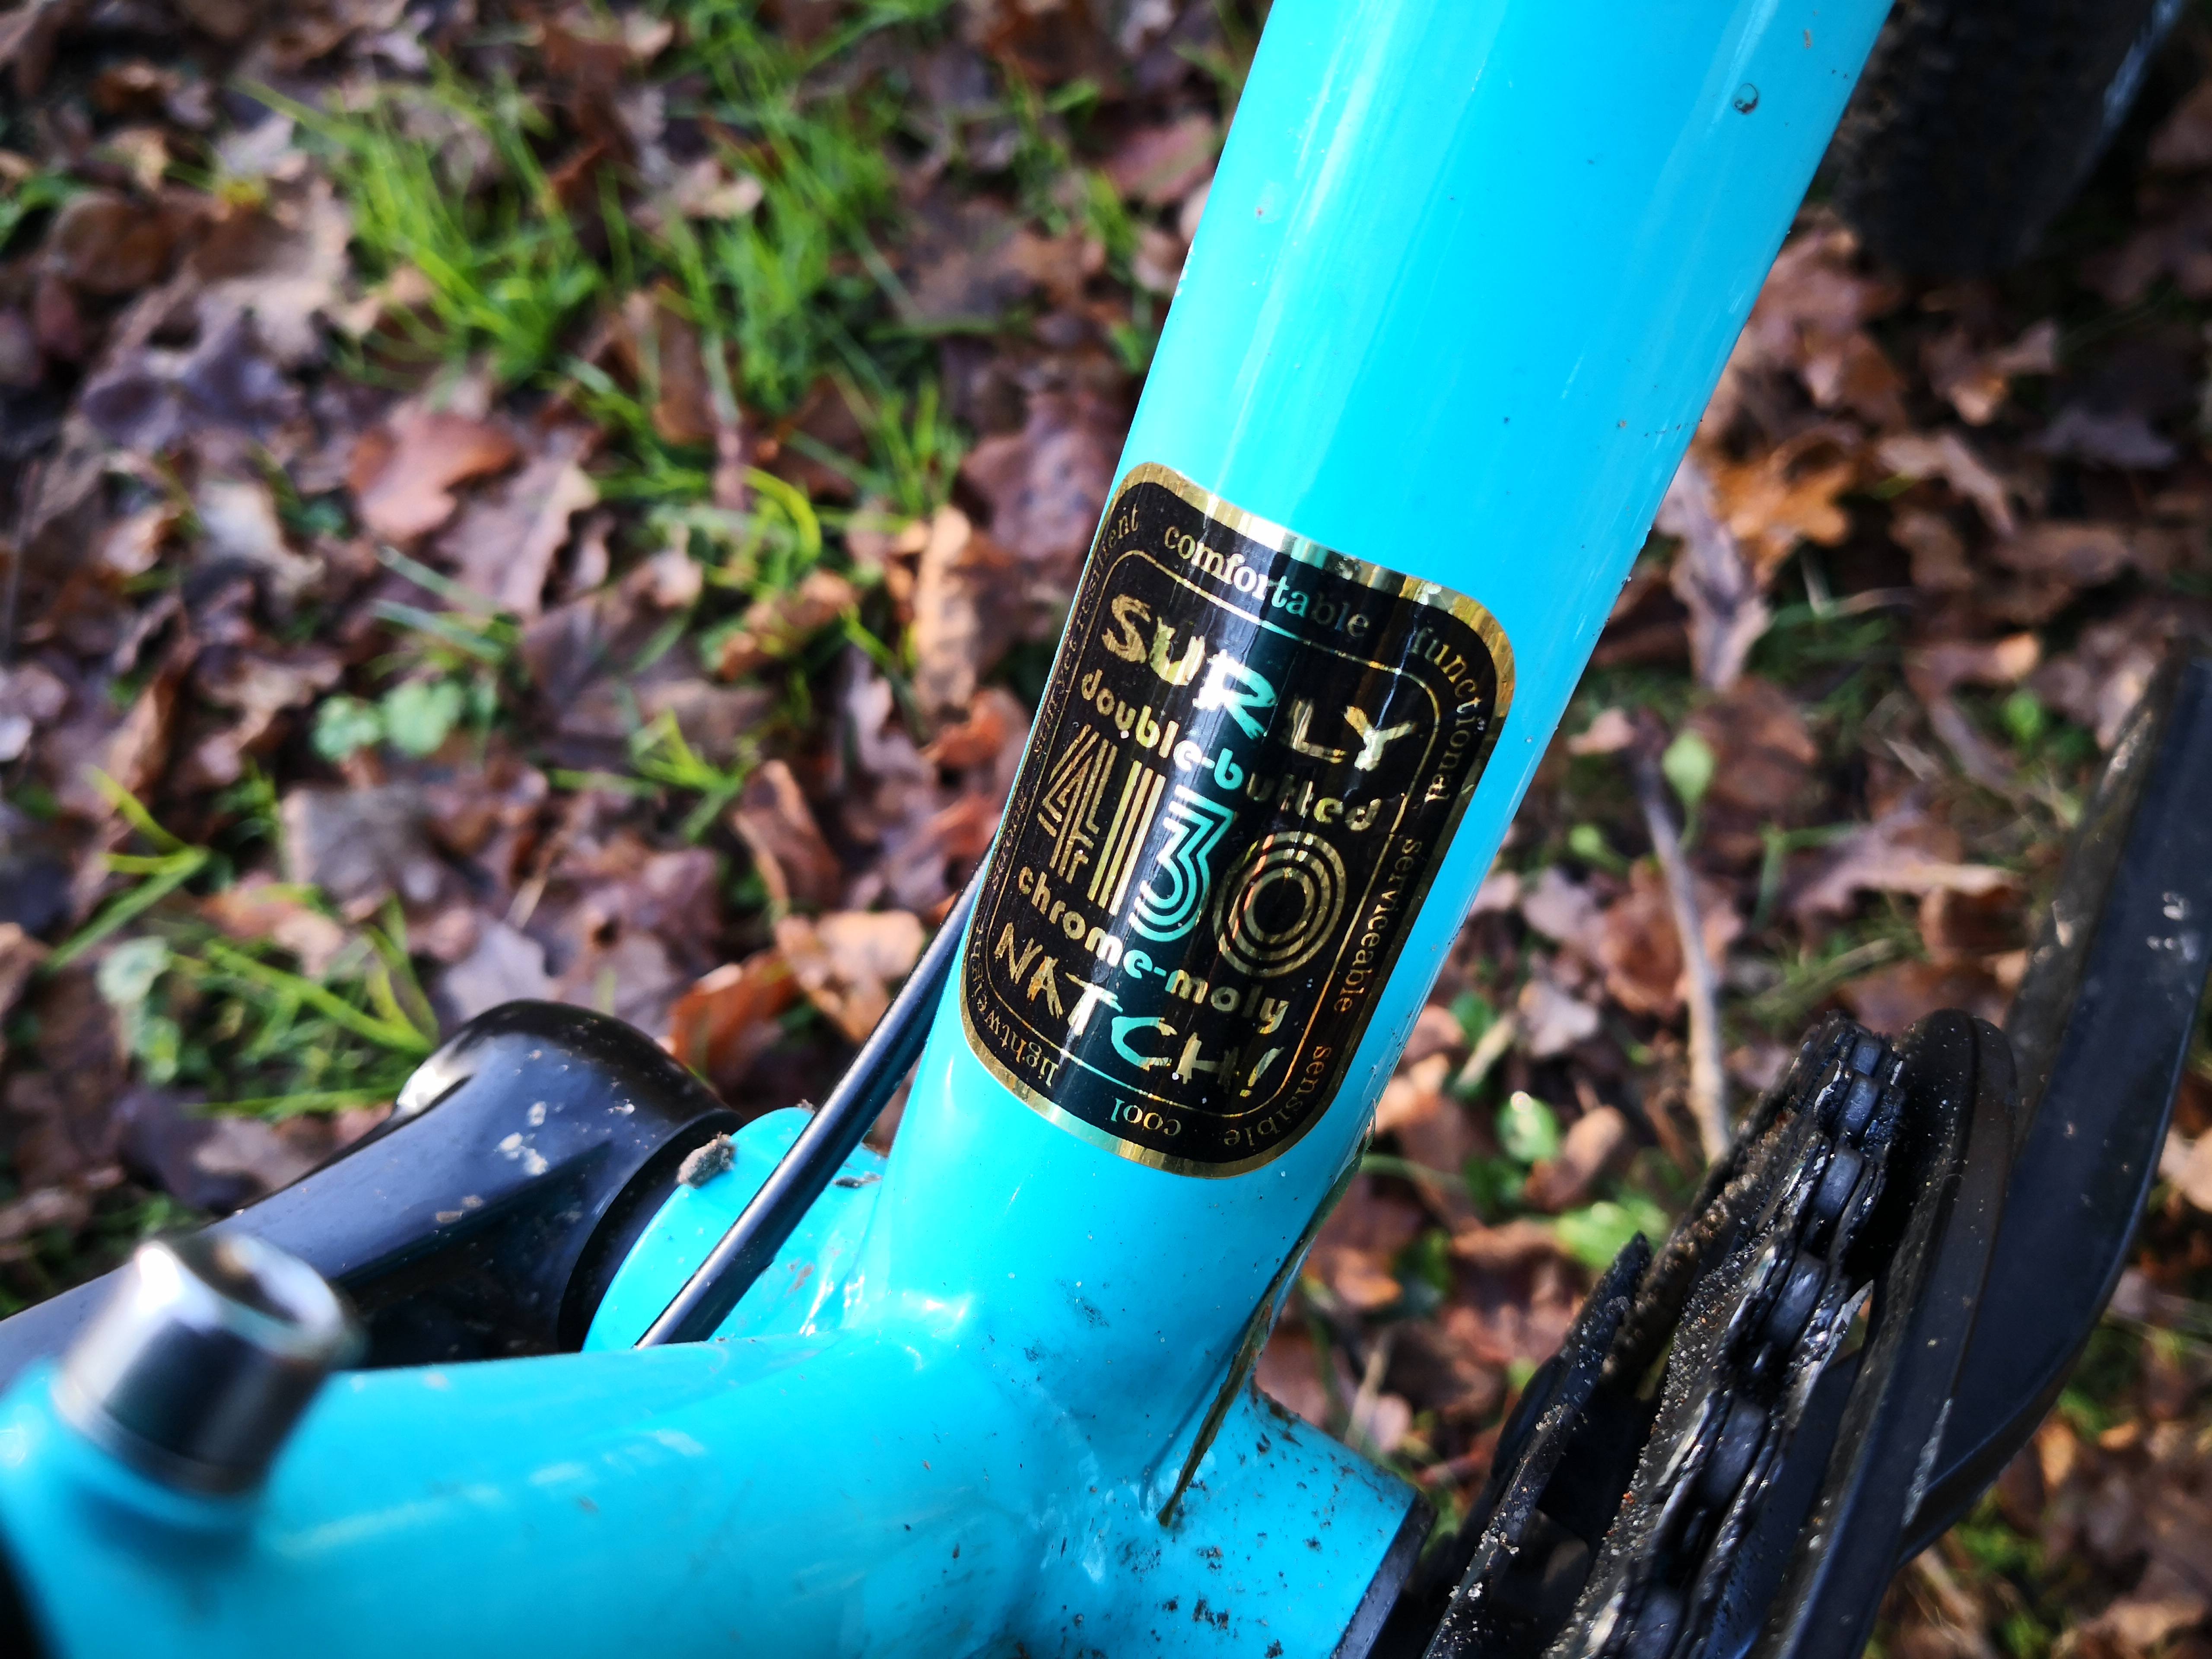
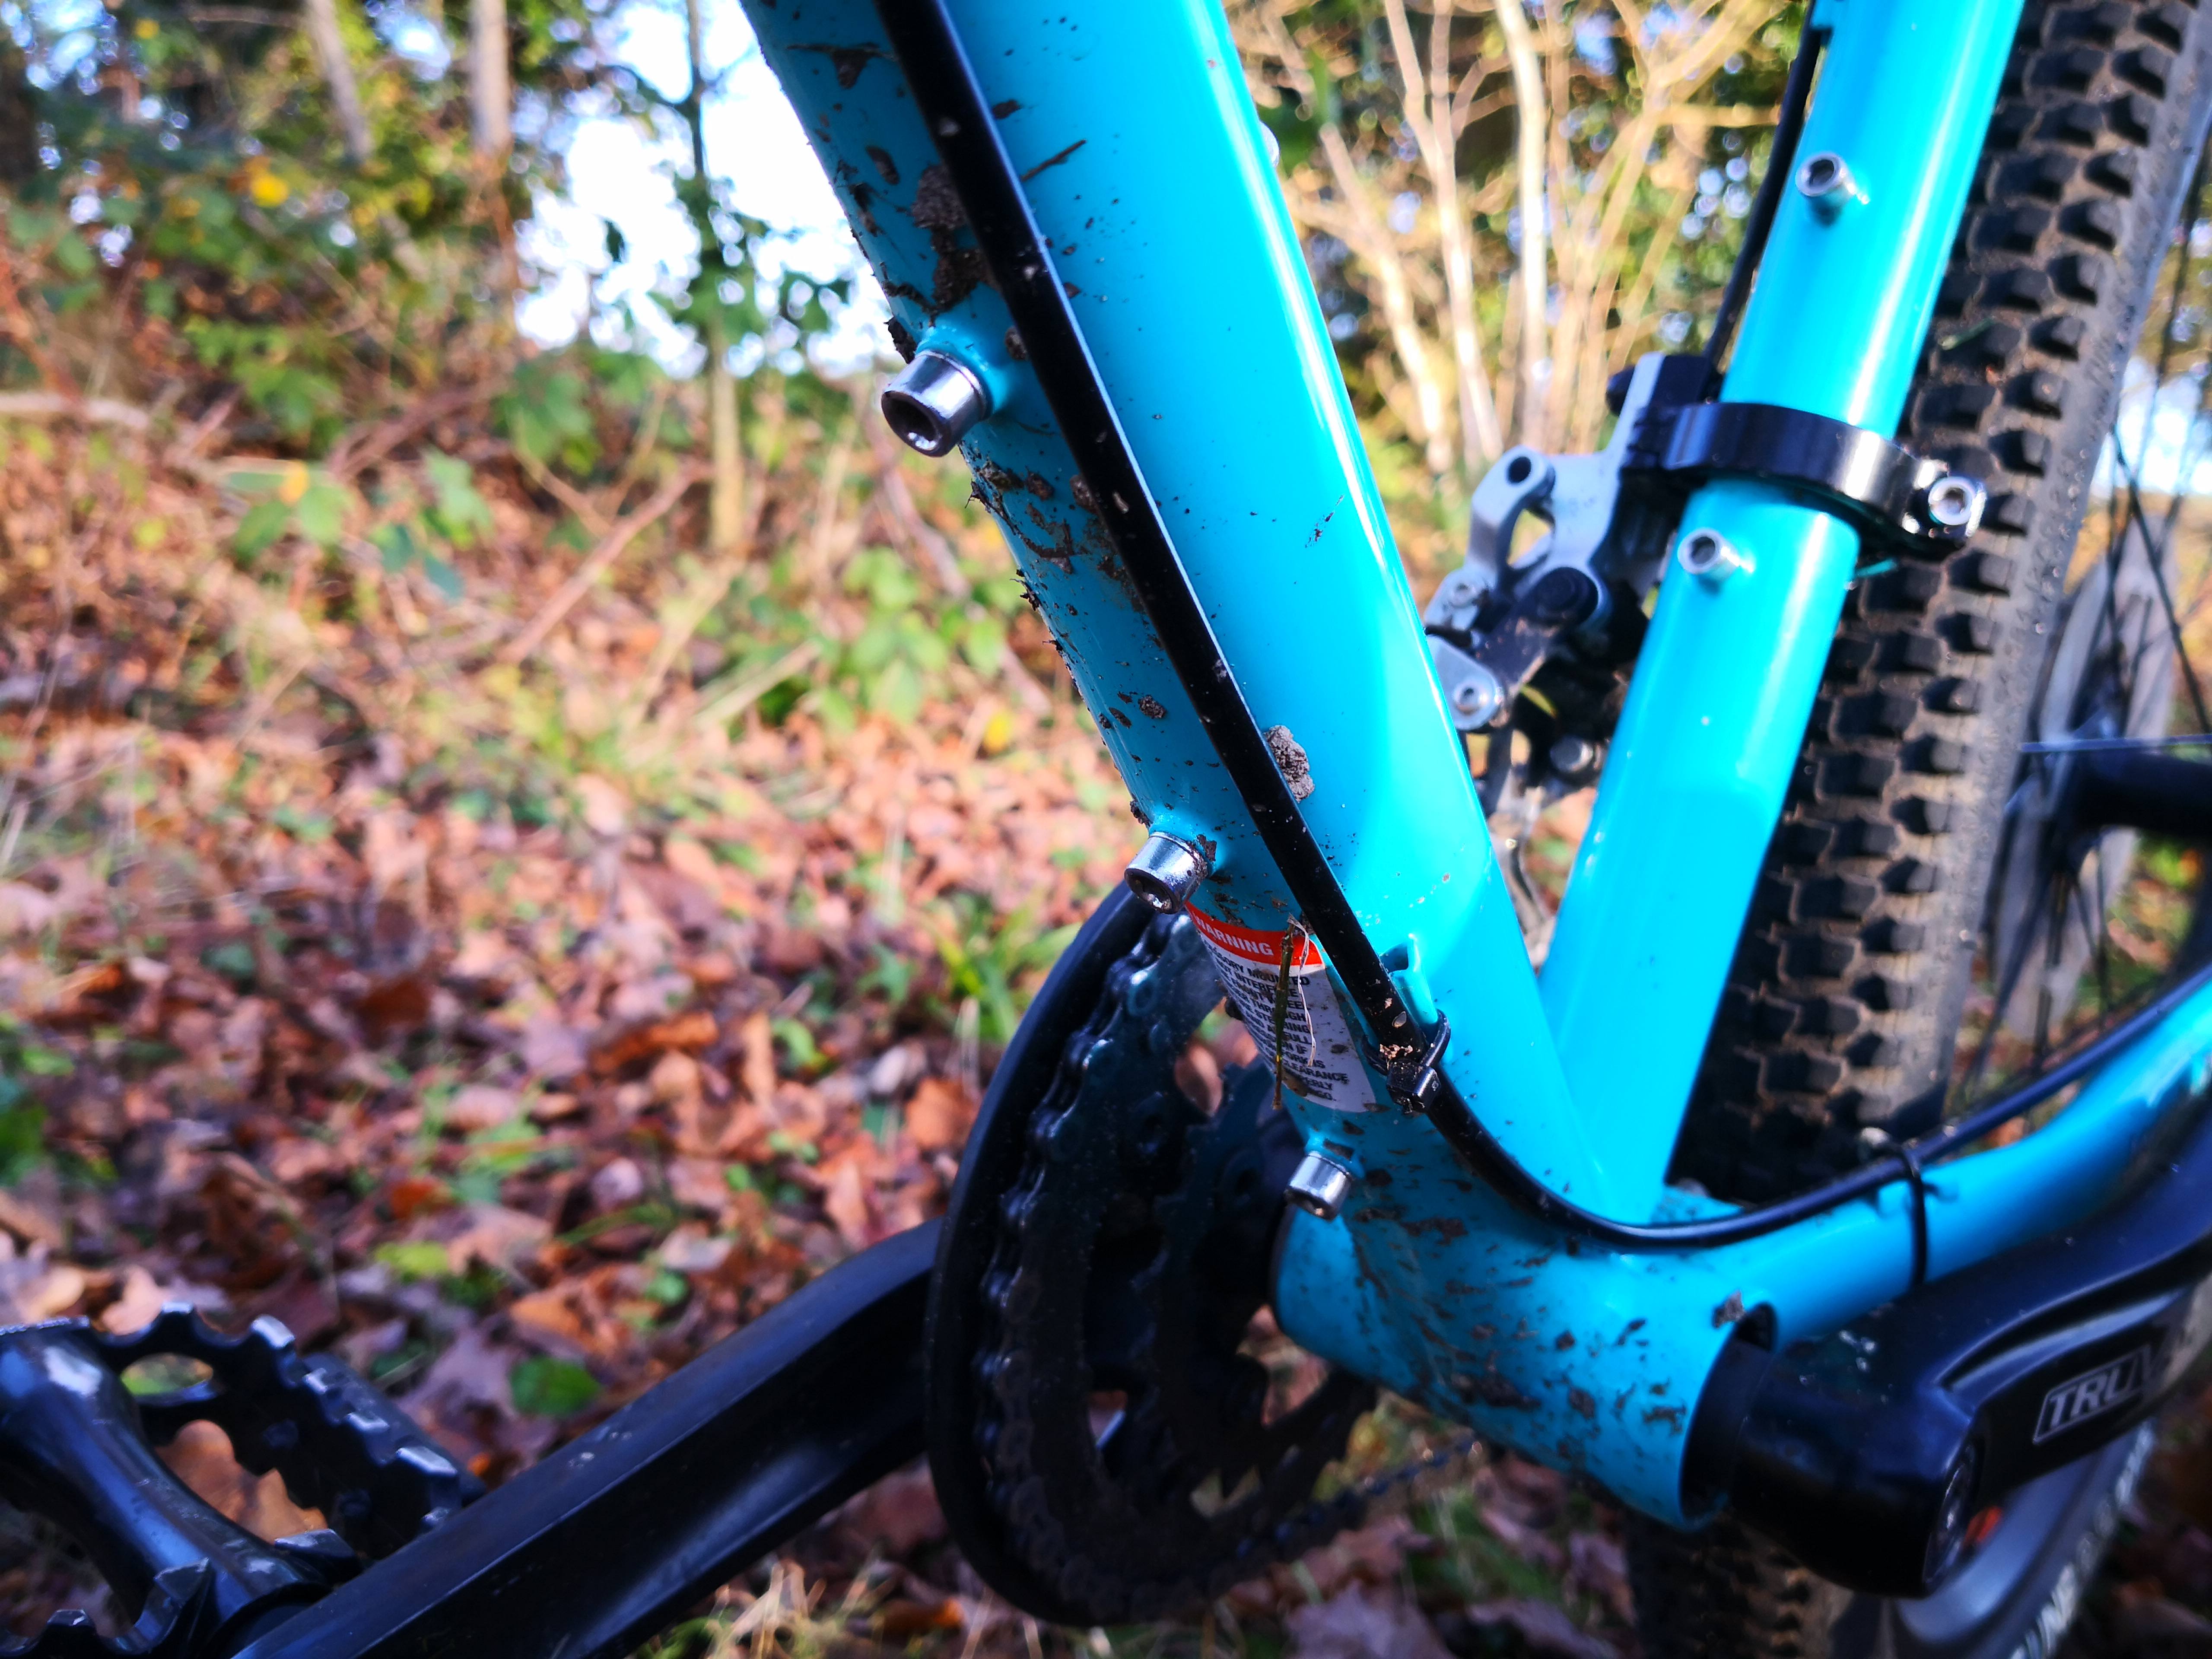
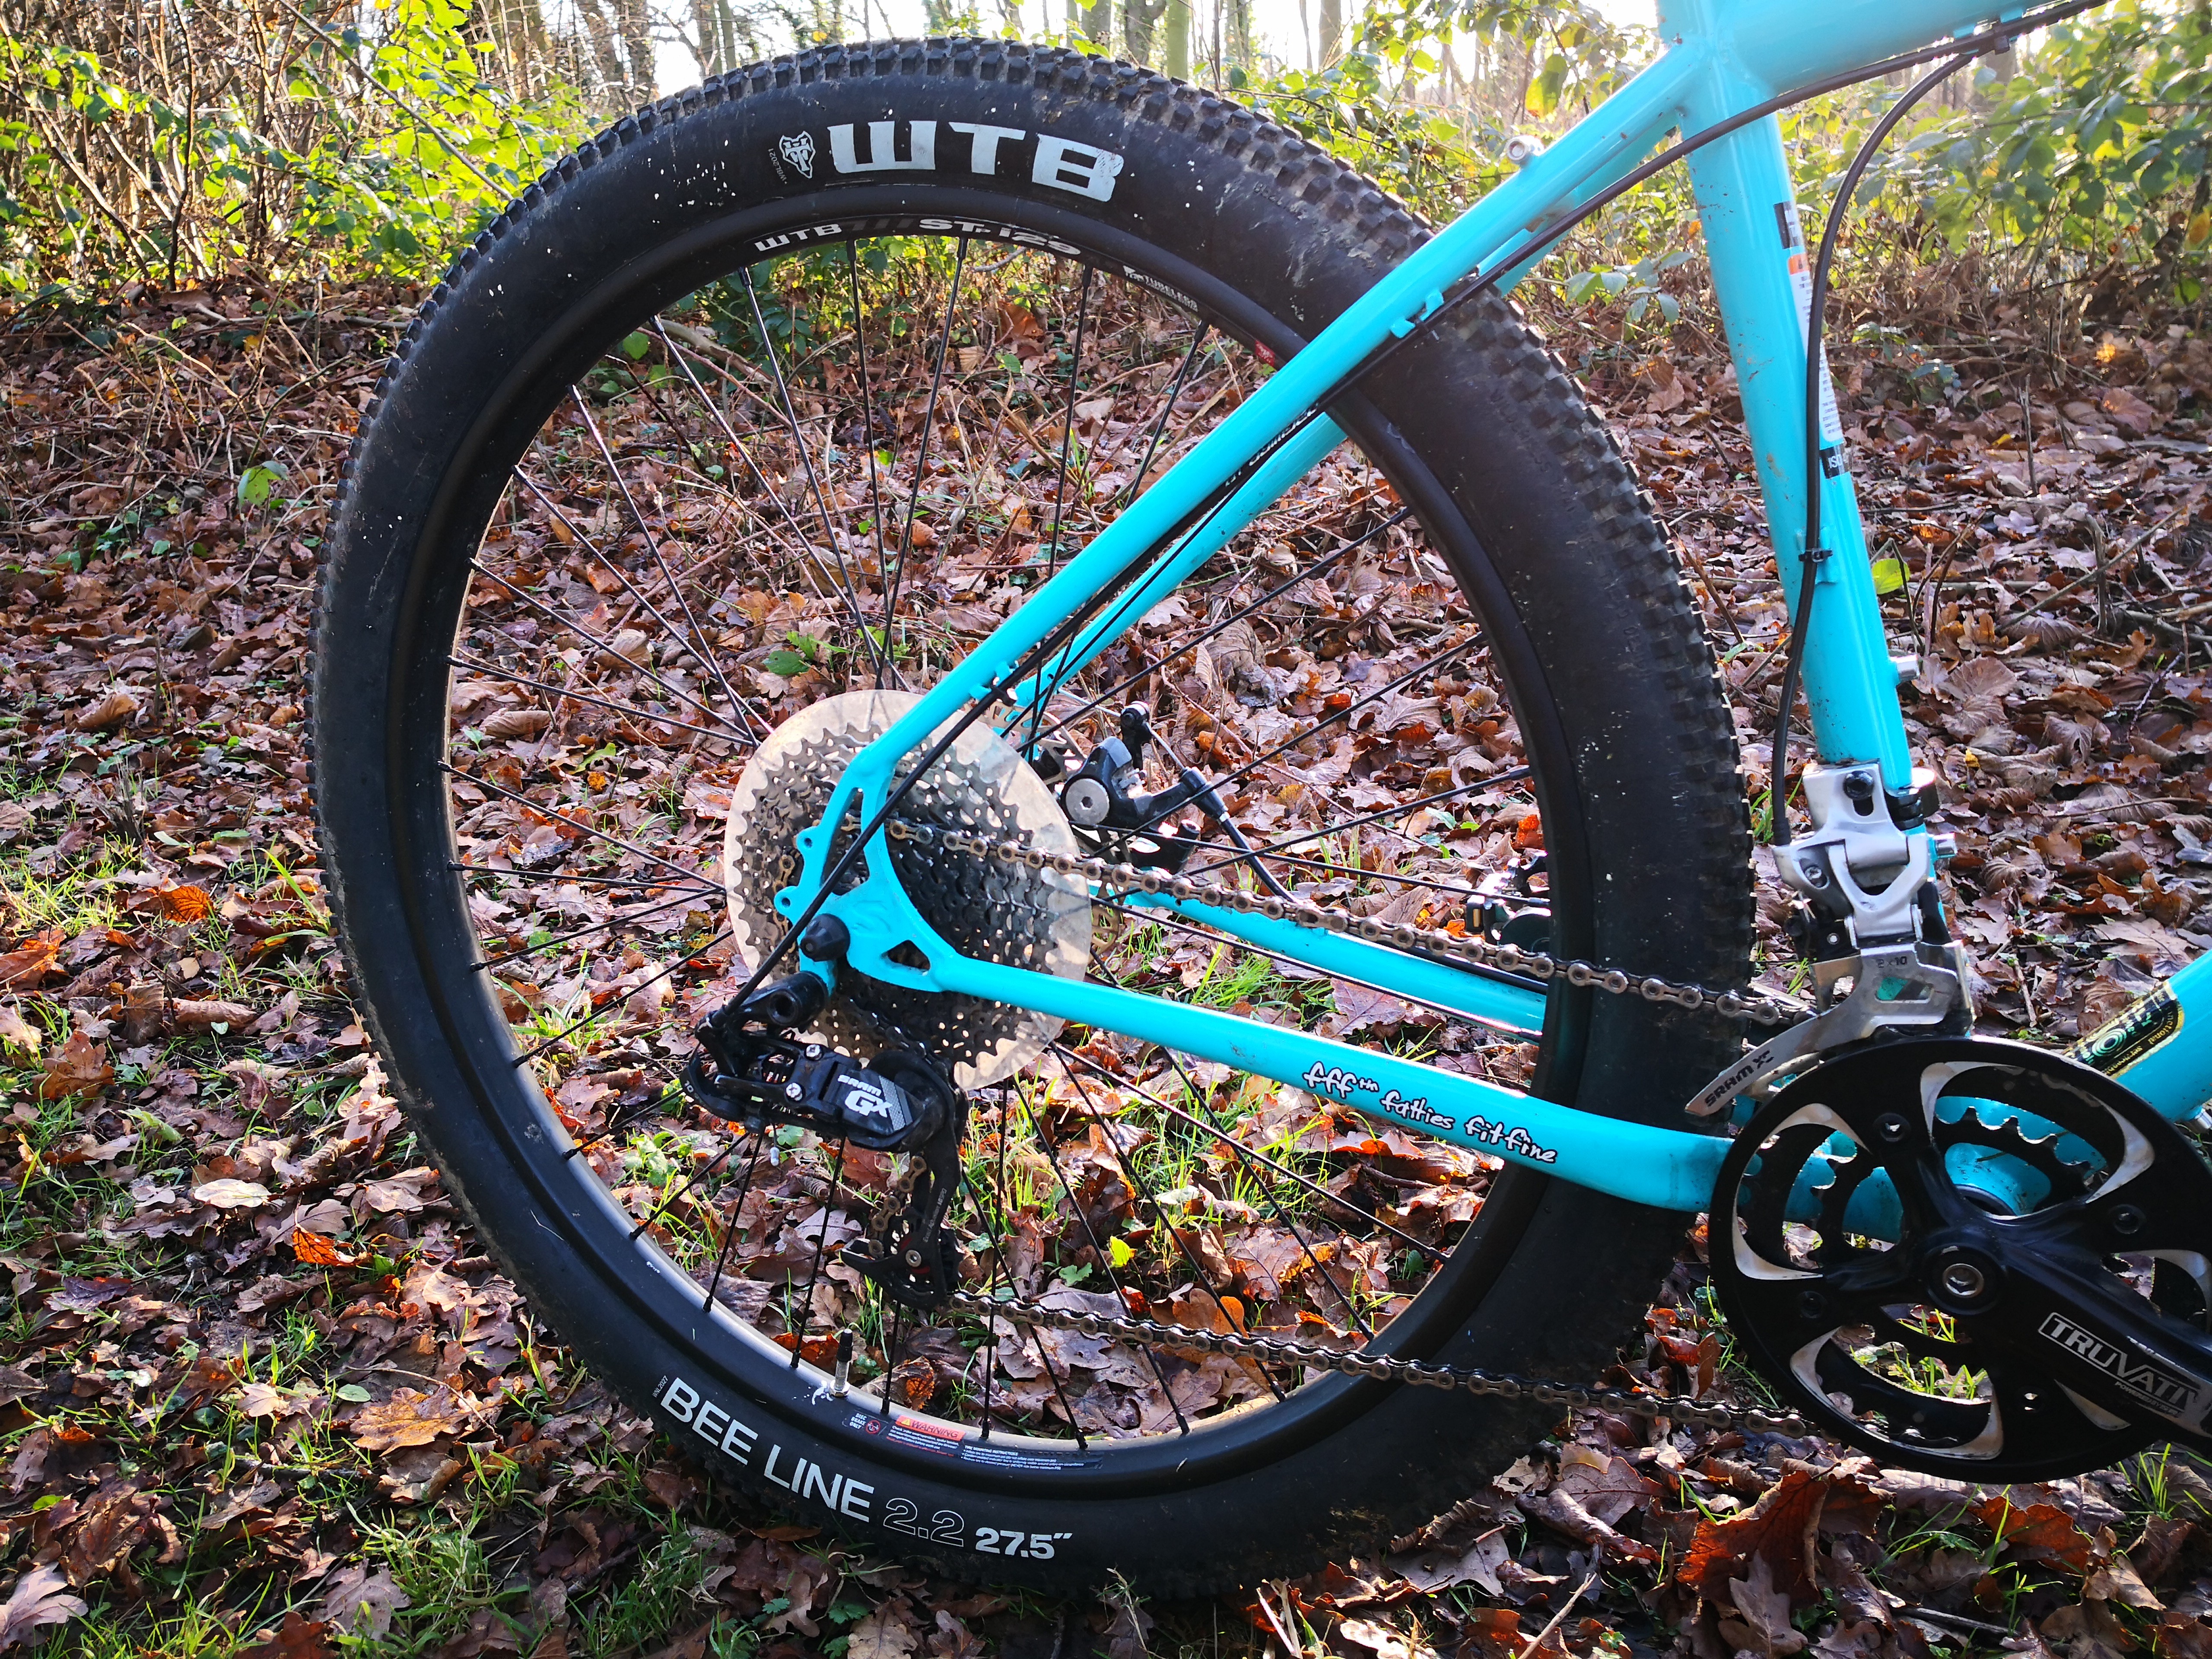
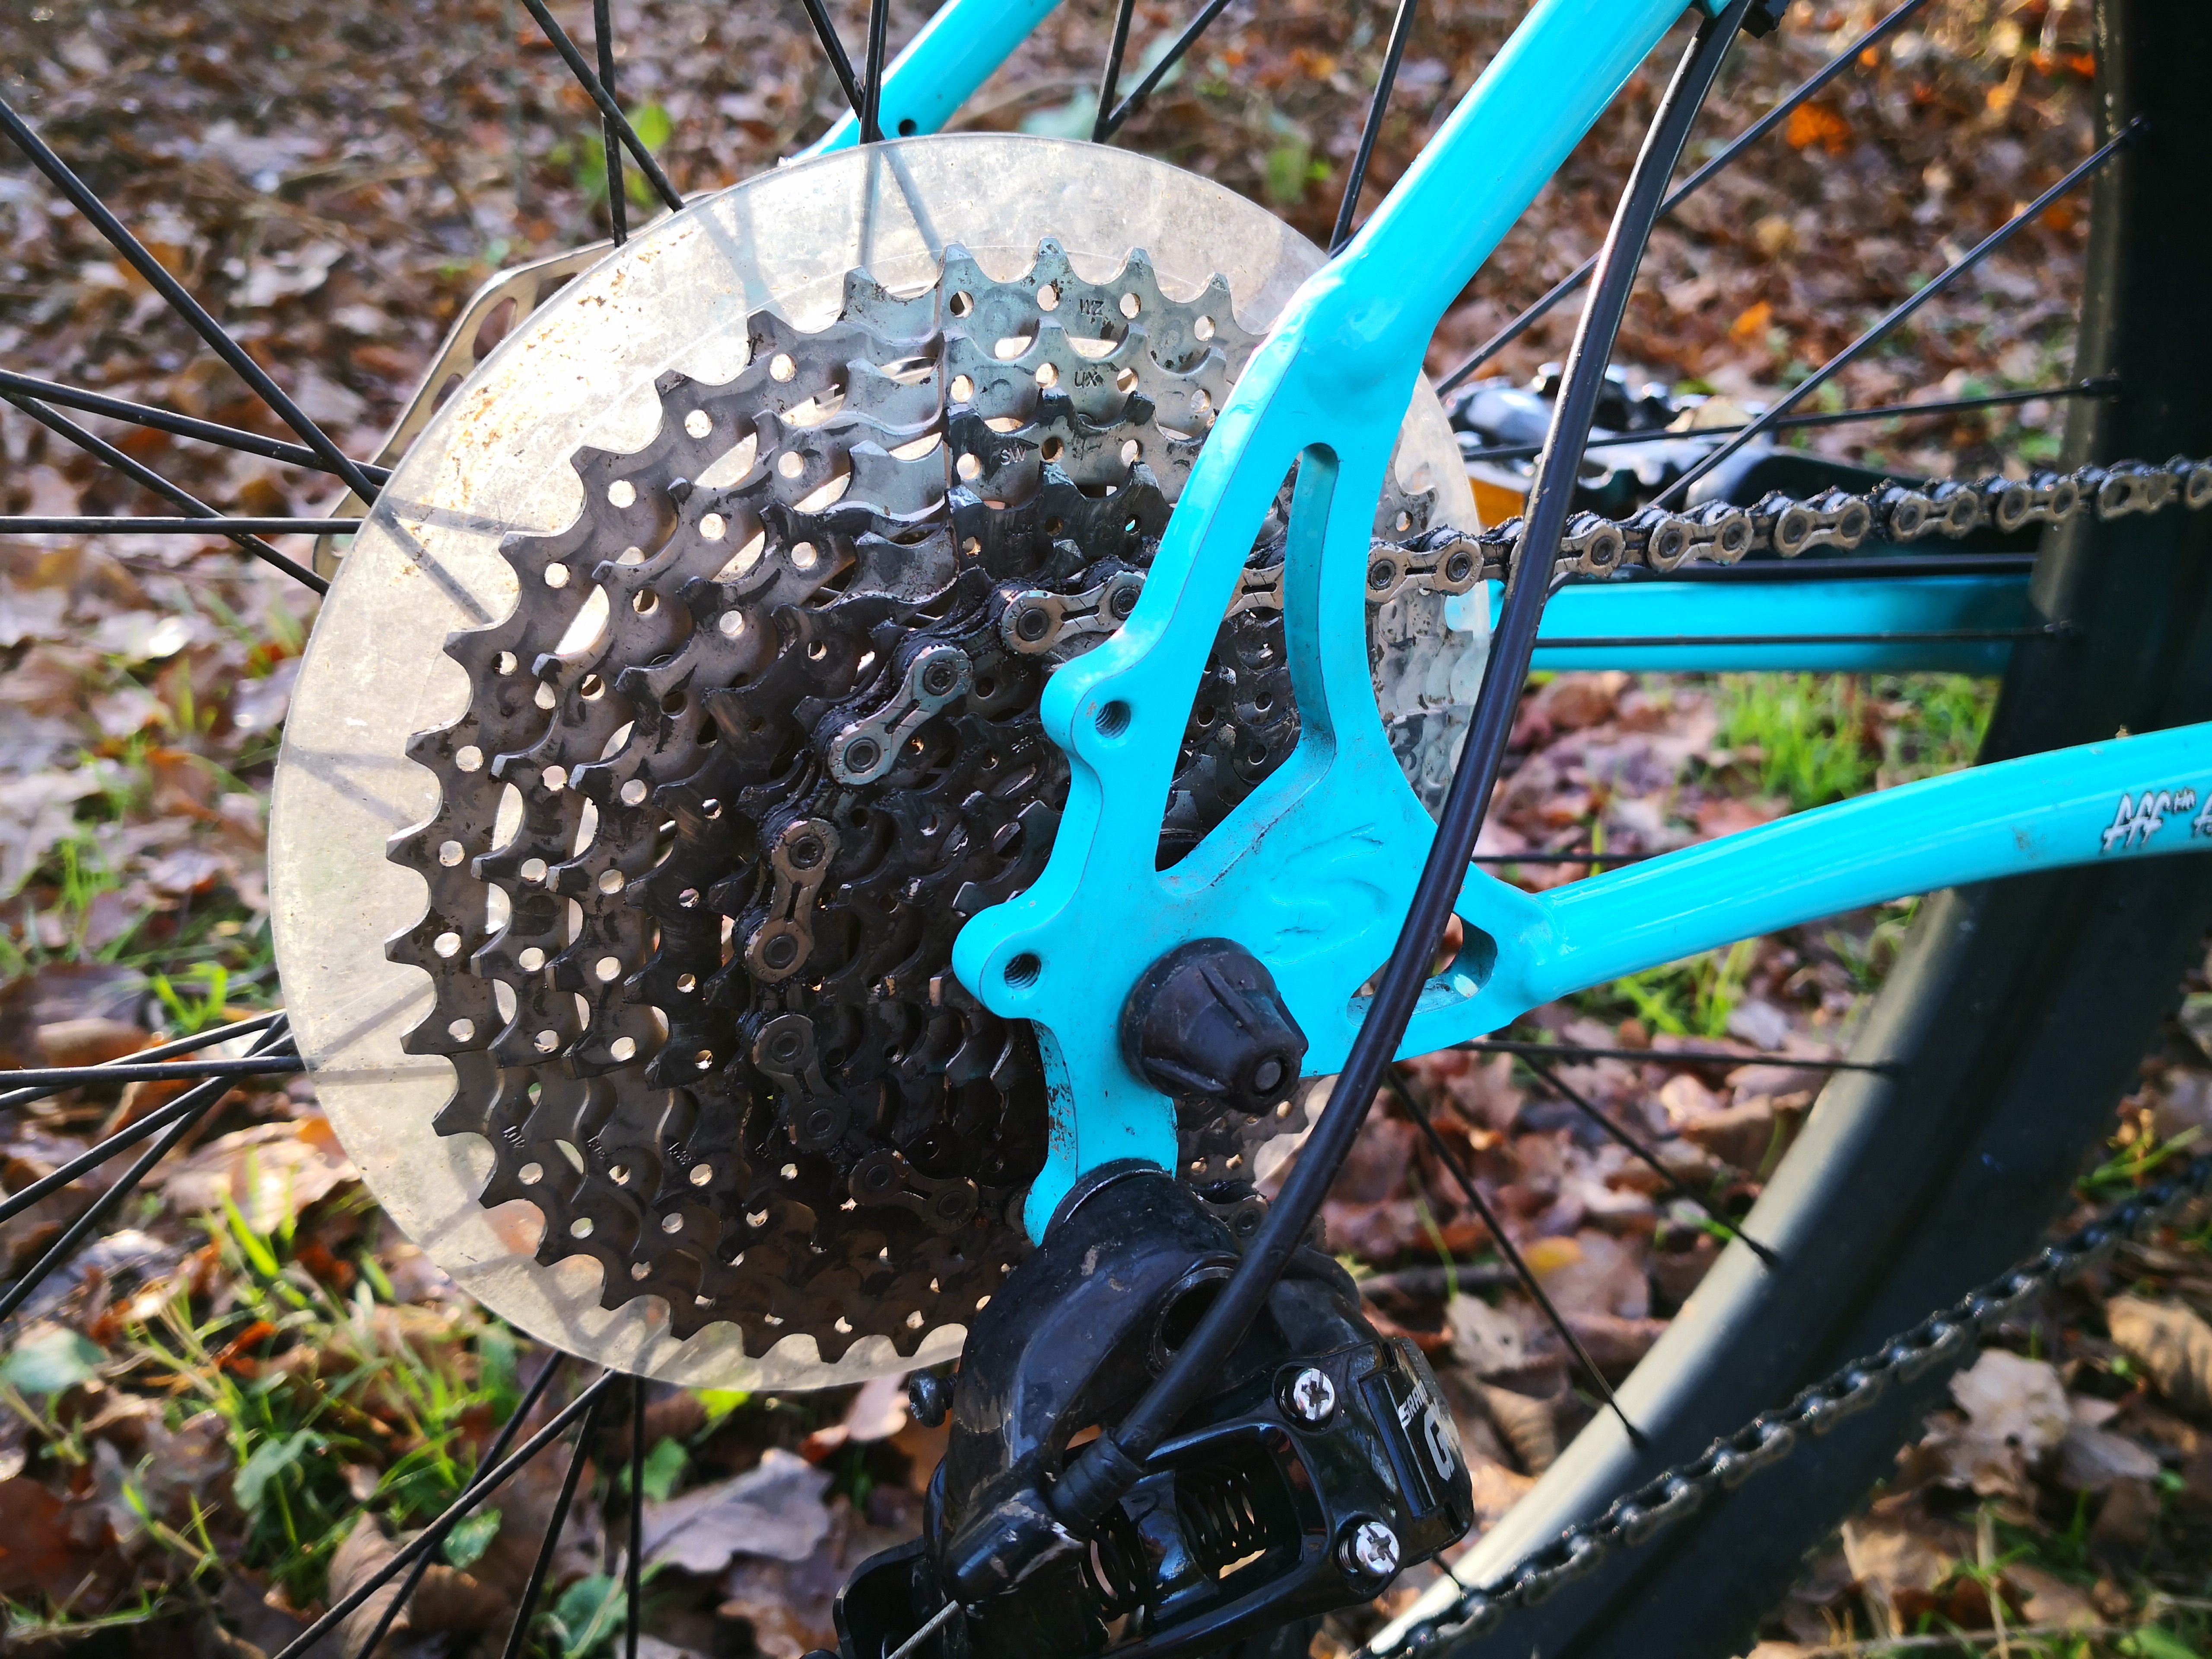
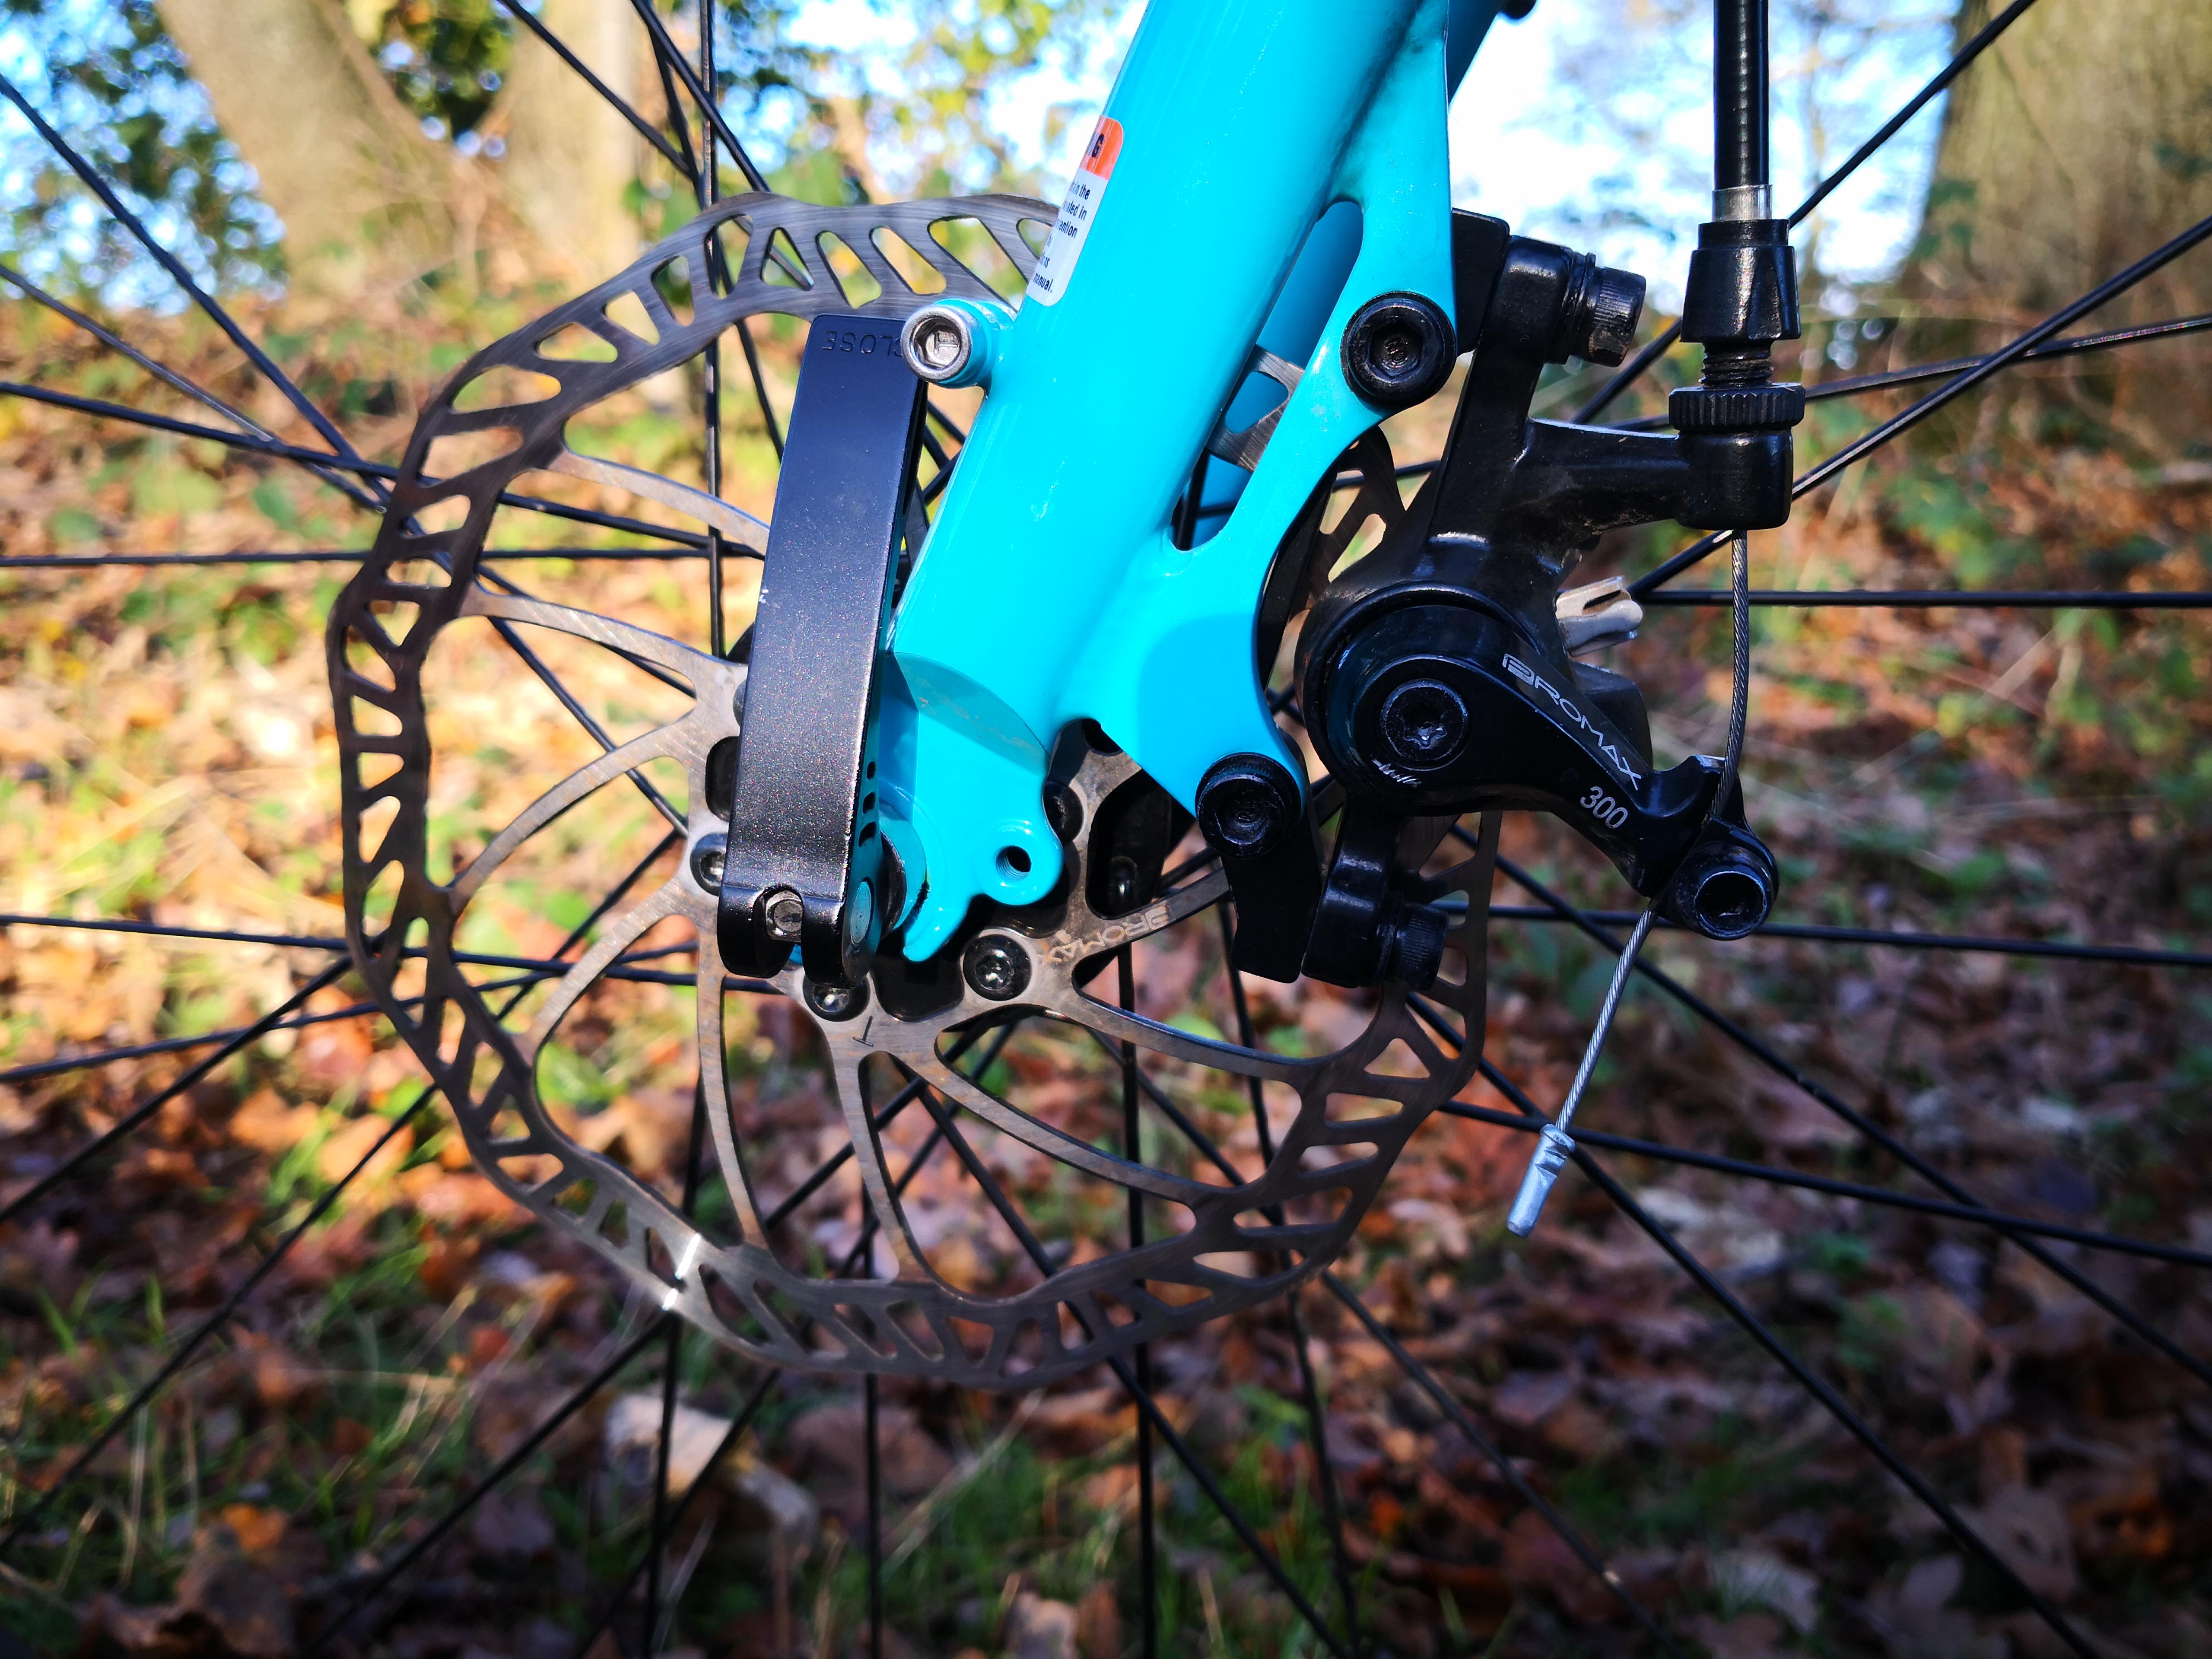
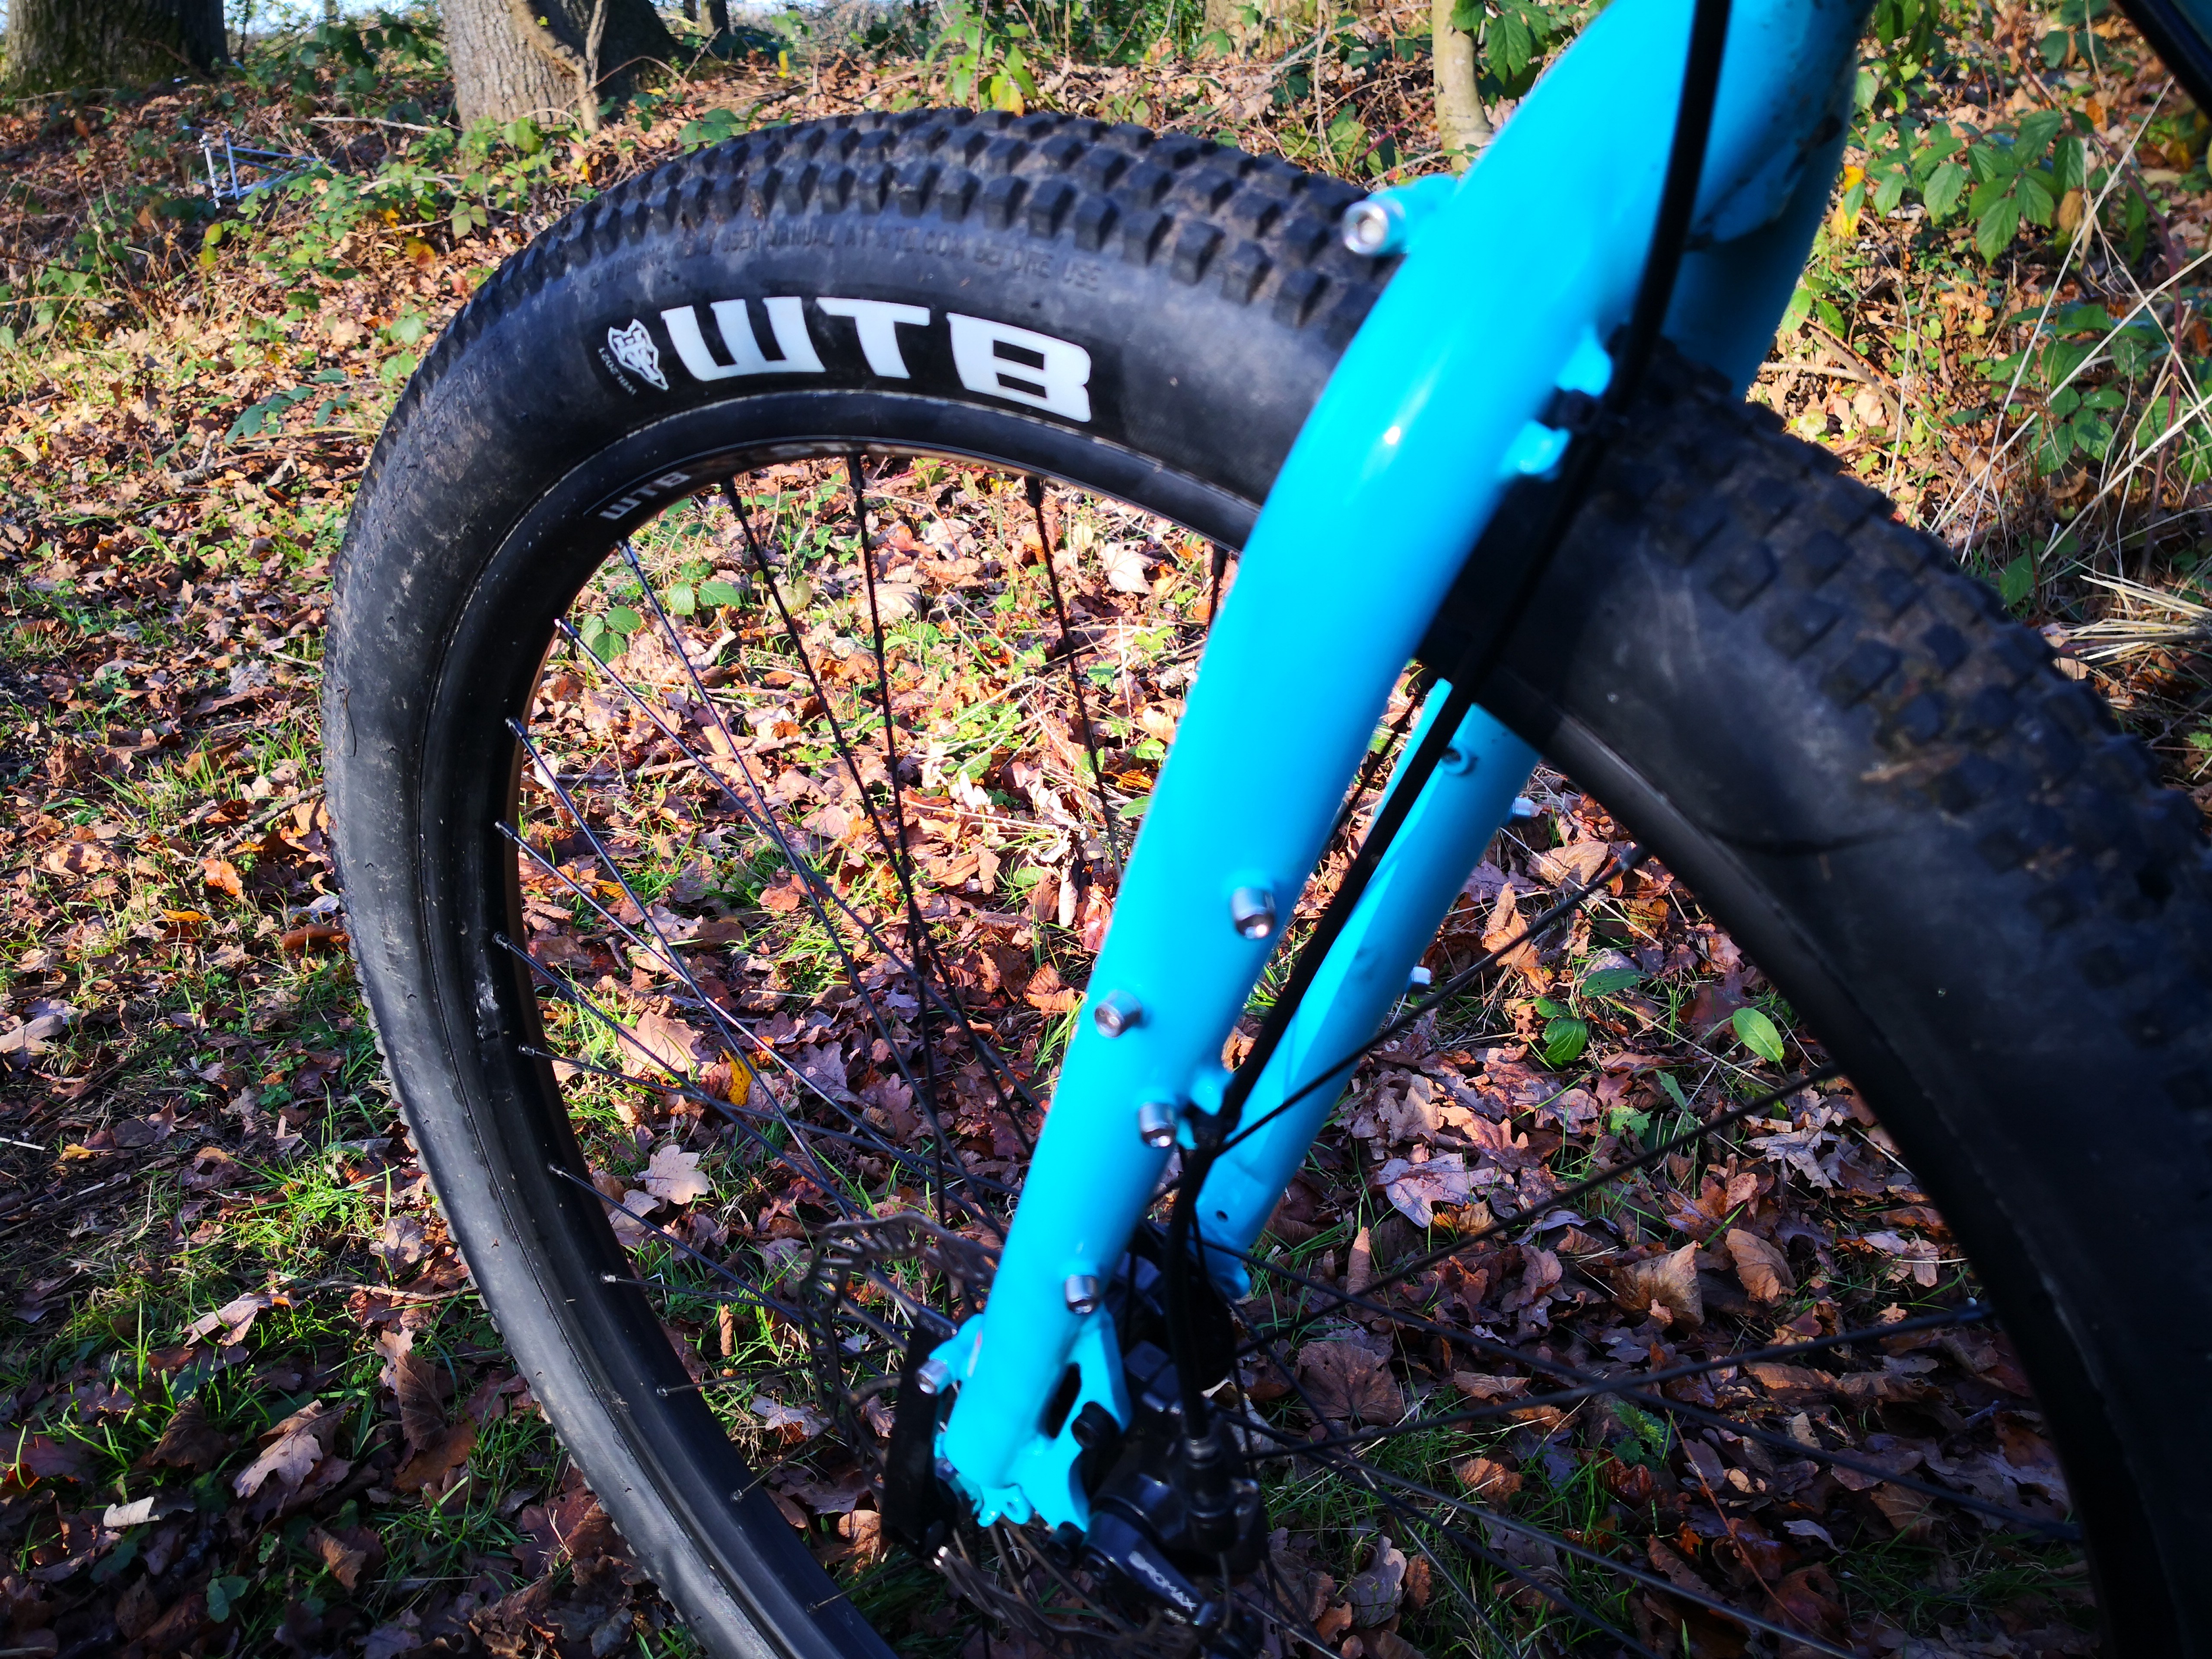
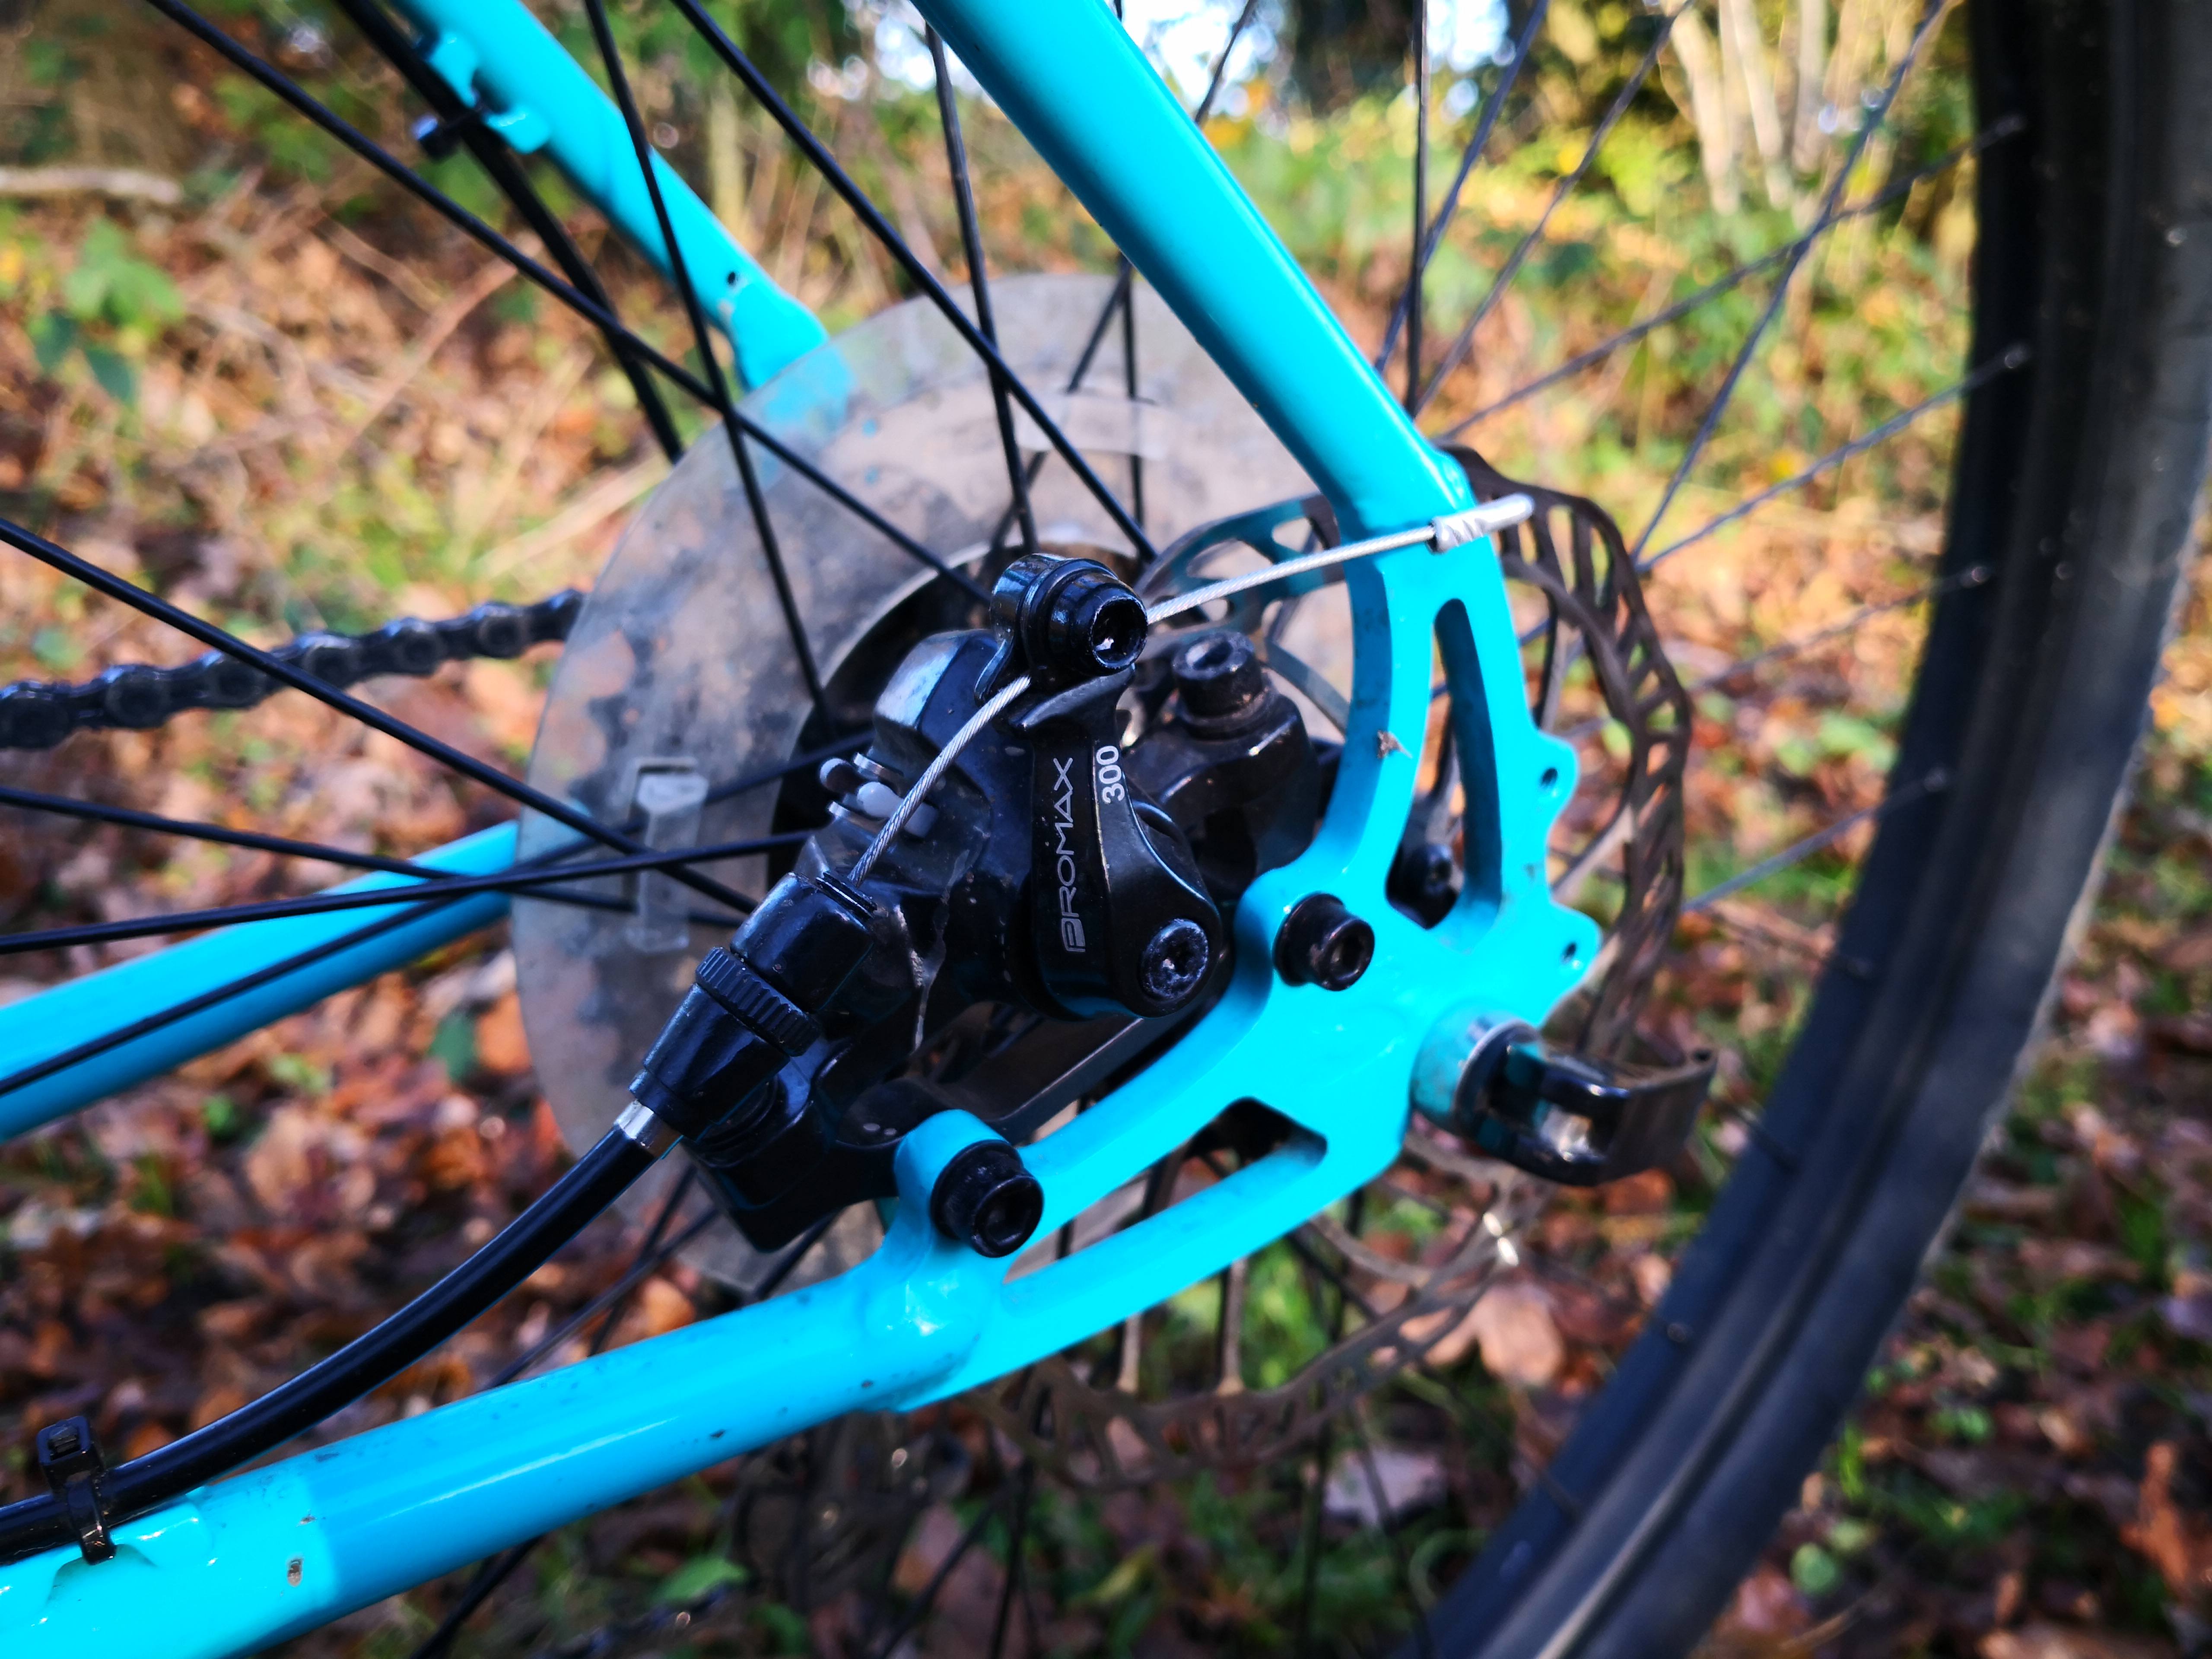
Next came the most difficult decision, which bike to choose! While the promise of a techie descent made the Cube Nutrail with Blutos tempting, I opted for a Canyon Dude. The NX Eagle 12 speed gears, and an all carbon frameset, made this a truly lightweight ride – at least from a fatbike perspective.

As Johannes was nursing a nasty cold, his business partner and friend Heikki would be my guide.

Call of the Wild

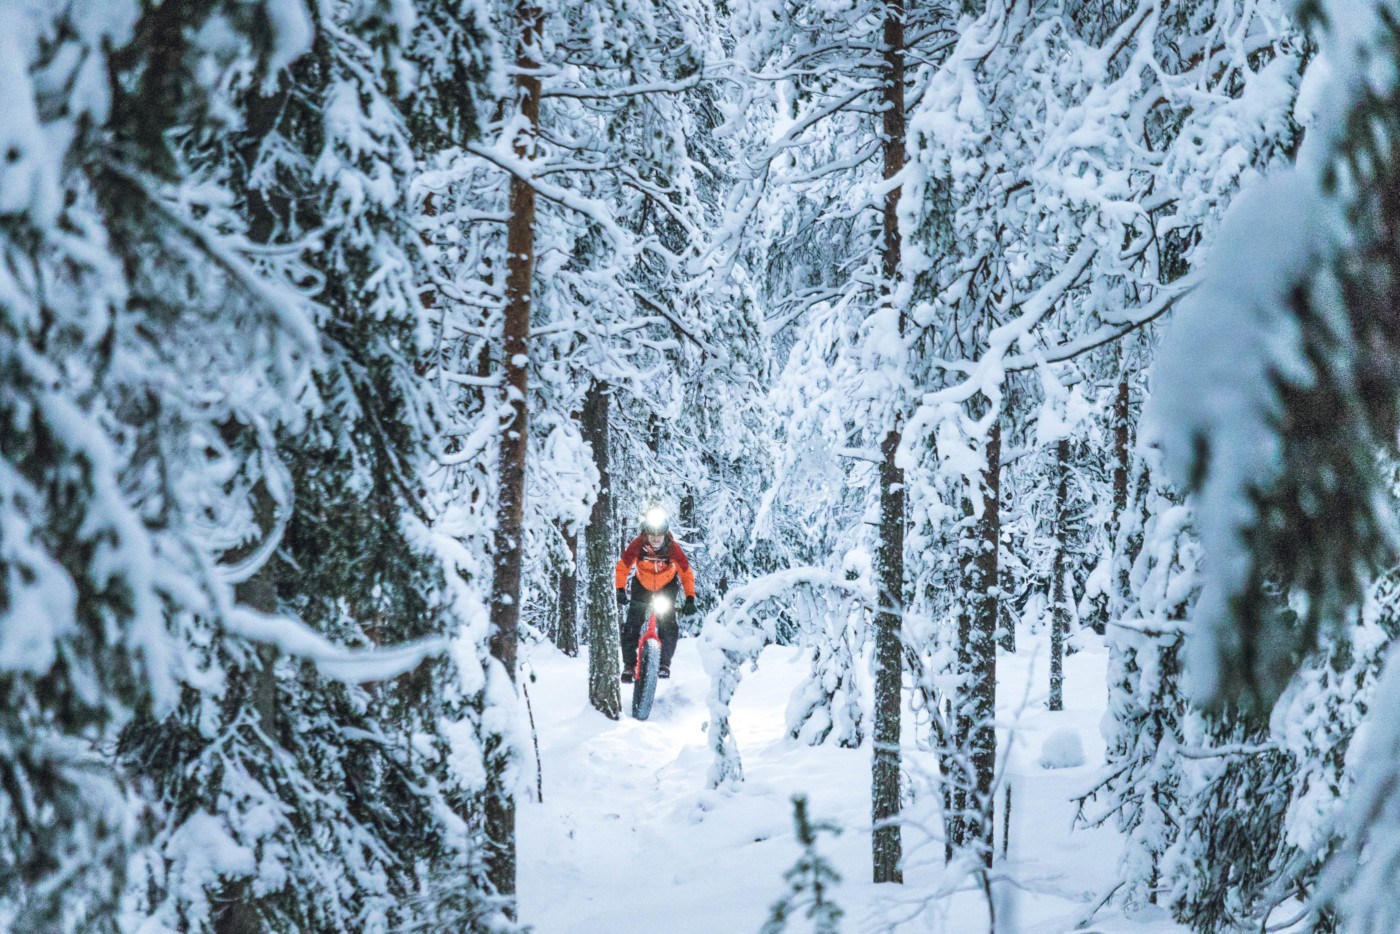
Rovaniemi is right on the edge of the wilderness so we could ride to the forest from the Roll Outdoors bike garage. After crossing the iconic Lumberjack’s Candle Bridge (Jätkänkynttilä), within minutes we had reached the trailhead and were riding through fresh snow.

Unlike UK slush, the snow is dry and powdery and you can see all the individual flakes. Tyres might pick up a light dusting, but it doesn’t clump or stick.

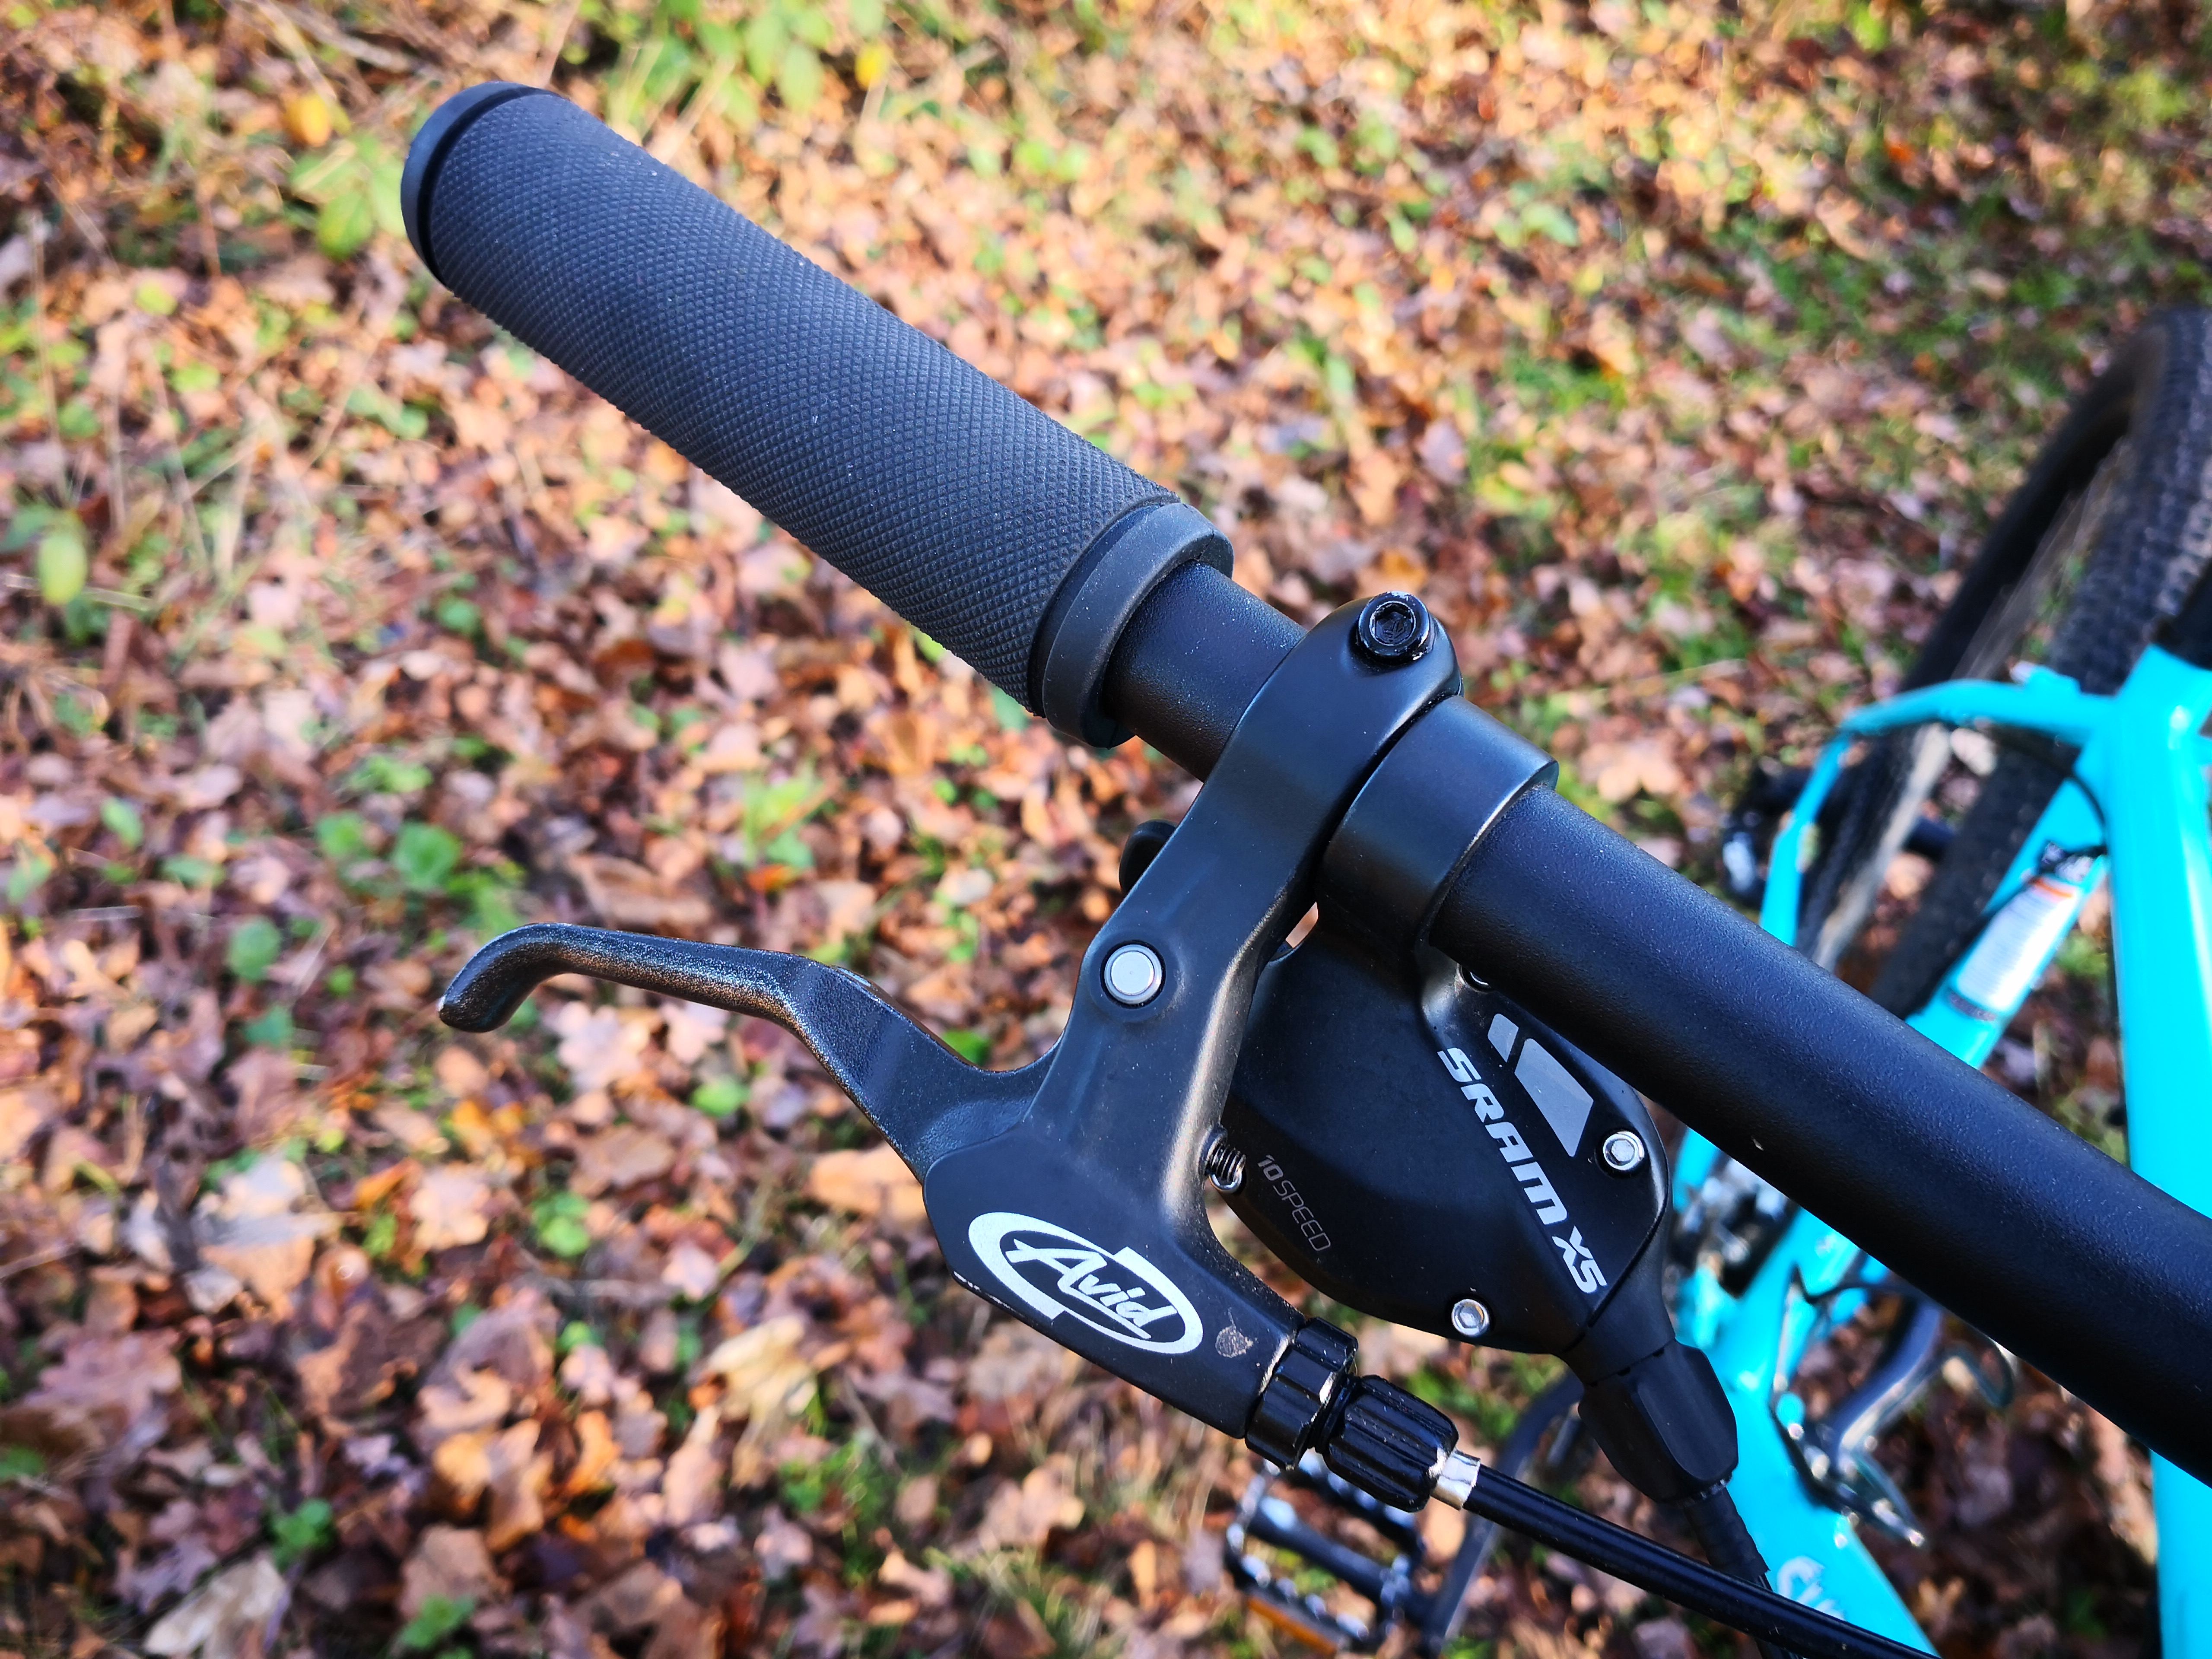
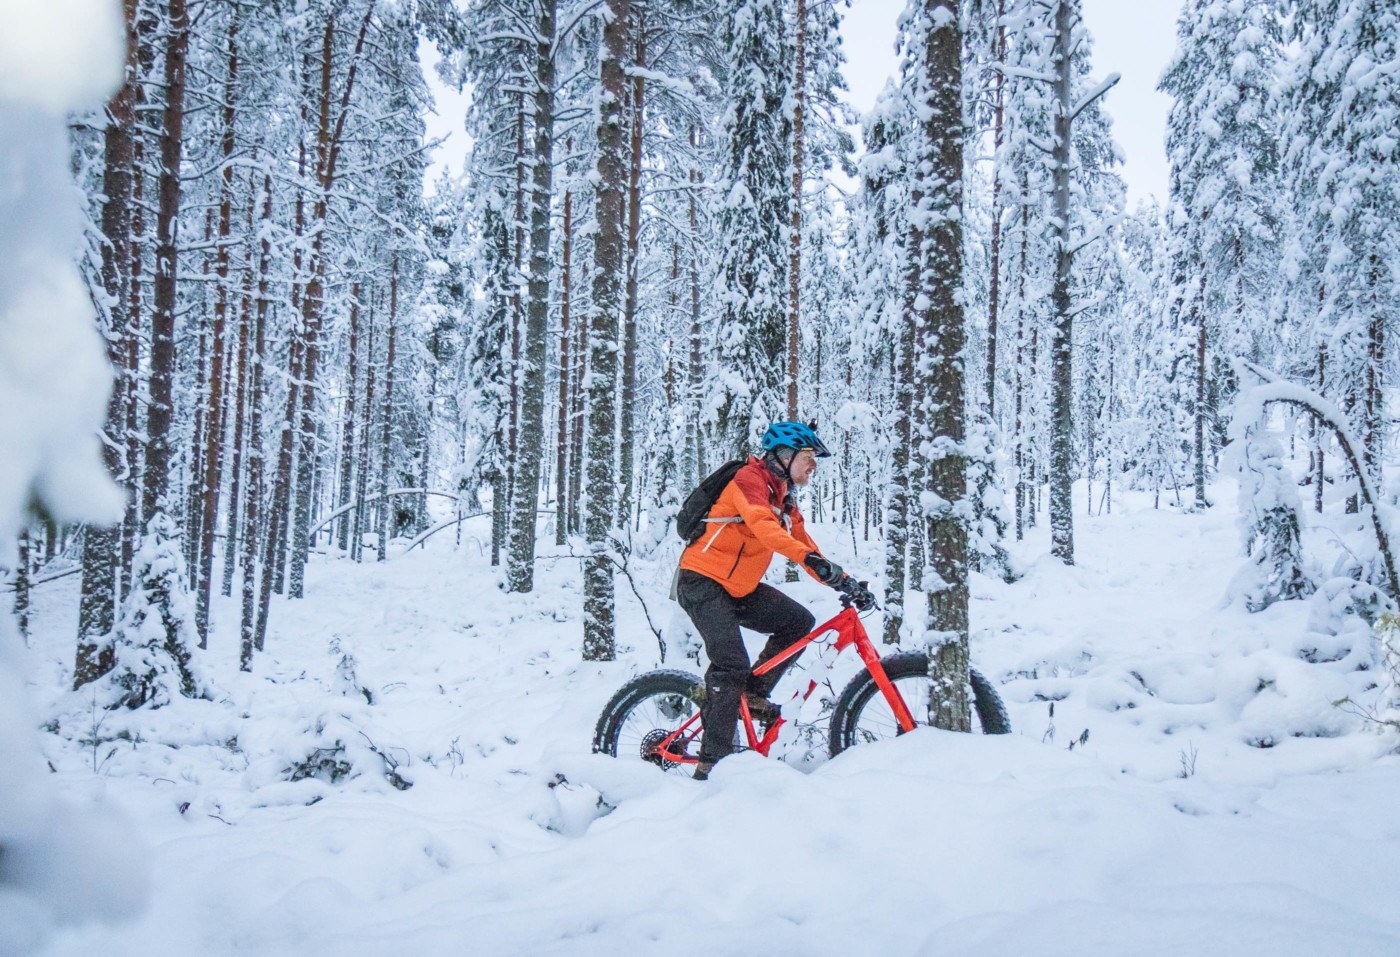
Before long we reached a twisty section of single track through the trees. The Canyon seemed to wash out on every corner, as if the tyres were too hard. Heikki, a smooth and capable rider, let me catch up to see how I was getting on. After a while, it slowly dawned on me that in Finland, brakes are configured ‘Euro style’. Following this revelation, the Dude starts to hold its line on the bends. Now I’m not leaning on the front brake, things are much better.

Lost in the trees with Roll Outdoors fat biking

Am I in Narnia?!

A prolonged climb criss-crossed through dense woodland. All the tree branches are heaving with snow. We stop at a trail fork and Heikki draws my attention to a bird call. It can’t be far from us. The snow dampens all sound and the forest is deathly quiet so it had to be close.

Heikki goes on to say this is his home trail and 5km further, along an alternate path, we had reached his house! Jealous? Me?

Roll Outdoors mountain biking tours & rentals

No chance of blending in to the background today.

The trails were practically empty. Apart from a couple of dog walkers, a cross country skier and a few nordic walkers ,we pretty much had the forest to ourselves.

We followed a swage of singletrack that contoured a steep slope before taking on a steep switchback. Then, popping out from the treeline, we reached the summit of Tottorakka. With the temperature comfortably below zero, we took advantage of the summit shelter to slurp down some hot lingonberry juice (what else?!) while Heikki pointed out the highlights of the scenery. Despite the cloud we could see for miles.

Survey the snow. Roll Outdoors

Nigel stands watch. Anticipating the sight of Imperial AT-AT Walkers on the horizon.

It’s not wise to hang about in these temperatures so, after a brief stop, we hit the trails again. Back into the trees we had the choice of two ways to the bottom. On the right was a rocky descent called The Rollercoaster. Heikki explained that there was just enough snow to hide obstacles, but not fully bury them so it was best avoided this time round – exactly the sort of local knowledge that makes a good ride into a great one.

The alternative trail was no poor relation though. The descent was both of us foot out, carving great roster tails as gravity did its thing.

It is almost impossible to get your bearings deep in the forest and without warning, we were at the river! I politely declined the offer of a winter swim as we pass the designated bathing area. Yes it had its own pontoon and a tempting hole punched through the ice but the prospect of coffee and cake was too great!
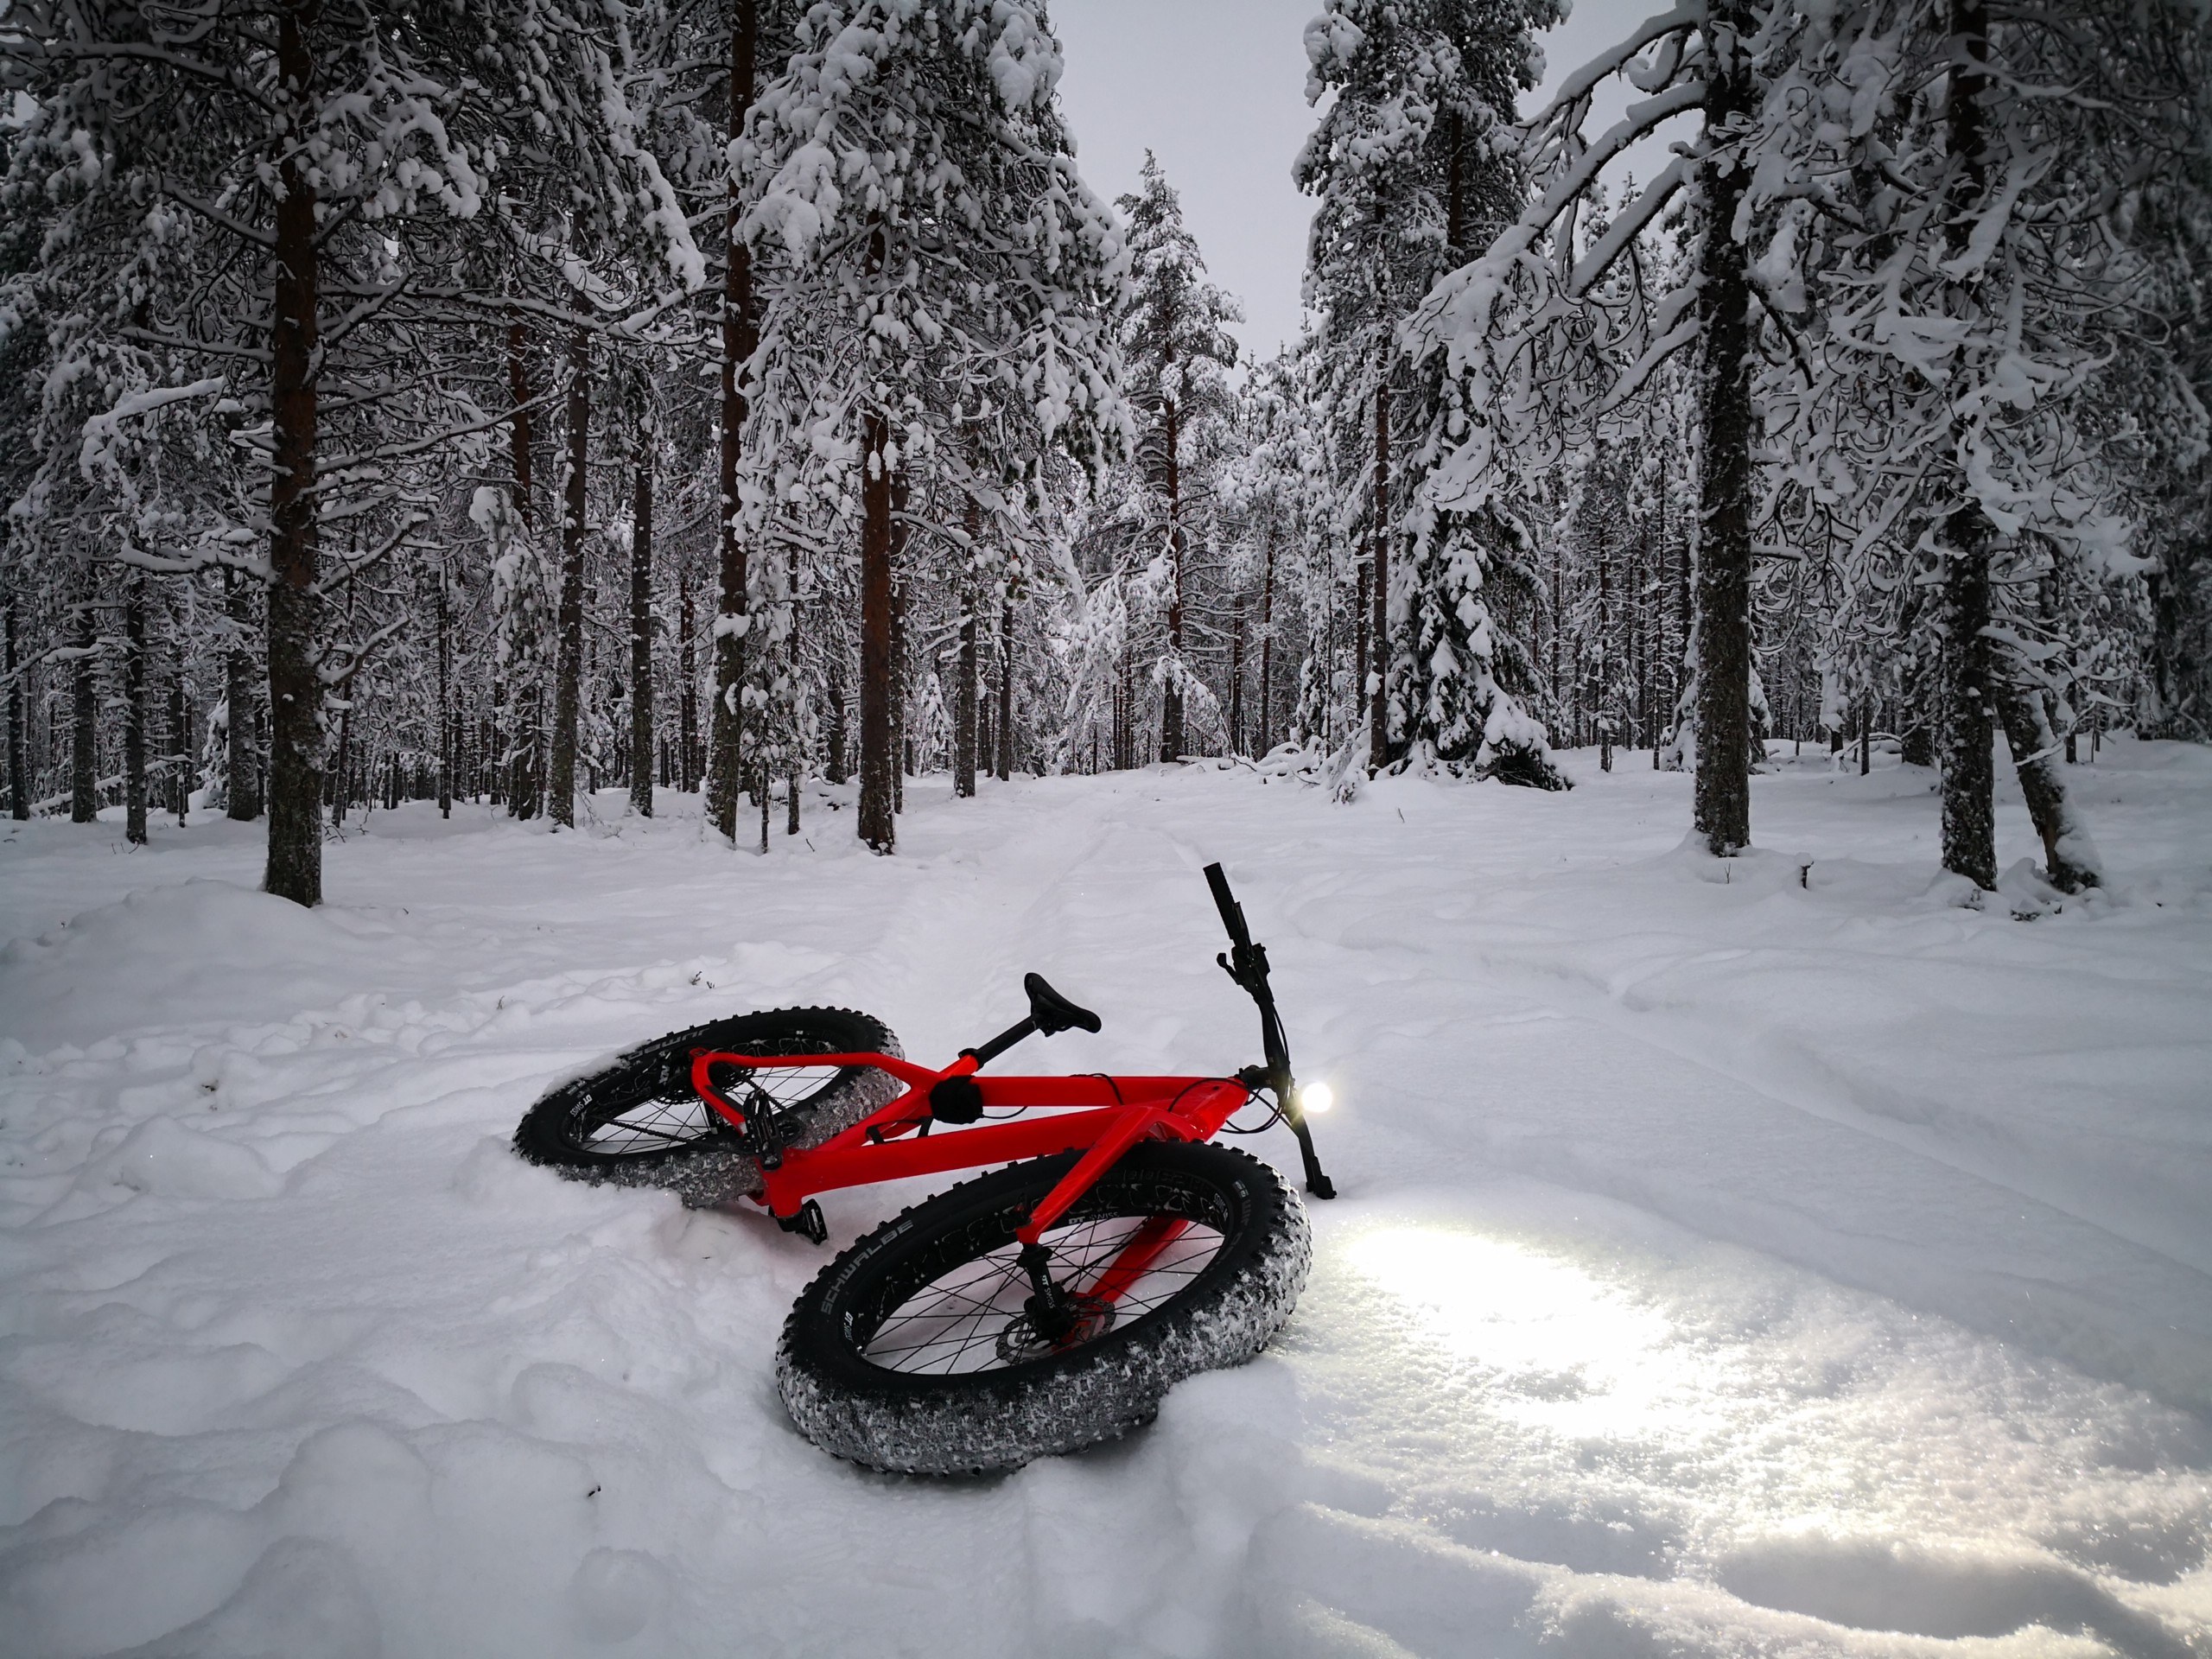
Canyon Dude resting at Roll Outdoors mountain biking tours & rentals

Woah, Canyon Dude.

Winter is not a season, it’s an occupation…

Ride over, we headed off to the Koti Café. Over a Kahvi and Kakku (Coffee & Cake natch!) I chatted to Johannes about Roll Outdoors.

How long have you run Roll Outdoors?

Roll outdoors made its appearance on Instagram early in 2016, we tested routes towards the end of the year and after good feedback on the rides we were up and running fully during 2017.

Has the Roll Outdoors team always lived around Rovaniemi?

Both Heikki and myself are Rovaniemi, born and raised. I moved south to study Industrial design, and that took me from Finland to Sweden and Norway. After many years away I was happy to return with my family to Rovaniemi. I was running the IT side remotely from my laptop but nothing beats joining the team full time on site! Kuutti, the newest member of the team hails from Helsinki but the lure of Rovaniemi was too much and he loves it here!

What do you enjoy most about guiding?

Of course being outside and riding bikes is great, but the best part is getting to meet so many amazing people from all over the world. The satisfaction felt when you’ve helped someone have a holiday they won’t forget, energises me and gives me a real buzz!

When did you discover fatbikes? Were you road or mountain bikers before?

Actually, back in the late 90’s Heikki and I met snowboarding! We enjoyed the back country lifestyle and hanging out in the trees and on the slopes. While we’d had mountain bikes as teenagers, it was only then we got serious. We needed something to do in the summer! We hit on the idea that we could offer mountain bike excursions in the off season. Heikki was the first to buy a fatbike. After riding his we both saw the potential for tourists visiting Rovaniemi and that we could offer year round biking tours.

Snow downhill with Roll Outdoors mountain biking tours & rentals

Johannes and Heikki on their daily commute

Of all the amazing riding opportunities within Lapland, where is your favourite riding area outside of Rovaniemi?

Right now we are both really into riding the Urho Kekkonen National Park. It’s amazingly beautiful and has so much fun riding in the summer. For winter rides the trail network around Ylläs is hard to beat. With over 100km of groomed trails on hand and numerous cafés to fuel up in. It’s a one of a kind paradise!

How do other trail users react to fatbikes in Lapland?

Mostly they are just interested in them! Of course, it’s all trail etiquette and how we behave when we meet. We always slow down, smile and leave plenty of space. Skiers usually have their own trails marked out so we rarely encounter them.

Would you rent one of your bikes to someone entering the Rovaniemi 66/150/300 race in February?

Yes! In fact we have at least two racers using our bikes in the 150 in 2019.

What plans do you have for the future with Roll Outdoors?

Easy, to be the best MTB guides in Scandinavia! We have in place plans to expand into some super secret areas in Lapland. Further afield, we are looking to offer cross-border rides into Sweden and Russia. When the snow melts we have an extensive network of gravel forest roads, we’d like to become a hub for Fatbikers, MTB, Gravel, and even road riders!

I left Johannes and Heikki to get the bikes ready for their afternoon clients, a real shame for me as I could have talked bikes with them all day! It goes without saying that if you want to try fatbikes in Santa’s back yard, you really should call in on Roll Outdoors!

Roll Outdoors mountain biking tours & rentals

Saturday 15 December 2018

Tracemaps – Map your adventure


Epic rides – your aide memoire

I received an email from keen Gravel Rider Ben Childs. Having taken on some epic rides such as the Tour Aotearoa and the gravel tracks of Sweden, he was left wondering whether he could do something to help him remember his epic rides better.

Strava feeds are all well and good, but they soon become clogged with commutes and trainer work-outs. Doesn’t your big trip deserve better?

This is where his new venture Tracemaps comes in. Using your ride data GPX, Tracemaps can plot your route on a printed map, giving you an easy way to relive your ride and share the experience with family and friends.

Ben invited us to try out Tracemaps and see for ourselves what it offers.

A simple process

Step 1: Very simple this one, visit Tracemaps and click on Map Creator.

tracemaps website

Step 2: Select the GPX file of the ride you want to upload. I decided to use my Tour Divide files. The system can handle multiple GPX files simultaneously so there’s no need to zip them or use an aggregator to make them a single file.

Tracemaps file upload

Step 3: With the file uploaded you’re presented with a preview of what the finished map will look like. Your route will be marked out in black. There are options to give your map a title and to add vital stats such as duration, distance, ascent and so on. One very neat feature is the map legend option at the base of the map. I opted for elevation but a key to the terrain and different GPX legs are also available.

Tracemaps build process

Step 4: Finally, just decide just how much wall space you can dedicate to the print, whether it should be portrait or landscape, and whether you want a frame.

Tracemaps setting up

The finished article

All in all, creating my own Tracemap was a painless process, certainly less so than riding the divide! I didn’t have long to wait, as my finished Tracemap arrived in a few days. Taking a good photo of the finished article behind glass is nigh on impossible but it looks fantastic in the flesh.

The map has enough terrain relief detail and labelling without it getting too cluttered. It makes for a great conversation piece (That climb  or  those mosquitos!) and helps put a route into context. Whether you crossed a continent, or just have a favourite local loop, a Tracemap is a near perfect way to remember it. If I could suggest any improvements it would be give the user some control of the place names included. In order to fit a route like the Tour Divide onto an A1 print it is inevitable that you can’t include everything but perhaps a way to include the specific locations (e.g. where a leg starts and finishes) could be included. It would also be nice to able to include photos taken while on the route, especially as most smartphones are able to add geotags to images.

Tracemaps detail

Close up on Colorado

Tracemaps closeup

Just look at that elevation profile, ouch!

Tracemaps

Probably the best way to liven up your home!

Thursday 13 December 2018

Review: Surly Bridge Club


Fancy a hand of bridge?

I heard about the release of the  Bridge Club back in April and have been itching to ride one ever since. Why?  The Bridge Club has pulled off the trick of not fitting into any of the currently available pigeonholes. It isn’t a Road, Gravel, Mountain, Enduro bike or anything else to be honest. It is simply a ‘bike’. This isn’t damning it with faint praise. Surly have produced a model that slots into all the sections of a Venn diagram.

It came with fast rolling 2.4″ tyres so could handle trails without being a bind on the road. It has clearance for 2.8″ Plus tyres as well as 700 x 47c gravel wheels. In theory wherever you want to go, the Bridge Club will take you. It might not be the perfect bike for the job but you won’t regret riding it.

Surly Bridge Club

Pack Rack optional.

The Frameset

Surly have used their ubiquitous Natch 4130 CrMo steel tubeset for the Bridge Club. While not exotic, it comes in five sizes from XS to XL. Each size has custom drawn butting profiles. Inside is an ED (Electro-Deposition) coating to keep corrosion at bay. Outside is a tough powder coat finish. The decals aren’t lacquered so you can remove or replace them without fuss. There’s every chance it’ll outlive you!

Surly Bridge Club NATCH 4130

Bridge Club is made from Surly’s Natch 4130 cr-mo steel tubing.

Braze ons

Another Surly signature feature is the wide range of braze-ons. If bikepacking soft luggage isn’t to your taste, you can fit front and rear racks or a porteur-style front rack (like Surly’s own 24-pack seen in the photos). Fitting mudguards isn’t a problem either. Neither is going thirsty. With three-pack mount and a pair of bottle mounts on the frame (one on XS) plus a pair of three-pack cage mounts on the fork, you have plenty of options. Speaking of the fork, the Bridge Club takes a straight 1-1/8″ steerer. So don’t go getting your hopes up of fitting a suspension fork easily.

Surly Bridge Club & WTB Beeline

Short headtube, generous stack of spacers. It’s a Surly thing.

So far there are a lot of similarities between the Bridge Club and the Surly Troll/Ogre models. There are however, some crucial differences. Firstly, the Bridge Club does away with the Troll’s cantilever brake mounts and complicated Rohloff compatible drop outs. Alongside thinner gauge tubing, this allows the Bridge Club to drop some weight and allow cost savings against its heavy duty touring stablemates.

Being designed around 650b/27.5 wheels, the Bridge club can accommodate mountain bike plus tyres, but 700c gravel or road tyres won’t look lost as they might on the Ogre. Surly have used a variant of their neat Gnot-Boost trick by setting the rear dropouts at 138mm. They’ll open up to receive 141 QR hubs and clamp down on 135mm regular QR hubs if needed. The fork takes a standard 100mm QR hub.

Finally, the colour, Diving Board Blue  looks fantastic and received plenty of positive comments on the Rapha Prestige. If you prefer to fly under the radar you can also get a Bridge Club in Dark Black.

Surly Bridge Club chainstay clearance

Loads of space between the stays. As Surly say, Fatties Fit Fine.

Components

Surly bikes usually come with sensible rather than exotic parts and the Bridge Club is no exception.

The drivetrain is 10 speed Sram GX/X5 with a Sunrace cassette to give an 11-40 option. The Sram Blaze chainset uses an Isis BB (remember them?!)This allows a wider axle to give chainring clearance when running those fat plus tyres. It all works as smoothly as we’ve come to expect from a modern drive train.

The Avid brake levers are familiar but this was our first time with ProMax cable brakes. Despite our fears they were surprisingly effective and a good match for the situations the Bridge Club was likely to face.

The seatpost and stem are generic affairs. The Salsa Bend bars with a 17º err, bend, are a highlight and provide a good halfway house between standard flat bars and Jones/Moloko style bars. The grips are black rubber with a file grip, better suited to singletrack than touring, but still comfortable after 90-100km.

Surly Bridge Club Avid mechanical brakes

Avid cable brakes slow you down, gradually. Good quality cables improve efficiency.

The wheelset is another multi-purpose affair. The WTB STi29 tubeless rims are tough for touring loads and wide enough to support plus tyres. The Riddler 2.4″ tyres are as wide as you’d want for true all round use. Cup and cone hubs will divide opinion but appeal to backcountry servicing types. Most of us would probably prefer sealed bearings.

WTB STi29

WTB take care of all the round things with air in the middle.

Normally I’m a fan of WTB saddles but I found the 135mm Volt a bit narrow, the Marin Four Corners we tested had the 142mm version which was perfect. Saddles are a personal thing and it shows 7mm can make all the difference.

Take it to the Bridge

Thanks to Surly supplying the Bridge Club with a healthy stack of spacers and a long seat post, I was able to get comfortable on the Bridge Club. At 180cm/5′ 11″ I was right at the limit of the Medium. As an all rounder, neutral handling was the order of the day. Not so slack it wanders on the climbs and not so steep that it becomes twitchy.

As well as local rides we took the Bridge Club to the Rapha Prestige, Manchester. The 90km route took in city centre roads, tow paths, gravel tracks and Peak District single tracks descents…everything short of a trail centre then! The Bridge Club took them all in it’s stride with no cause for complaint. The only downside was a series of punctures. Our test bike differs slightly from the production model and came with WTB Beeline 2.2″ tyres, instead of the stock WTB Riddler 2.4″.

Surly Bridge Club puncture probs

Innertubes. A thorny subject… Production models come equipped with tubeless ready tyres unlike our test bike here.

For the Prestige we were also able to try the Bridge Club with Surly’s 24 pack rack. Placing all my kit in a dry bag on the front it didn’t affect the handling for the sort of riding the Bridge Club is designed for.

Conclusion

Surly say the Bridge Club was designed to be a sweet spot tourer that’s as at home on the road as the trail, and I’d say they’ve hit that sweet spot. If, for whatever reason, n+1 isn’t an option, the Bridge Club is a great choice. The versatility to run anything from wide road to Plus sized MTB tyres means you’ll be ready for just about anything your ride can throw at you.


Tuesday 27 November 2018

Review: Redshift ShockStop Suspension Stem


To some the Redshift ShockStop stem is further evidence that the cycling industry has run out of ideas. The Girvin Flexstem fell by the wayside some 20+ years ago. Why should a suspension stem make any more sense today than it did in the 1990s?

What’s in the box?

Redshift Shockstop

Shockstop elastomers. Not Smarties.

As well as the stem itself, you get a comprehensive set of instructions and a set of elastomer inserts.  The correct combination (of elastomers) is determined by rider weight and whether you are using flat or drop bars. Swapping them around is simple and won’t take more than a couple of minutes. It is important to note that elastomer changes must be done with the stem fitted. This allows for the correct amount of preload and prevents damage to internal fasteners.

Redshift Shockstop

No one would ever know…

Superficially, the Shock-stop looks just like a normal stem as the suspension mechanism is hidden away inside. The face-plate is a familiar 4-bolt affair so fitting drops or flats is a doddle. As the stem logos suggest you racier types can also run the stem inverted. Depending on length the ShockStop weighs in between 265 and 300gms.

The maximum recommended rider weight is 135kg.

What’s it like in use?

Redshift Shockstop

Ride comfort cannot be experienced in this photo. But it is there.

Just like any suspension device ever fitted, you won’t be able to stop yourself giving the Shockstop the futile “bounce test”. As usual it will prove little beyond confirming there is indeed some movement!

Once riding along, the effect of the Shockstop is subtle but it works. I’m not sure which surface is worse, rough and pot holed Suffolk back roads, or gravel byways. Whichever it is, the Shockstop soaks it all up. With only 20mm of travel to play with, you aren’t going to take rock gardens flat out. For your average gravel route with the odd lumpy stretch of singletrack however, it does the job. For steady state pedalling along rough tracks, the Shockstop takes the sting out of washboard surfaces. Spirited climbing on the hoods does lead to exaggerated movements but it’s a muted bounce, not a pogoing effect.

Shockstop Specifications
  • Available in +/-6 degree or +30 degree high-rise versions
  • +/-6 degree available in 90, 100, 110, and 120mm lengths.
  • +30 degree available in 100mm length.
  • Includes 5 swappable elastomers (2 pre-installed, 3 additional) to customize the ride feel for your bike, weight, and riding style.
  • Effective suspension travel – Up to 20mm (drop bar road bike), up to 10mm (flat bar road bike).
  • Minimal design blends with modern road bikes.
  • Fits standard 1-1/8 inch steerer tubes Fits 31.8mm handlebars

But the temperature

Elastomer suspension is notoriously susceptible to changes in temperature. Elastomers become firmer when cold and softer when warm. During testing we didn’t experience any issues but then, the UK late-summer and autumn doesn’t see much in the way of radical temperature fluctuations! Redshift acknowledge temperature changes may impact on stiffness. They claim sub-zero conditions are required before you will notice anything. Apparently the elastomers will retain some flexibility at -40º centigrade, in those conditions I’m not sure your suspension will be your greatest concern!

We didn’t experience any durability problems but of course it will take time and miles to properly judge longevity. The ShockStop uses ball-bearing pivots, similar to those in conventional rear-suspension systems in mountain bikes. Redshift say the elastomers have a 3-5 year expected life span and a full set of five (to suit all rider weight and bar combinations) is £10.

Conclusion

While it sometimes felt a little bit like riding with a flat tyre, our experience of the ShockStop was generally positive. For long days out, it cut the buzz on rough surfaces and took the sting out of cattle grids and unavoidable roots on woodland tracks.

At £150 you could say it’s expensive compared to a conventional stem, and it does carry 150 gms or so of weight penalty. On the other hand you have to compare it to its rivals. Suspension forks such as the Lauf Grit or MRP Baxter are significantly more expensive, perhaps excessively capable and for some, the looks are a little too challenging. The Specialized Diverge with its built in Future Shock obviously requires you to buy a whole new bike and you can’t swap the system onto another one! If you want to dip your toe into the water the ShockStop is the most cost-effective way to suspend your bike.

We received our test example directly from Red Shift Sports in the USA but Ison Distribution have since become the UK distributors meaning getting hold of a ShockStop should be a lot easier!

Redshift Shockstop

It’s not a monster! Fitting elastomers is as simple as slipping them inside.