Search This Blog

Wednesday 27 June 2018

Review: Passport bikepacking bags


Passport Luggage

Passport Luggage – The Call of the Wild

For some of us, bikepacking is simply a logical and sequential, progression from adventure or gravel riding. We embrace it and welcome it into our lives without hesitation. The merely ‘bikepacking curious’ however, regard it with a degree of trepidation, not least because it involves additional capital outlay.

As we prepare to embark on a new cultural and metaphorical journey (bikepacking), we have to address the main barriers to entry. Principal among these is – “What luggage should we buy and how much will it cost?”.

Sure you can splash out on the best, most expensive kit on day one,  but it is a bit of a gamble. Even a cursory glance reveals that ‘middle of the road’ luggage demands a significant investment. “Decent” kit costs a lot more.

High quality that won’t break the bank

Ideally, the aspirant bikepacker should simply buy a high quality, low cost, range of luggage and upgrade later. Conventional wisdom suggests this is a paradox. Cheap and high quality are mutually exclusive properties. You can therefore expect your wallet to be considerably lightened if you are going to get anything worthwhile!

Prepare to be pleasantly surprised. The home grown range from Passport Cycles is not only inexpensive, it is of a considerably higher quality than you have any right to expect.

For £150 you can get a complete set of luggage – frame bag, handle bar bag, seat pack & top tube bag.

Not only that, but we would be prepared to argue these bags are not only suitable for beginners, but for hardened bikepackers too.

The Distance Derbyshire

Construction and materials

The outer fabric is 210 denier Nylon canvas with 500 denier wipe-clean tarpaulin for high wear areas. This keeps the weight down, and in the case of the seat pack and handlebar bag, easier to roll closed.
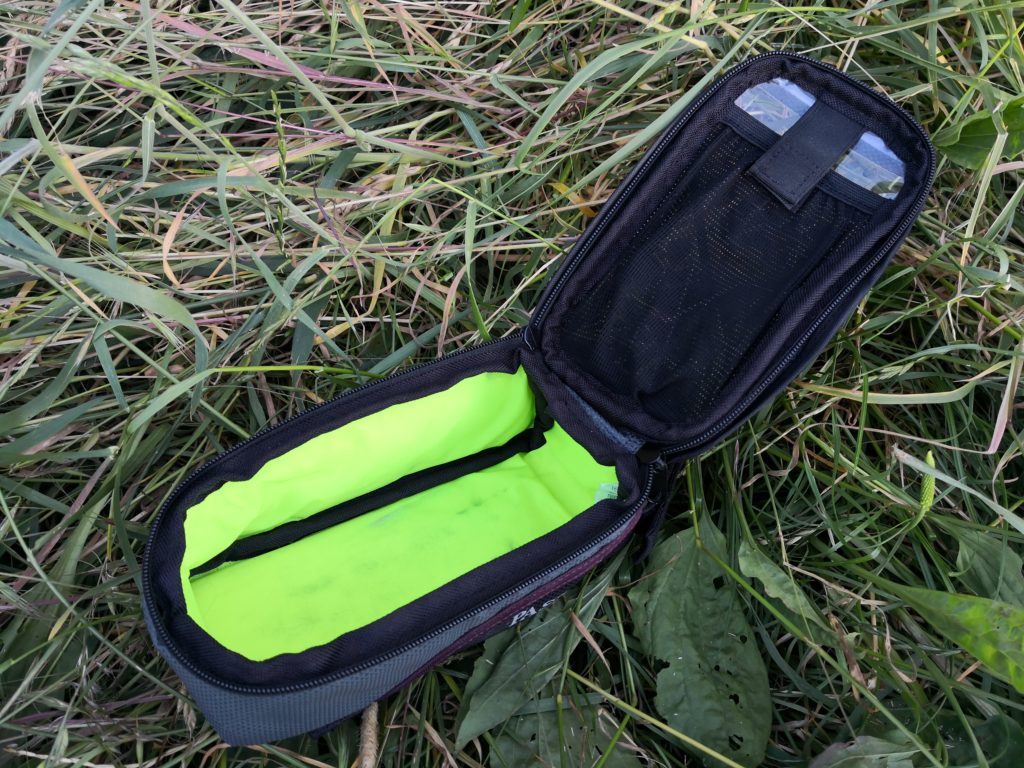

Seat pack 575g £60

The ‘Large’ seat pack measures 50 x 13 x 15 cm and provides 9.8l of storage capacity.

The canvas used for the main carcass is water resistant. The base, which will be exposed to spray from the rear wheel, has a water proof, tarpaulin, panel. Despite this, as always, we recommend using a dry bag whether you need it or not!
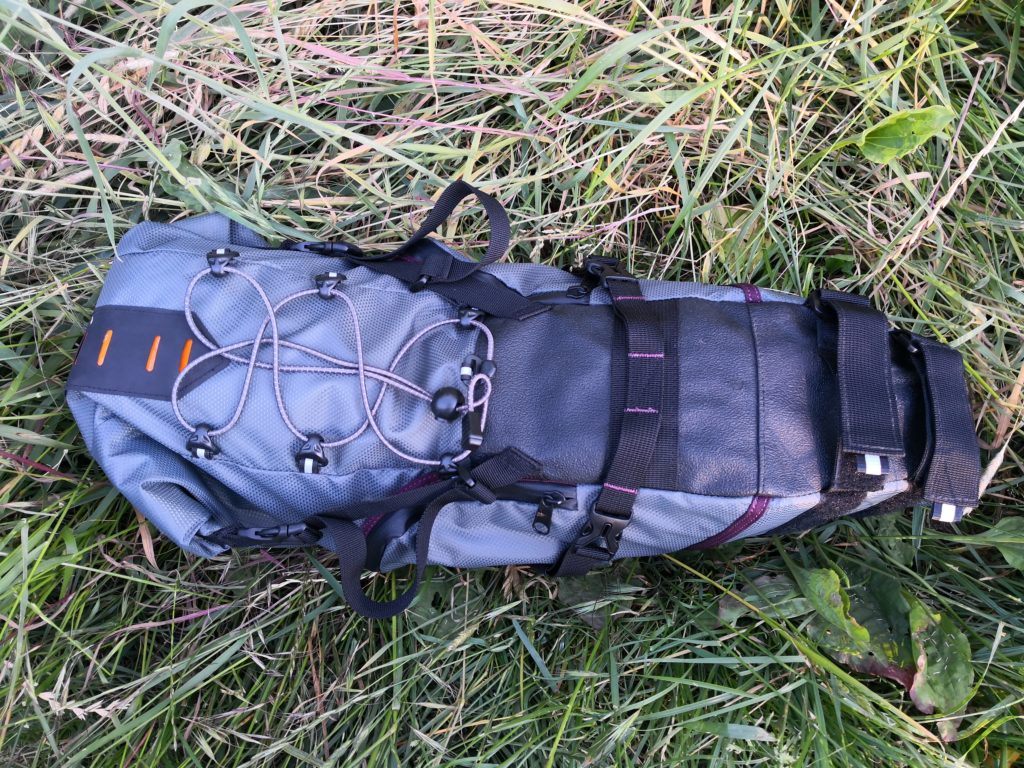
Passport seatpack top view

Passport Seatpack

Feature Filled

The twin seat post straps have a rubberised contact patch to hold the bag snug against the seatpost. It really does help reduce sway while you are riding.

The straps and buckles (that thread through the seat rails) were just the right size. This is not as common a feature as you might think!

As well as the main (waterproof) compartment there are zipped pockets on either side of the pack. Measuring 20 x 13cm, both are capable of holding a modern phablet-sized phone, tools or other items you may want easy access to.

The top of the pack has an array of bungie cord eyelets so you can safely stow away your waterproof during changeable weather.

One problem you often encounter with seat packs that they take up all the space on your seatpost. Leaving you with no room for a rear light! Passport have thought of this and added a slotted patch onto which you can clip a rear light.

Reflective material has been incorporated on the light slots, bungee loops and logos.

Passport Luggage Seatpack

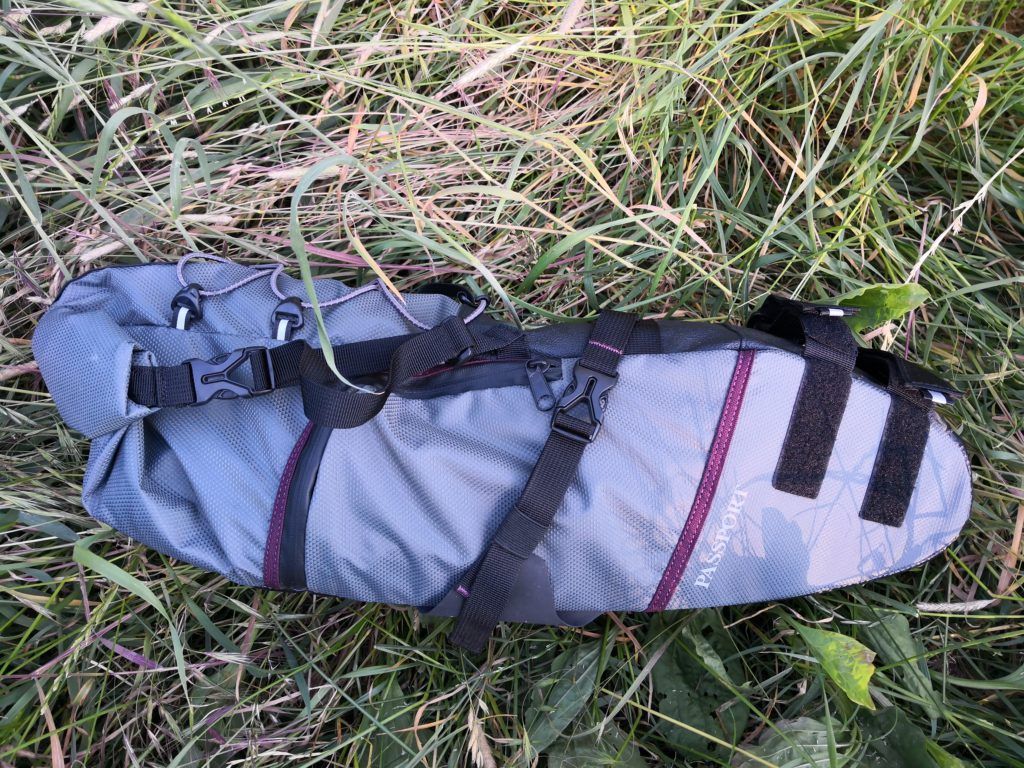
Passport Seatpack side view.
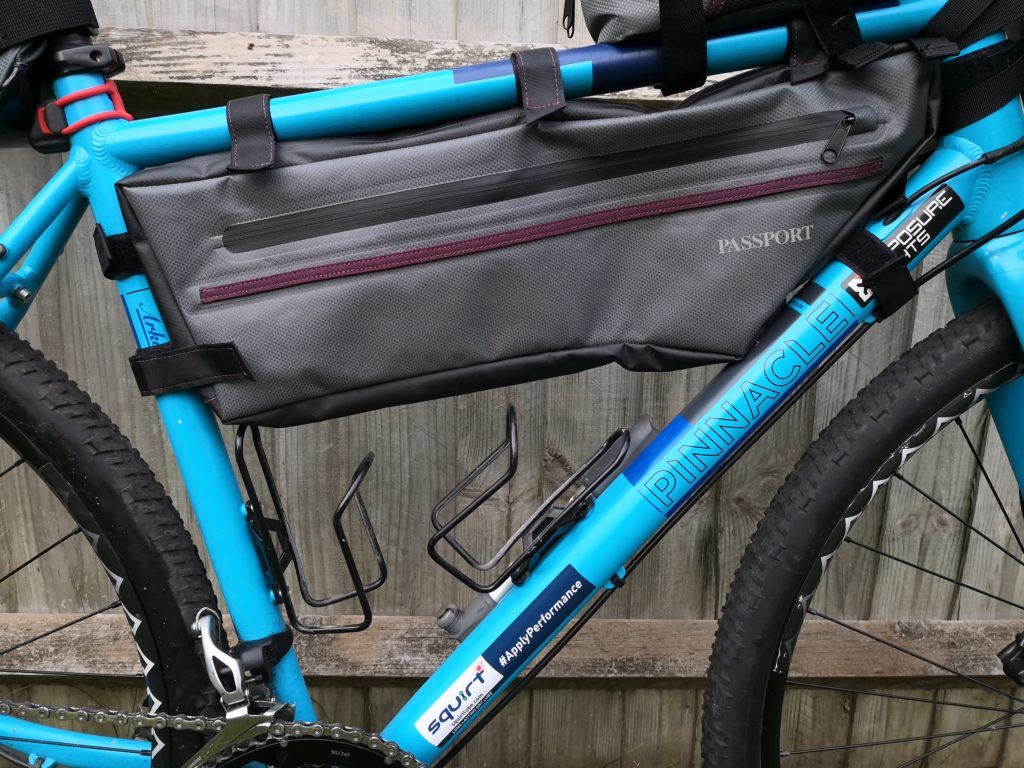

Frame Bag 215g £35

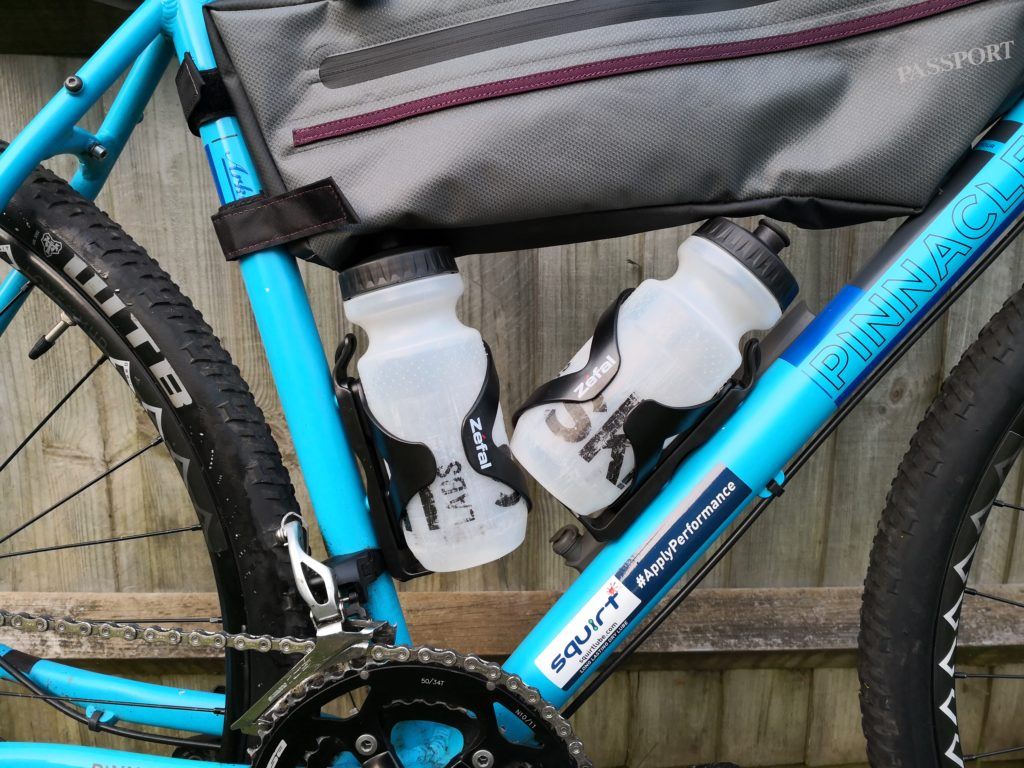
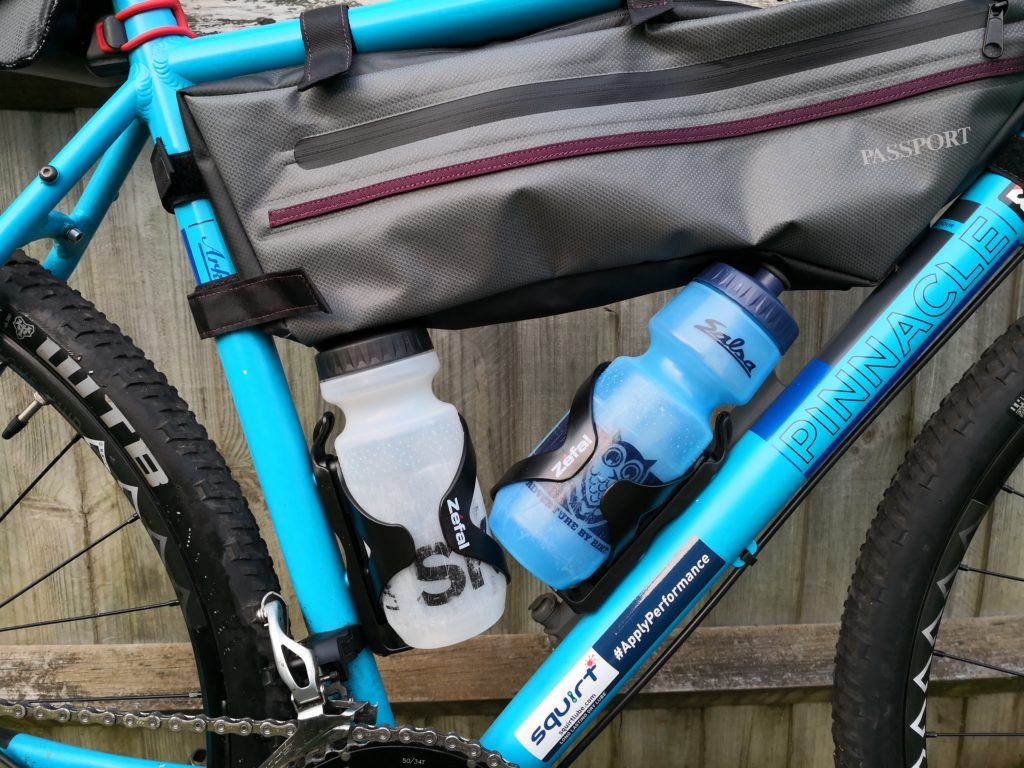
Our ‘Large’ frame bag measures 51 x 5.5 x 17cm providing 4.8 litres of storage. It is water resistant.

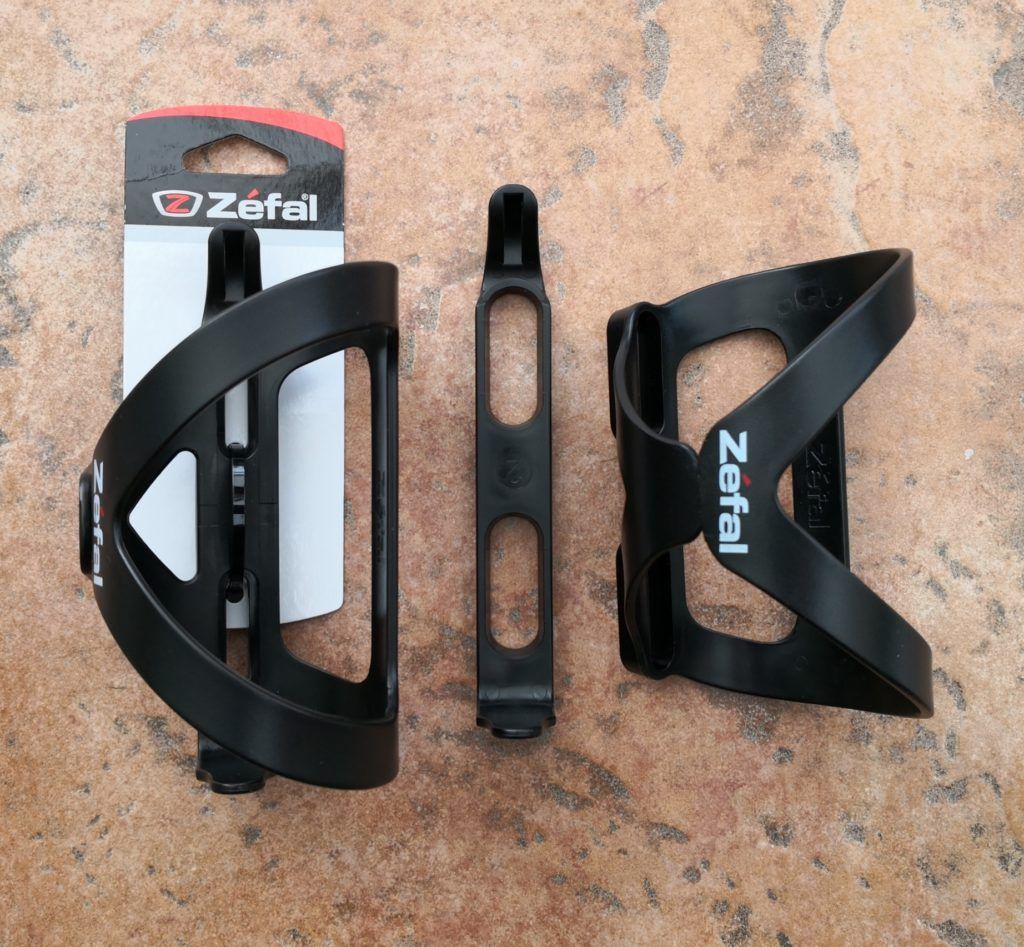
It fits the frame of my 58cm Pinnacle Arkose perfectly yet still allows me to use 500ml bottles without resorting to variable (cage) mounts.

The frame bag shares the same basic construction as the seat pack.  It also has a bright yellow liner to help you find stuff in poor light.

Towards the front of the bag there is a small zipped pocket. Perfect for storing car keys or items you want to keep safe and secure until the ride’s end.

While the straps are stitched in place, they are located sensibly and do not interfere with the toptube or handlebar bags. It was also good to see that the straps thread into plastic loops so they can be cinched really tight.
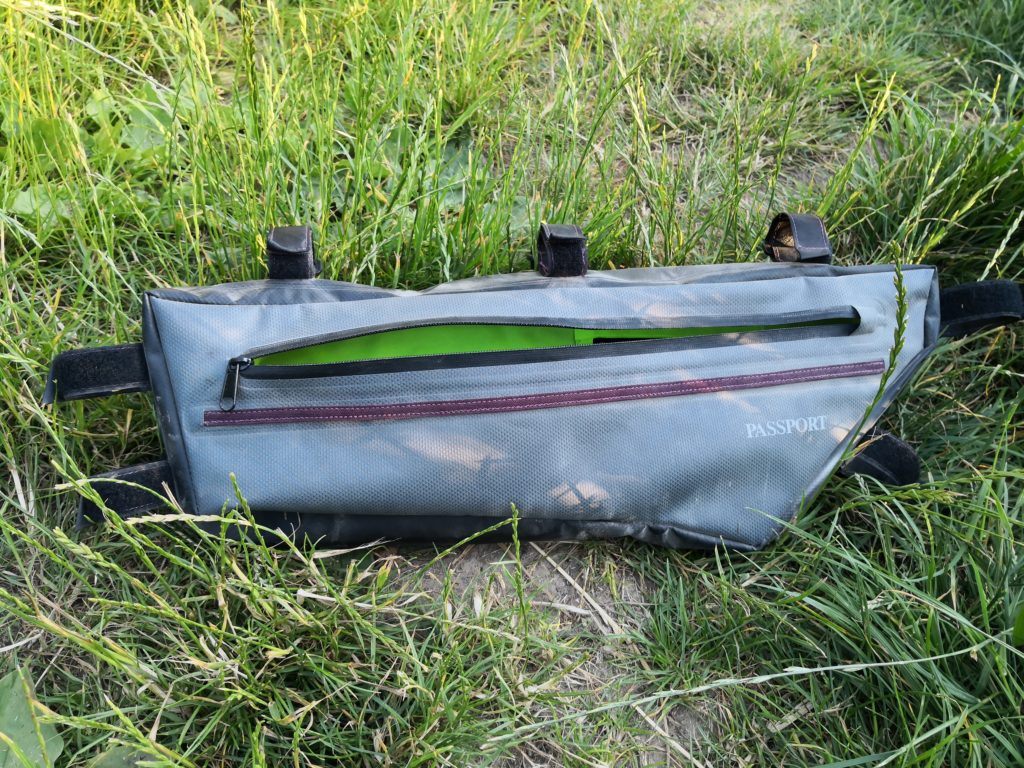
Passport Luggage Framepack

Passport Frame Bag


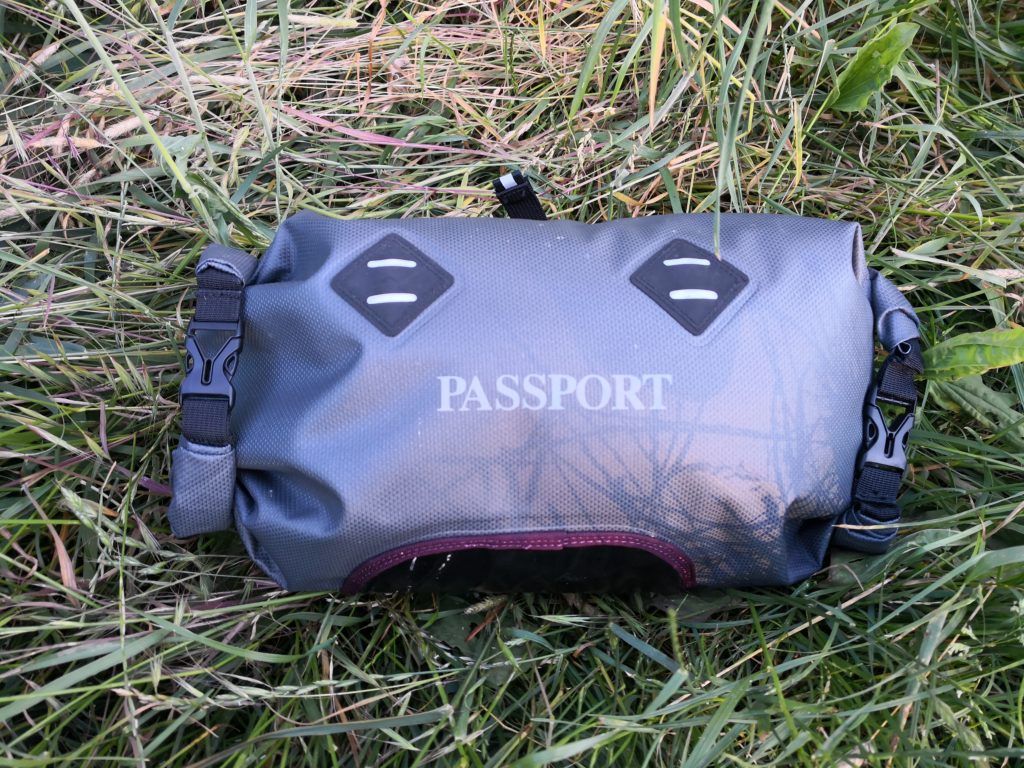
Handlebar bag 305g £35

The handlebar bag comes in one size and measures 38 x 17 cm with an 11 L capacity. It is a good size and fits between a set of drop bars without rubbing your front tyre!

Passport Handlebar Bag

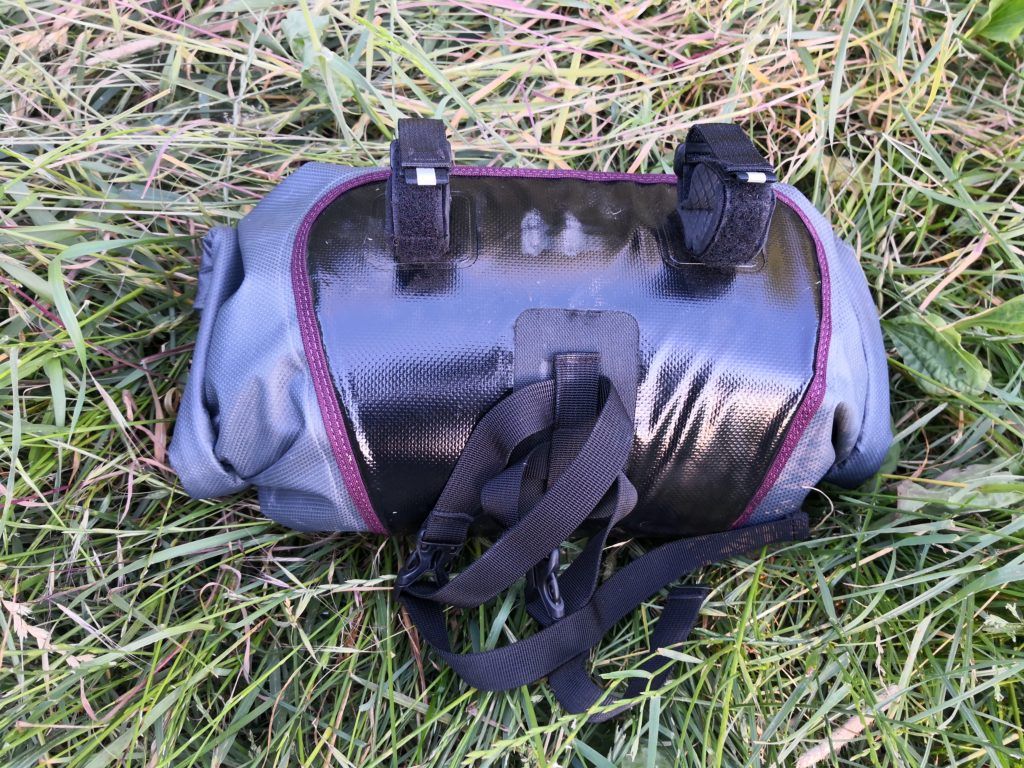
Passport handlebar bag rear view.

The now familiar nylon canvas differs from the rest of the range. It is laminated with a heat-welded TPU layer. It is fully waterproof and therefore a great place to store your sleeping bag and spare clothing.

The tough tarpaulin is used once again to reinforce the contact patches, and four straps secure the bag to the bike. The two on the handle bars are rubber-lined with plastic loops to keep them tight. The head tube straps use plastic QR buckles to make them easier to thread between your cables and frame bag (if fitted). As with the other bags the logos and light loops are reflective.

Passport Luggage Handlebar Bag

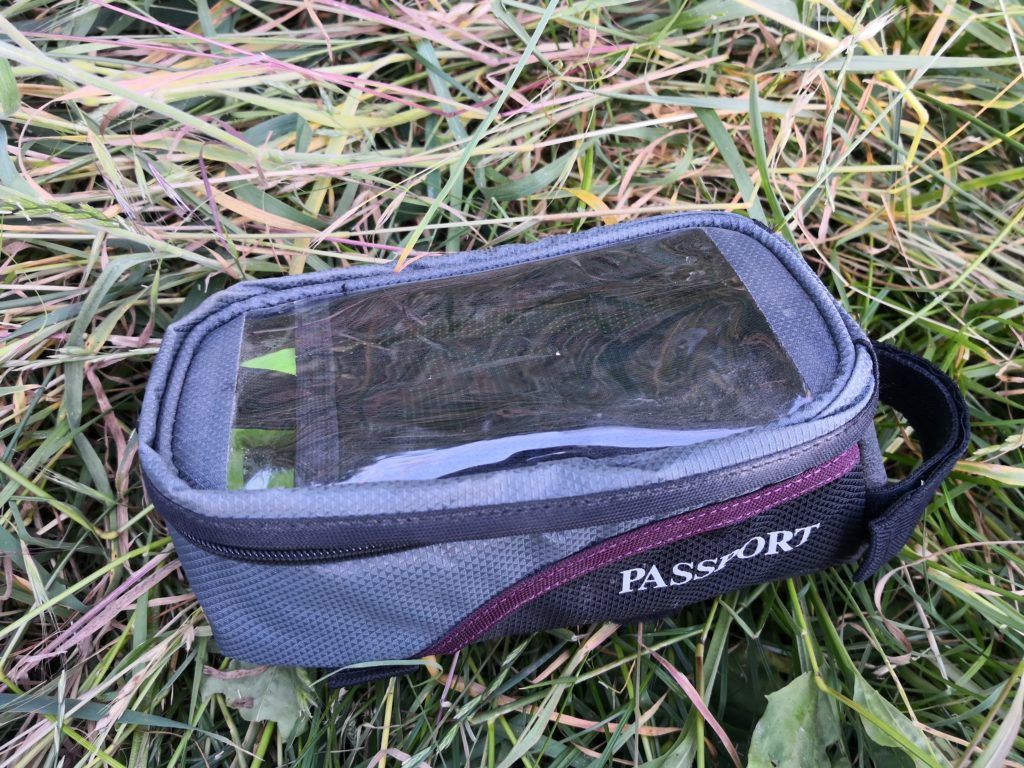
Top-tube bag 135 gms £20

Measuring 9.5 x 20 x 9.5cm with a 1.8 litre capacity the toptube bag is one of the largest we have tested. The square design threatened to make it a knee-slapping liability. Thankfully there is virtually no side to side movement.

Again a yellow liner makes it easy to find things inside. While only water resistant, the zip cover should mean only the worst downpours will cause any  problems.

Passport Toptube Bag

Passport Toptube Bag interior view.

A great feature is the clear window through which you can use your touchscreen phone (or paper map/directions if you’re old skool!). I fitted a 6″ screen smartphone behind the window. All but the largest phablet phones and GPS devices should fit and a USB powerbank can be stowed underneath to charge them.

Passport Top Tube Bag

East bound and down, loaded up and truckin’…

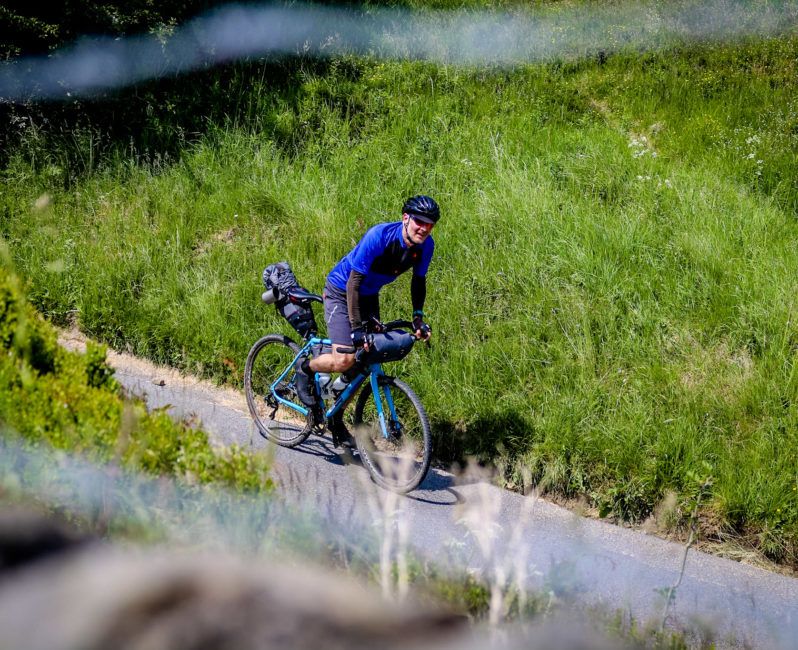
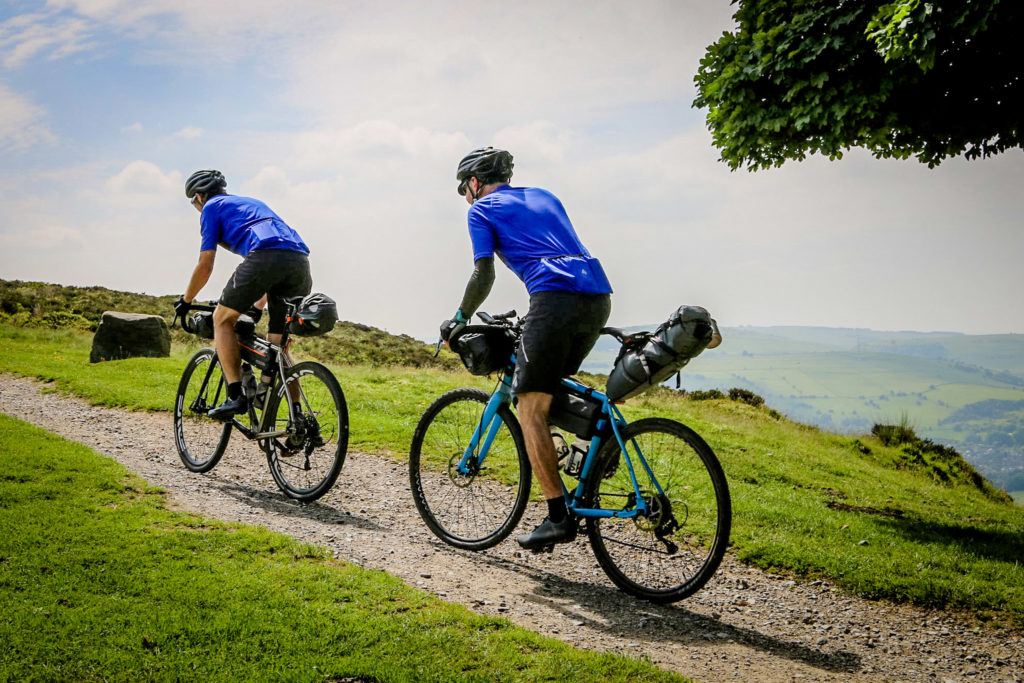
Taking part in The Distance seemed the perfect opportunity to test the Passport kit. We had two days of riding on prime Peak District gravel, with a mid-way overnight stop.

While the water resistance was never put to the test, the rough descents and steep climbs were a stern test for bag stability. A test in which the Passport kit surpassed expectations. The straps remained tight. None of the bags swayed about or rubbed against my legs or knees when out of the saddle. What more can you ask?

The Distance Derbyshire

After two days of tough riding everything functioned perfectly. Wear and tear was minimal, leaving only a few minor marks.

The only problem I had was with the seat pack liner. It isn’t secured at the front and the material itself is quite grippy. This meant that when I emptied the bag fully, the lining was prone to turn inside out.

Obviously 120km isn’t far enough to judge long term durability but I’ve used more expensive luggage that has fared significantly worse after similar use.

What’s in the bags?

Handlebar Bag
  • An Alpkit Cloudbase mat
  • A Hunka XL bivi bag
  • 2 season down bag and a silk liner.
Seatpack
  • A Trailstar tarp and pegs
  • Waterproofs
  • Down jacket
  • Hat
  • Gloves and base layers for sleeping in.
Framebag
  • Tarp poles
  • Inner tubes
  • Tools
  • Spares and snacks.
Toptube Bag
  • Phone
  • Powerbank
  • Cafe lock.

Conclusion

I was seriously impressed by the Passport luggage.

The seat and handle bar bags (which take the brunt of the tyre spray) are genuinely waterproof and are reinforced in key areas so should stay that way.

The attachments are secure and easy to use and didn’t need mid ride adjustments unless items had been removed.

I’m not ashamed to admit I liked the fact how all the items matched!

If you want to give bikepacking a try, without spending a fortune, Passport Cycles have what you’re looking for.

It is also worth mentioning there is also a smaller 7 Litre seatpack and two smaller frame bags available.

Visit www.passportcycles.co.uk for more info and Ison Distribution to locate your nearest dealer.

Monday 25 June 2018

 I met David Markman while riding the Tour Divide back in 2016. I caught up with him before the start of his 4th Dirty Kanza for a bike check and insight into his strategy plans. Now the dust has settled (and finally washed out of the cycling kit), we thought we’d give him a shout and see how it went.

You planned to do 5 DK200s to complete a 1,000 mile challenge, with 800 under your belt are you still eager to race the Dirty Kanza again?

After my first DK200 in 2015 I was done.  I did my one and was happy to move on to other events. 2016 I did Tour Divide and to warm up the legs days before, I raced the Dirty Kanza 200 again… So now I had 2 finishes and the Gravel Grail was maybe something I wanted to chase.

For 2017 I was looking to beat the sun because I missed it the year before by 15 or so minutes and conditions were amazing so I checked that one off, now I had more finishes than not so I was committed to finishing 5. This year was a chill year.  I didn’t have a goal other than to finish and enjoy the journey and with the weather it was looking like a good year for that. Now with 4 finishes under my belt, I’ll be going back for number 5 next year and if it all falls into place I’ll have my Gravel Grail!

Four times a DK200 rider! Photo credit: scottharaldson.com

Did you prepare differently for this year’s event based on your prior experiences? (knowing you have only ridden a bit this year!)

Prepare? I didn’t prepare at all! I started a new business this February and it has been taking all my spare time to get it off the ground, so I didn’t ride much leading up to the Dirty Kanza 200. This was my 4th year so I knew what to expect so how hard could it really be, right? Well it dished out a brutal race in typical DK200 fashion and I regretted not putting more miles in before the race.

Tell us how your race panned out, any notable events? 

The morning started with crazy strong winds like 50-60 MPH gusts.  I woke up to hear the patio chairs outside of my hotel sliding across the parking lot and stepping outside, my bike became a kite as I turned it into the wind to load it on my car. Arriving at the starting line we found out there was going to be a 30-minute lightning storm delay so I caught some more sleep.

I knew I could race the sun again this year if I played all my cards right and everything fell into place, but it was going to be a very tough day. The first leg of the race is my favourite, it is so beautiful and fast and I came into CP1 on schedule in just over 3 hours. After leaving CP1 I knew I didn’t eat enough to maintain that pace but still tried to dig deep to make it to CP2, but at mile 94 I came across a tandem that had crashed and both the captain and stoker were in really bad shape. There was a lot of blood and the stoker was in and out of consciousness, one other person had stopped just before me, then another and another. Together we cleared the road of bikes and debris, got traffic to slow down as it was on the back side of a blind downhill, and called EMS and the race directors, then waited for EMS life flights to arrive.  Once I knew they were in good hands I jumped back on my bike and made my way to CP2.

Now having lost a big chunk of time my plan to race the sun was out the window, which was fine. The true test is what someone will do when their plan falls through, do you sit down and give up or do you push forward and make a new plan? Endurance racing is the latter, when the conditions get tough or you are not performing how you expected you need to keep pushing, that will set you apart from the rest of the field.

The third leg is my least favourite as it is always hot and windy with little shade available, this year was no different. It proved to be just as brutal and difficult as always and I was happy to pull into CP3 still in daylight. At this point I was suffering from heat stroke and dehydration and my stomach wasn’t happy with me, but I knew I only had 44 miles to the finish and somewhere out there I’d find the chaise longue. Everything was good as I rode into the darkness until 26 miles from the finish.  I cut my side wall on a large rock I should have avoided but in my sleepy state could not react fast enough. Having fixed that I found the chaise lounge, got my photo, and finished the last 25 miles.  I had no real expectations for this year’s Dirty Kanza 200 other than to finish and this was the hardest DK200 I have done yet, and yes harder than the 2015 mud year.

Your kit choices should be tried and tested now, did all your kit perform as expected? 

Yeah a 200-mile event is not the time to try out new gear, and being a veteran to the sport I have compiled a well-rounded assortment of gear that has worked well for me in the past and I can rely on. Some things I did change were to use large tubes of GU rather than individual packets in hopes of eliminating extra trash, these unfortunately didn’t work well on the gravel as they did on training rides.  They would work great for prepubescent men or non-bearded women.  I found that the twist closure would catch my moustache and then rip it out so I only used them once while riding. The other new thing I tried was a different hydration pack this year.  I used a running pack from Osprey and really liked how it distributed the weight and was very stable on rough roads. If you follow me on Instagram (@bikepackingdavid ) you will see gear related tips for Dirty Kanza and things I have picked up along the way to help survive these long events.

They say every day is a school day, what did you learn on this outing?

You are always learning that is true, and I enjoy endurance events like Dirty Kanza 200 because you can make mistakes, and still make it to the finish with your support crew help.  The morning started with crazy wind like 50 MPH gusts as a storm was rolling through and it was cold-so I put on a light weight rain jacket thinking I’d be wet and cold at the start. That was great for the first 15 or so miles but then the sun came out and it got hot, I started to sweat more than I should have at that point but didn’t want to stop as I was holding on to a wheel and making good time. That eventually led to dehydration and combined with the heat later in the day heat stroke, which can be very serious.

I also learned that 200 miles of training for the year is not enough miles to ride before the Dirty Kanza 200. Being my 4th year I knew what to expect but it wasn’t much fun.  I forgot how punchy those climbs can be. After stopping for that tandem, my plan when out the window to beat the sun, so I just kept moving but took time to chat with fellow riders on course and smell the roses so to speak, that country is beautiful and during the race you see so little of it because your head is down.

The elevated legs recovery system looks fascinating, talk us through how it helped…

Yeah they are the bee’s knees, after any hard workout your muscles develop sports waste, lactic acid and such. Getting all that out will speed up your recovery time so you can push hard again the next day or at least walk normally.  After an event like Dirty Kanza 200 it will take multiple sessions to flush out sports waste, combined with foam rollers and massage. Typically, I’ll throw them on and watch TV while eating a meal because as you can imagine the days after a 200 mile race I’m always hungry.

The elevated legs system

To see more of David’s own adventures you can follow him on Instagram @bikepackingdavid or check out some amazing photos at https://markmanoutdoorphotography.com/

Monday 4 June 2018

Quick review: Zefal Wiiz side-exit bottle cages


Solve one problem, create another…

No space for bottles with standard cages

So you’ve fitted a frame bag to take advantage of all that redundant space. Just as you start to congratulate yourself, you realise there’s a problem. Your bottles are trapped in their cages, or worse still, they simply won’t fit in any more!

All is not lost however. A popular solution is either to fit side-exit cages or an adaptor that allows you to lower the cages, moving them away from your luggage.

Two for the price of one?

The Zefal Wiiz incorporates both of these ideas. The cages are in two pieces. They can be set up to be left or right exiting, and the mounts incorporate  long oval slots rather than the traditional round holes. You can therefore adjust cages vertically and position them away from bags or the second bottle and cage.

Two-piece design for ambidextrous use

Easy to fit

Fitting a bottle cage should be within the skill set of even the most D.I.Y-phobic rider. Good news then! The Wiiz cages are no more complicated to fit than your average bottle cage. The only issue I had was that when the seat-tube cage was in its lowest position, it fouled the front mech mounting band. I initially packed it out with a few washers but, because of the design, it rattled. After a spot of trial and error, I found  a larger pair of washers that worked. 1x drivetrain users can of course feel smug that they won’t run into this problem!

Problem solved?

The Zefal cages are undoubtedly an improvement over a standard cage, letting you fit bottles where you couldn’t before. In the worst case scenario, with a large frame bag like the Passport, it was still a tight fit but not a struggle. We’re off to The Distance bikepacking event this weekend so I’ll see how they work on a proper mixed-terrain ride. Unless the weekend is marred by trapped or (worse still) randomly ejected bottles, at £4 each the Wiiz cages should be an affordable fix to the bags and bottles conundrum!